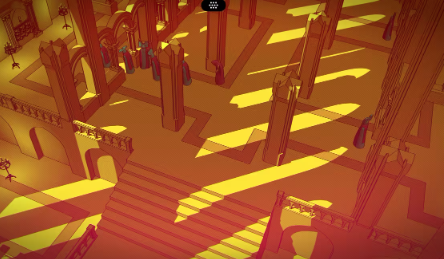
Today, I'm bringing you the content of the Babel Anthem Chapter 2 strategy guide. The second chapter of Babel Anthem is built with dark brown stone steps and bronze decorations, creating an exploration space full of historical depth. The deciphering of text and scene interaction are deeply intertwined here, from interpreting the symbols on the lintel stone slab to using a spear to topple stone pillars to build a path, and then to the stealth strategies for dealing with patrolling guards. Each step forward requires connecting the collected textual clues with environmental details. Let's take a look together.

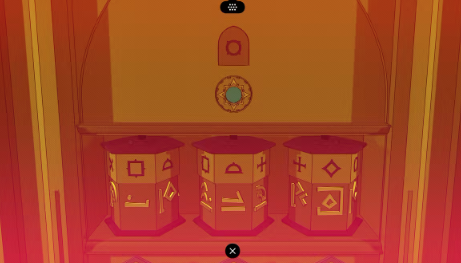
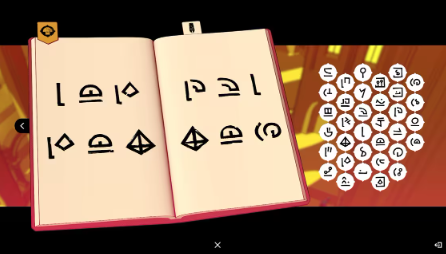
Upon entering the initial space of the second level, you are greeted by a heavy stone door, with withered vines entwined around its hinges, creaking as it opens. Above the door frame, three cuneiform tablets are embedded, with the scratches on the tablets casting shadows of varying depths under the torchlight. Interacting with them will project the text in the form of flowing light spots onto the ground, forming a group of cyclically flashing symbols. This is the first key clue that needs to be deciphered in the second chapter, which should be compared with the basic character table collected in the first level. These contents will automatically be saved in the log's pending text column, serving as important references for subsequent puzzle solving.

After deciphering the statue text, proceed down the right-side stone steps through a corridor covered with murals depicting scenes of ancient warrior training. One of the paintings shows a warrior holding a weapon identical to the spear picked up earlier. The text annotation next to the painting needs to be deciphered in conjunction with the content of the statue scroll. At the end of the corridor, stairs lead to a platform where a roller mechanism is located. The railing at the edge of the platform is wrapped with chains, connecting to the mechanical structure below. To operate, first pull the auxiliary pillar embedded in the concave slot on the left side of the stone wall, making it fit into the toothed slot of the roller, then turn the hexagonal switch in the center. Every 180 degrees turned, the four standing statues in the outer square of the castle will rotate synchronously, and the inscriptions on the statue bases will also change direction. After collecting the statue texts, leave through the arched small door on the left side of the statue. Along the passage, there are niches every few steps, each containing a damaged terracotta figure.

The bell tower is located at the highest point of the central square on the warrior level, with four bronze bells hanging inside, each cast with reliefs of a balance, a ship, a harp, and a key. When the bells ring, the guards in the square will gather towards the center, creating a brief defensive gap, allowing players to enter the armory. If, during this stage, you deliberately mix and match uniform parts with different emblems, the log will unlock a special record of blind mixing. If you ignore the rules and strike any bell body more than three times, although it will trigger a five-minute alert state for the guards, it can also activate a hidden achievement for mischief.

The content of the Babel Anthem Chapter 2 strategy guide has been introduced. The exploration journey of the second chapter is a comprehensive test of the player's observational skills, reasoning abilities, and timing control. Text serves as the continuous clue, with multiple stages involving stealth avoidance and scene interaction, each deciphering step gradually revealing the code of order within the tower.


