In Moco, the instances are divided into team and solo types. Among these, the difficulty of solo instances is significantly higher than that of team instances, as solo instances mean you have to fight alone without any help. Therefore, many people encounter difficulties when playing solo instances. To help everyone solve the problems with Moco's solo instances, the following will explain the strategies for solo instances. After reading the following, you will know how to play.

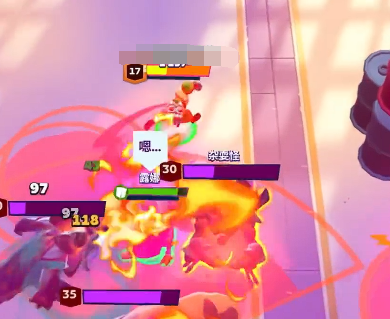
First, let's look at the Powerful Strike instance. This instance has three bosses, two of which are ranged and one is melee. When tackling the difficult bosses in this instance, your combat power needs to reach 1600 first. Then, on the field, you need to pull the three bosses together and attack them. During the process, focus on attacking the two ranged bosses first. These two bosses can spit fire and release meteorites, and they will chase and attack you. Pay attention to dodging and avoid getting hit. If possible, summon an NPC, which is best for drawing aggro. This way, you can clear the instance.

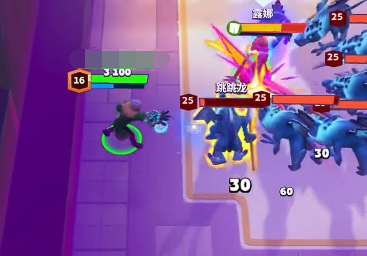
After completing this instance, you can move on to the second instance, which also requires a combat power of 1600. In this instance, there will be a large number of jumping dragons distributed across the top, left, and right sides of the map. As long as you don't get too close, they won't attack you. Therefore, you need to use a split strategy to tackle them, dividing them into three waves to defeat. Don't pull them all together, or you won't be able to finish them off due to their numbers. After defeating them in three waves, you will successfully clear this instance.
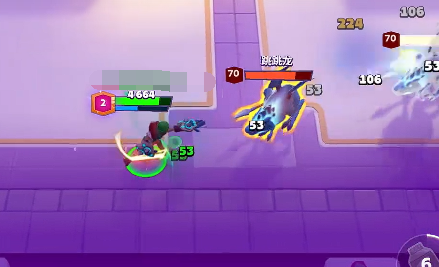
Next, you can challenge the third instance, called Double Dragon. The combat power requirement for this instance is 3100. If you haven't reached it, you need to get to 3100 first. Then, replace your weapon with a bow and start the challenge. During the challenge, two high-value jumping dragons will spawn. You need to use the kiting and lifesteal abilities of the bow to wear down these two jumping dragons, avoiding their attacks. Pay special attention to the red circles; you must avoid them, as getting hit by them will result in instant death. After kiting and defeating the two jumping dragons, you will complete this instance.

After completing this, you will move on to the fourth instance, Crowd Control, which also requires a combat power of 3100. This instance contains 60 small monsters. For this instance, you need to bring a club weapon and a rocket booster. After that, you can start the challenge. During the challenge, you will see six waves of monsters spawning on the map. You need to pull all the monsters together and circle around the edge of the field while attacking. Use the club's skills to slow down the enemies, and then use the splash damage from the rocket booster and the wide-range basic attacks of the club to wear down the enemies' health. This way, you can complete the fourth instance.

After completing this, you will face the 3300 combat power instance, Target Selection. In this instance, you need to bring a portal weapon, a lifesteal item, and a slowing item. After equipping them, go to the center and spray the slowing mist. Then quickly lure the monsters on both sides to the center so they get slowed. Use the area-of-effect attack of the portal to wear down the monsters' health. During this process, pay attention to the bullet hell, as there are ranged monsters among them. Be careful not to get focused and killed by these monsters. Use lifesteal when necessary, and this way, you can clear the instance by circling and attacking.
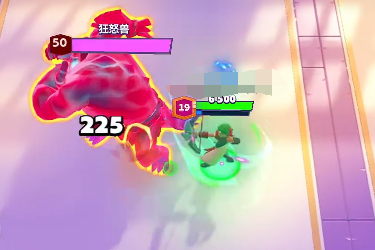
Finally, there is the 5600 combat power instance, Direct Confrontation. In this instance, you will face a boss-level monster. Although there is only one, its attributes are extremely terrifying, being both tanky and powerful. When facing this monster, you need to raise your combat power above 5600; just matching it is not enough, as you won't be able to defeat it otherwise. Additionally, you need to bring a bow, an output-focused ring, and three survival items. After equipping them, it becomes a pure numerical battle. There is no skill involved, just pure stats. Only if your stats are high enough can you defeat it.

The above is a detailed guide to Moco's solo instances. After explaining the current implemented solo instances and their respective strategies, I believe everyone now understands how to play these solo instances. Once you understand, you can follow the guide to clear them.


