
Ninja Ryuko: Shadow Warrior Game
Game Introduction


Hot Strategy
How to Clear the Secret Cave Key of the Ascension Flow in Jianghu 2 Next Stop: A Guide for the Mobile Game Jianghu 2 Next Stop Ascension Flow Secret Cave Key
The key to the Secret Cave of Ascending Stream in Jianghu 2 is a special mission in the game, which requires players to complete side quests while meeting map event conditions. This exploration area has certain requirements for the player's combat power. In this article, I will give a comprehensive answer on how to complete the task of obtaining the key to the Secret Cave of Ascending Stream. I hope this content can help everyone~
If a player wants to trigger this quest, they must first complete the prerequisite quest for the Dragon Vein Treasury. The specific coordinates of this prerequisite quest are (825, 1123), and its location is Pinglu City. Players need to find the NPC Kong Xuzi to accept the corresponding quest.
The quest requires collecting four keys, which are the Mangzhang Key, Jianbing Key, Lingguang Key, and Zhiming Key, respectively.
The Mangzhang Key requires the player to first complete the Unexpected Encounter Quest of Punishing Evil. That means helping Yu Mengxin by delivering ten taels of silver, then directly defeating Ma Qi, and finally giving the ledger to Tan Yanshan.
The Jianbing Key requires the player to obtain it by defeating Wu De. After defeating Wu De, the player can get a personal letter, and then use this letter to challenge Bo Ziyue. In the final Dragon Snake Treasury, acquire the weapon Autumn Dream, and finally deliver Autumn Dream to Sun Youxia to obtain the Jianbing Key.
The Lingguang Key is obtained by the player through opening the Thousand Mechanisms Box at the place of transformation. The level mode at the place of transformation is relatively difficult, so it is recommended that the player save the game in advance.
The Zhiming Key can be directly obtained by the player when they go to the stone statue next to the North Gate of Pinglu.
After collecting all four keys, the player can activate the Four Symbols Formation. By adjusting the orientation of the statues Zhuque, Qinglong, Baihu, and Xuanwu, the Four Symbols Diagram can be opened.
The player needs to ensure that the heads of Zhuque and Qinglong face inward, the head of Baihu needs to be turned outward twice, and Xuanwu does not need to be adjusted. After completing the above content, the player can obtain the secret manual of the Dragon Pearl and Dao Sword. At this point, return to the position of Kong Xuzi, defeat Kong Xuzi, and then go to the North Gate of Pinglu City, where you can find a treasure chest behind the house.
There will be a hidden door key placed inside the treasure chest. The player uses the hidden door key to open the window on the left side of the house. At this time, they can also obtain a topographic map and the coordinate clues for the Secret Cave of Ascending Stream. Now, the player can directly reach the Ascending Stream Waterfall to obtain the corresponding key. The specific coordinates of the key are (920, 1288), located at the top of the waterfall. The player needs to obtain it by opening the treasure chest.
The key to the Secret Cave of Ascending Stream can help the player open the Dragon Vein Secret Cave. Inside the Dragon Vein Secret Cave, there is a guardian. When the player defeats him, they can obtain a diary, complete the full decryption, and the final reward is the Falling Water Sword Technique Half River.
The above content is a detailed introduction to the key to the Secret Cave of Ascending Stream in Jianghu 2, as brought to you by the editor in this issue. The overall process of completing the quest is quite long, so it is recommended that players save their progress at each key point. I hope that after reading this content, everyone can go into the game and experience it for themselves~
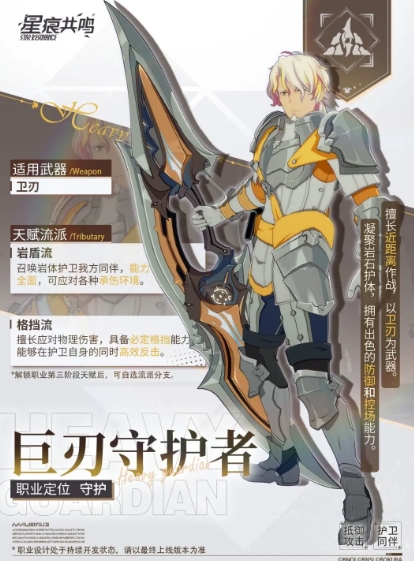
How to Play Stellar Resonance Guard Flow Introduction to Stellar Resonance Guard Flow Playstyle
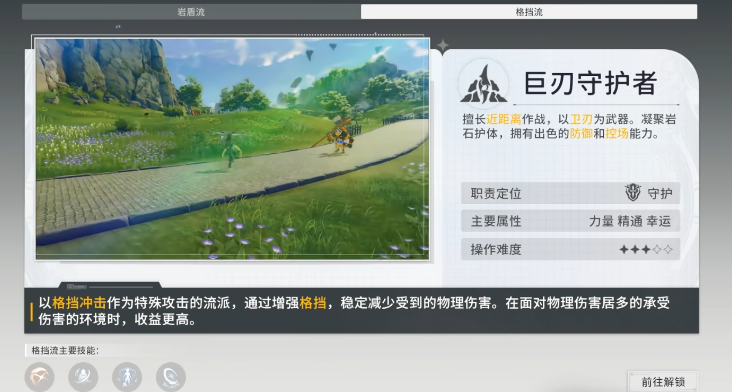
The blocking flow of the Great Blade Guardian is the most suitable career path for a guardian role. So, if you want to find some strong points of this flow, this issue on how to play the Star Trace Resonance Blocking Flow will introduce the talents and skills related to this flow. In fact, the skills you match yourself will better fit your operation. However, if you want to find a more beginner-friendly combination in the game, the combination introduced in this issue is more suitable for the balance needed by beginners.
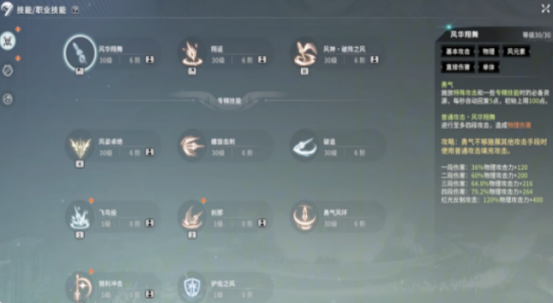
The main attributes of the blocking flow are strength, mastery, and luck. This profession, following this path, has a certain output capability and powerful crowd-gathering effects, which can gather enemies around oneself and then use area damage to clear them. For skill combinations, it's recommended to use Sandstone Grip + Sand Cloak + Rock Fury Strike + Valor Barrier. When using the Sandstone Grip skill, it consumes rage, gathers nearby enemies around you, deals damage, and slows them down for 8 seconds, making it easier to quickly clear monsters with area damage skills.
When using the Sand Cloak skill, the character gathers sand, dealing damage to surrounding enemies, and then continuously deals damage for 6 seconds, while also regenerating rage and sand crystals, providing some area damage capability. The Rock Fury Strike skill consumes sand crystals, dealing damage to the target and reducing the damage they deal over the next 10 seconds. It has high output damage, and when there are enough crystals, it can be directly released for damage. When using the Valor Barrier skill, it forms a rock barrier around you, automatically countering dangerous skills and taunting surrounding targets for the next 8 seconds, increasing your block, making it a very strong survival skill.
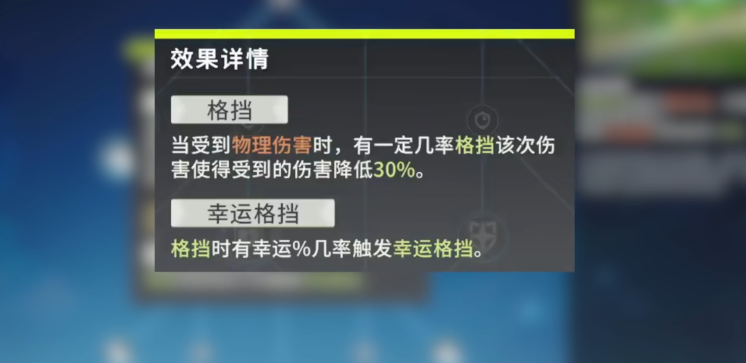
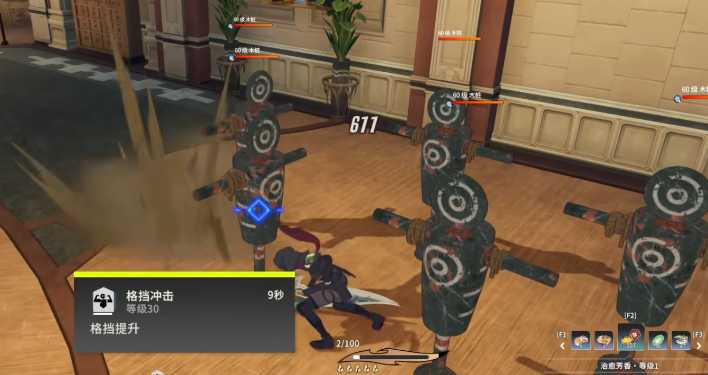
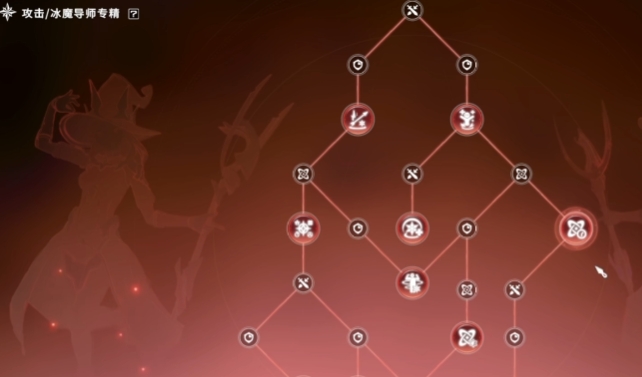
For talent configuration, pay attention to the talent effects for special attacks in the blocking flow. The basic talent effect becomes Block Impact, consuming rage to deal damage to surrounding enemies, during which the block effect is guaranteed, reducing received damage, and increasing the reduction from lucky blocks.
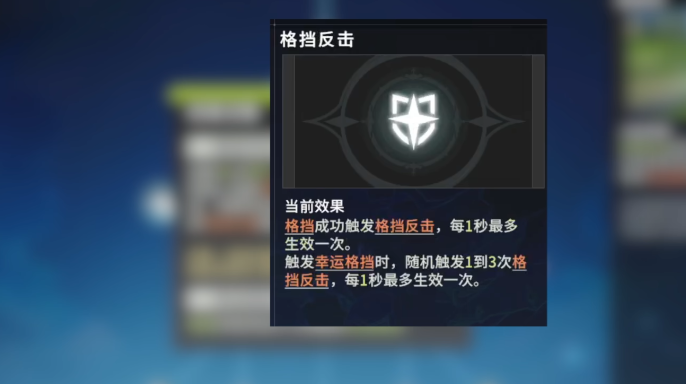
The Shattered Rage Strike talent has a chance to turn a regular attack into a higher-damage area attack when Rock Fury Strike deals damage, triggering a weak point strike, with the probability increased based on the luck attribute. The Block Recovery talent restores health and rage after a successful block, triggering once per second, with the effect doubling if a lucky block is triggered, increasing sustain and rage recovery. The Block Counterattack talent reduces damage taken during a block and deals damage to surrounding enemies while generating threat, with lucky blocks having a chance to trigger multiple times, dealing damage and generating threat.
The Synchronization Field talent, when using the Rock Guard: Fracture Loop, additionally creates a field lasting 5 seconds that reduces magic damage taken within its range and shares some of the damage taken by teammates, ensuring their survival. The Block Blessing talent has a chance to make the next Rock Fury Strike not consume sand crystals upon a successful block, triggering every 3 seconds, reducing the pressure of sand crystal consumption. The Leader's Fang talent reduces damage taken from bosses, increasing survival and making it easier to attract boss aggro. The Enemy Shadow Shield talent increases the damage reduction of the block effect the more targets are present, up to a maximum of 3%, with the effect doubling against elite and above targets, further increasing survival.
The Rigid Rock Luck talent increases the chance of luck and the critical hit rate during block counterattacks, with a chance to trigger a lucky block for stronger damage, enhancing the luck attribute and increasing the probability. A recommended talent combination is Crowd Suppression + Sandquake + Sandstone Retrace + Rigid Rock Mastery. Among these, Crowd Suppression increases the damage dealt to targets with lower health than you, with the effect doubling against elites and above.
The Sandquake effect, while under the Valor Barrier, causes Block Impact/Rock Fury Strike to deal an area damage to surrounding enemies, which can be triggered multiple times, enhancing area damage capability. The Sandstone Retrace effect reduces the cooldown of Valor Barrier when a critical hit is landed with a rage attack, speeding up skill rotation, countering more dangerous skills, and increasing block damage reduction. Rigid Rock Mastery increases the mastery attribute by 600 points, with the mastery effect during Valor Barrier being further enhanced, increasing the speed and frequency of skill releases.

From the above effects, you can see that the blocking flow primarily focuses on block damage reduction, using rage to increase output during blocks. The key talent is the block effect, providing both high survival and output capabilities, with strong crowd-gathering and high damage.
In terms of how to play the Star Trace Resonance Blocking Flow for the Great Blade class, both flows have good survival capabilities. The Rock Shield flow is simpler to operate and has higher defense values, but both flows excel in crowd-gathering. The blocking flow, however, also deals damage to surrounding enemies when triggering damage reduction, and the talents include area damage, making it stronger for clearing monsters. Therefore, if you want to play the blocking flow, the combination introduced above is quite suitable.
How to Play the Star Trace Resonance Aerial Combat Build: Analysis and Strategy Guide
Star Trace Resonance adopts a beautiful anime style, rendering it as an MMO mobile game. In this very dangerous world of civilization, you are one of the adventurers who have a rather arduous task. You need to maintain the order of the entire world through gradual exploration and cooperation. How to play the Aerial Combat Flow in Star Trace Resonance? In fact, this game has already provided players with eight professions and 16 different schools, each with a completely different skill system and tactical skills. Follow the editor to learn more in detail.
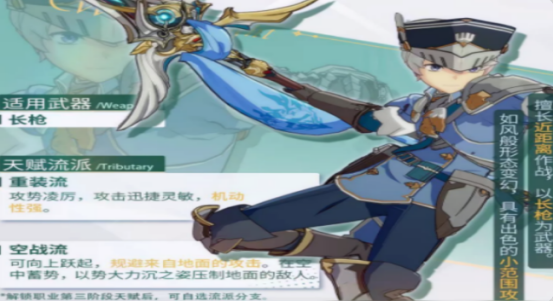
The Aerial Combat Flow is a very important and distinctive school in this game, created around the system of aerial combat. In this school, the core role is the Azure Knight, who, during intense aerial battles, needs to showcase smooth combo effects and unique three-dimensional combat advantages, making them stand out. When controlling your favorite character and successfully entering the air, you will face various enemies and challenges. During combat, you can display extremely high burst damage by seamlessly connecting normal attacks and unique skills.
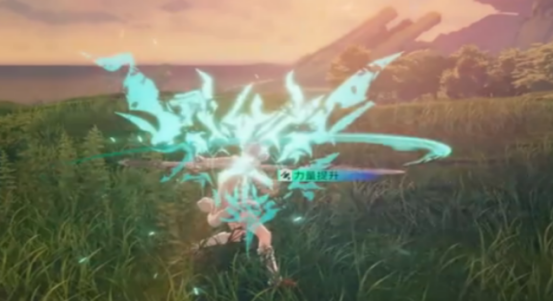
When experiencing this school, for most players, the main focus is on comprehensively improving from endurance and strength, among other diverse basic attributes. Each of these basic attributes is indispensable; once fully upgraded, they can extend the duration of aerial combos and enhance survival capabilities and attribute burst power. It's also possible to increase the critical hit rate to over 70%, thus causing significant damage increases. At this time, you can cleverly combine various skills to reinforce output.
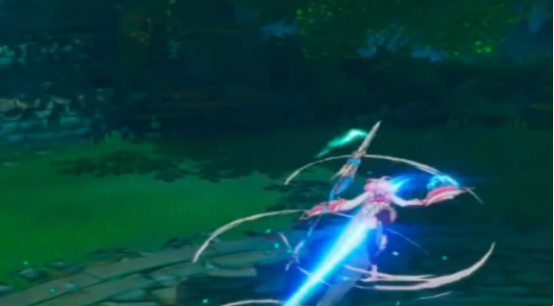
This school is essential and very important for all players. Therefore, in actual combat, you need to master clever techniques to win easily. Instantly, you should start with Soaring Return, then proceed to aerial normal attacks, seamlessly connecting these step-by-step combo effects, demonstrating precise control. You can also appropriately pair it with new skills like the Wind of Protection to enhance your survival space. When using this school, the three main cores are Sharp Impact, Moment, and Flying Bird Throw. This presents a certain level of challenge for players, but as long as you follow these steps, you can quickly become a master.
These are the specific content analyses on how to play the Aerial Combat Flow in Star Trace Resonance. In this game, each school has unique special skills and different advantages. If you want to demonstrate your extraordinary strength in the game, then the Aerial Combat Flow is the best choice. Even novice players can handle it with ease and, through their relentless efforts, become true masters.
Introduction to Yūgao of the Ninja War in Naruto Mobile Game: How is Yūgao of the Ninja War in Naruto Mobile Game?
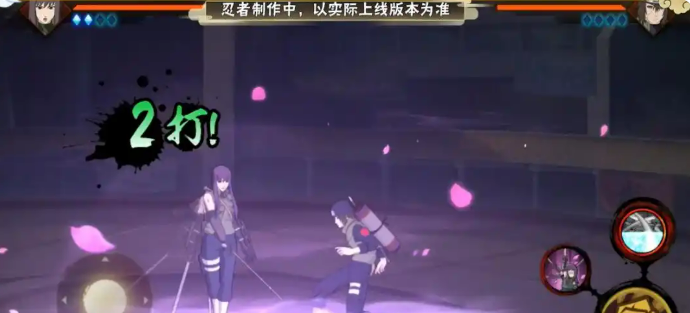
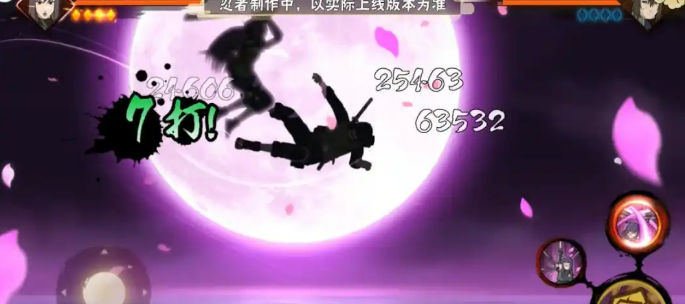
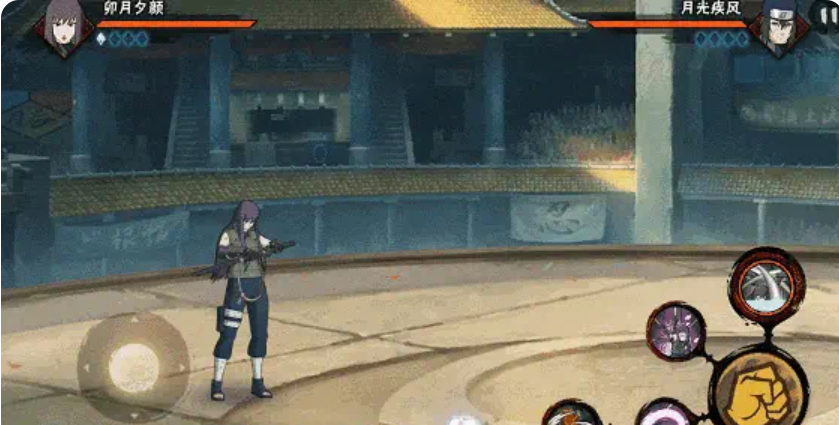
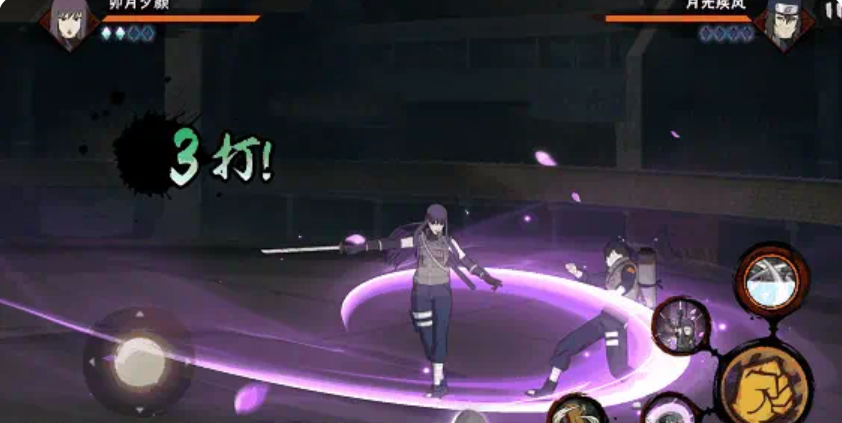
In the world of Naruto Mobile, every ninja carries their own extraordinary charm, and the debut of Yuzuriha Gekkō brings a fresh breath to this battlefield. Today, I will introduce Yuzuriha Gekkō from Naruto Mobile. She is not just a beautiful sword master, but also a graceful figure under the moonlight, carrying the mysterious energy of the lunar phases. Every attack she makes seems like a beam of moonlight. Let's talk about the skill mechanism of this new ninja and see how she creates her own combat rhythm through accumulating lunar phase energy.
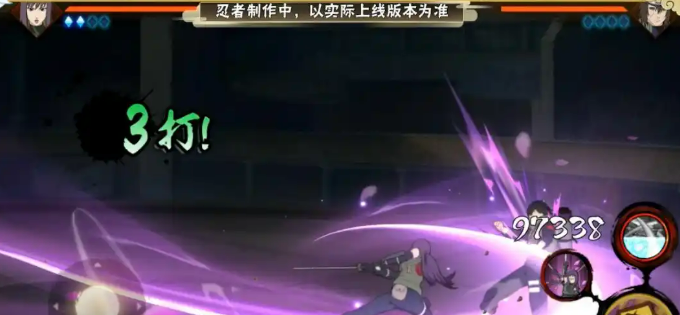
Yuzuriha Gekkō's normal attacks are more than just simple damage output. Each hit comes with a change in the moon icon, which actually represents her lunar phase energy. The phases of the moon, starting from 0 segments, then 1, 2, and 3, gradually accumulate. When the energy is fully charged, the power of her skills significantly increases. You might notice that, besides accumulating energy through the wind-up of her 2nd skill, every normal attack, 1st skill strike, and even the hit of her ultimate can restore her lunar phase energy, truly a drop-by-drop accumulation leading to brilliance. Especially when using combo skills, her lunar phase energy fills up instantly, providing stronger support for her upcoming battles.
Yuzuriha Gekkō's 2nd skill is her ace. This move, called "Seal Drawing Sword Pull," is very interesting in terms of operation. First, you need to accumulate lunar phase energy; once it's full, she can instantly release a powerful slash. This action is not just an ordinary slash; when fully charged, her attack even has the effect of grabbing enemies, firmly pinning them down. The wind-up time is proportional to the accumulated energy—the more energy, the shorter the wind-up. You can accelerate energy accumulation through normal attacks, feeling the flow of moonlight. If you want to launch a quick and strong attack, using the skill when energy is full will hit the enemy without giving them a chance to react, ensuring they cannot effectively counterattack.
As for the 1st skill, it has two parts. You can release the first part by tapping briefly, which is a forward thrusting slash; the second part involves holding the skill button, where Yuzuriha Gekkō jumps and performs a spinning slash, making her more agile with elegant aerial movements. Note that the second part of this skill can also be controlled with the joystick for movement, making it a highly mobile skill, capable of not only attacking enemies but also dodging cleverly and countering while in the air.
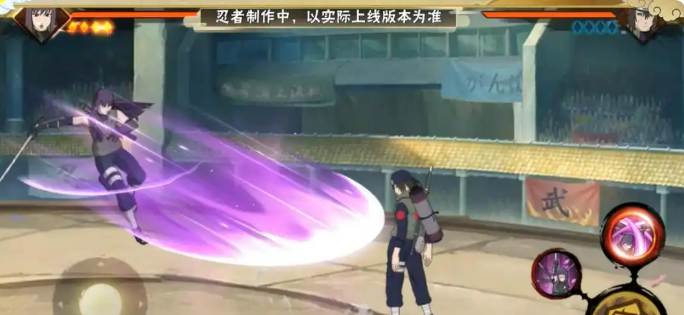
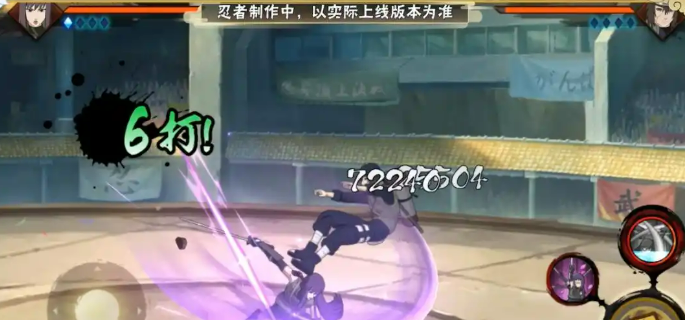
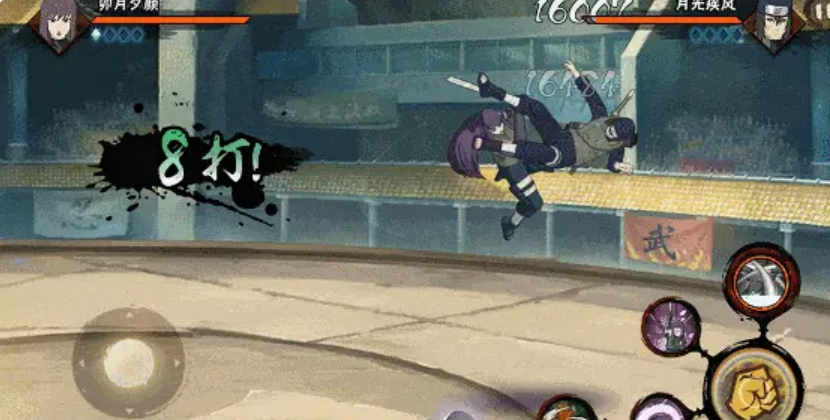
Of course, Yuzuriha Gekkō's ultimate skill is her final killer move. After forming seals on the spot, she quickly rushes forward and unleashes a series of slashes. Dazzlingly, during this, she summons two shadow clones to perform a sword dance attack, with a momentum like a rainbow. Finally, Yuzuriha Gekkō ends the attack with a fatal finishing slash, breaking through the enemy's defenses and showcasing her formidable combat strength.
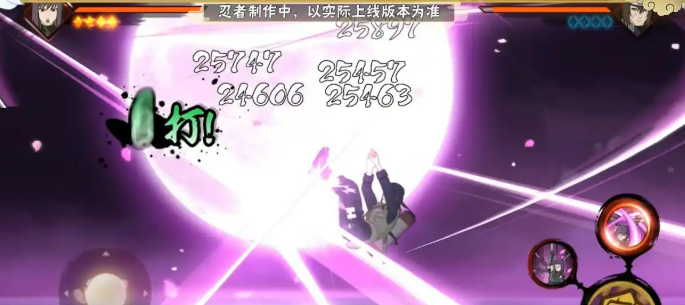
Although Yuzuriha Gekkō's skills are complex, each operation is full of possibilities. In actual combat, players can adjust their battle strategies based on different stages of lunar phase energy, using her flexible skill combinations to take down enemies. Whether in PVP arenas or story missions, Yuzuriha Gekkō can bring a different combat experience with her swordsmanship and the power of moonlight.
This concludes the introduction to Yuzuriha Gekkō from Naruto Mobile. Yuzuriha Gekkō is not only a ninja with high mobility and strong offensive capabilities, but she can also turn the tide of battle through precise skill usage. Her lunar phase energy mechanism, combined with smooth swordsmanship, is definitely the ideal choice for players who love strong operational elements. Master her skill combinations and let the moonlight guide you to victory!
Introduction to the Emei Combo Playstyle in Thousand Autumns of China, with Recommended Skill Combinations for the Emei Combo Build
Players in Huaxia Qianqiu, after learning various martial arts, can freely combine them to form different schools. The Emei Combo School is a rather popular one. For the combination of the Emei Combo School in Huaxia Qianqiu, some players may not be very clear about it. Below, I will share with everyone the gameplay and skill combinations of the Emei Combo School.
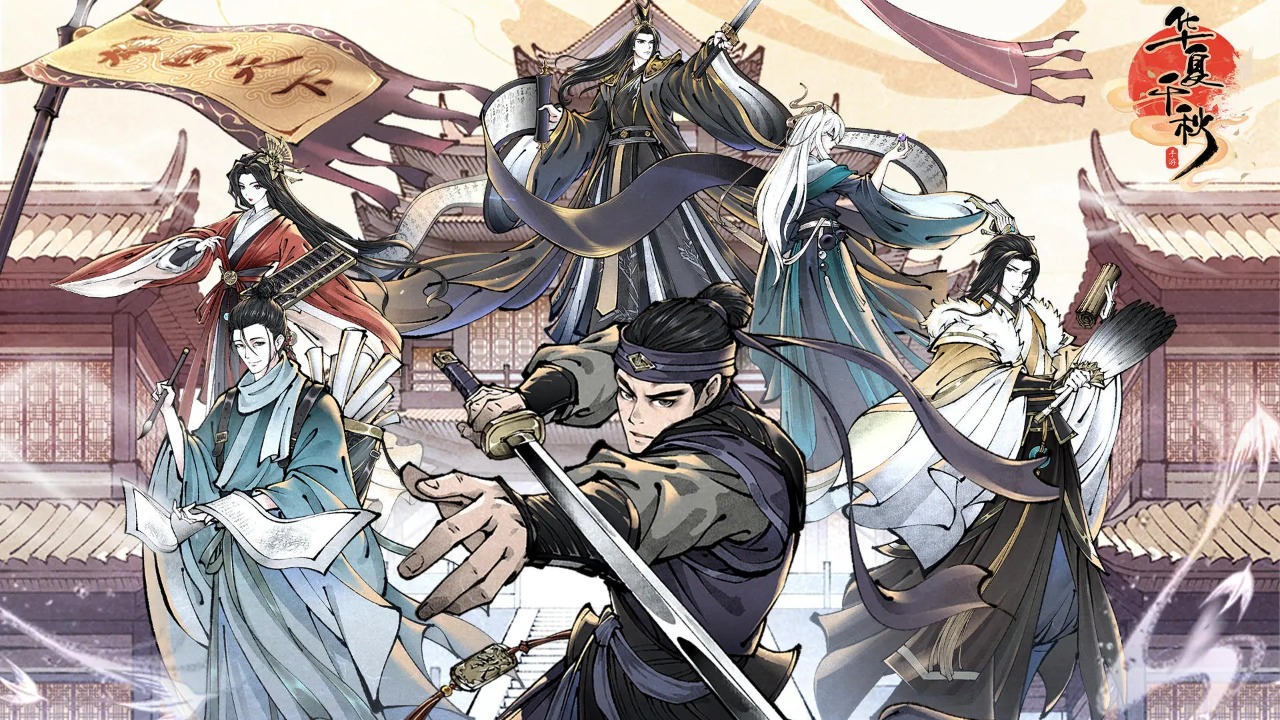
The Emei Combo School in the game is a martial arts school that has already reached the S level. In the current version, the Emei Combo School is undoubtedly one of the most powerful schools. This is mainly because Emei's damage is currently the fastest, and the damage caused by a single slash from Emei is comparable to the damage caused by two moves from other schools. When tackling high-difficulty dungeons like the Martial Hall, if the player's luck is a bit better, they could directly take out the enemy with just 2 slashes, without needing to use mana recovery to improve sustainability.
In the later stages of the game, when players use the Emei Combo School, adding an internal power that can increase combos will allow the late-game Emei Combo School to fully form. The post-morning star school not only has a very stable critical hit rate but also extremely impressive damage.
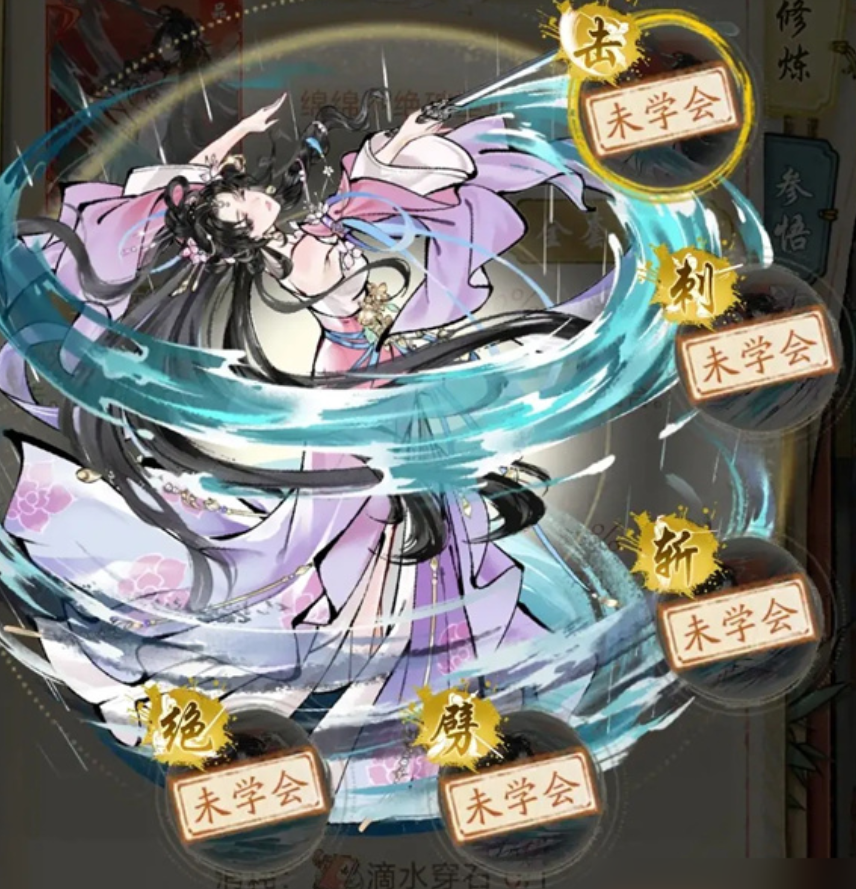
If choosing to use the Emei Critical Hit School, then you must select its core skills well. There are three core skills for the Emei Combo School: Wudang Slash, Emei Ultimate, Emei Cleave, and Eternal Cycle.
The biggest feature of these core skills is their explosive power; using the combo mechanism, high damage can be easily achieved. Although the impact of luck points on critical hits has been removed, if paired with a suitable internal power, this set of skills will still show a strong performance.
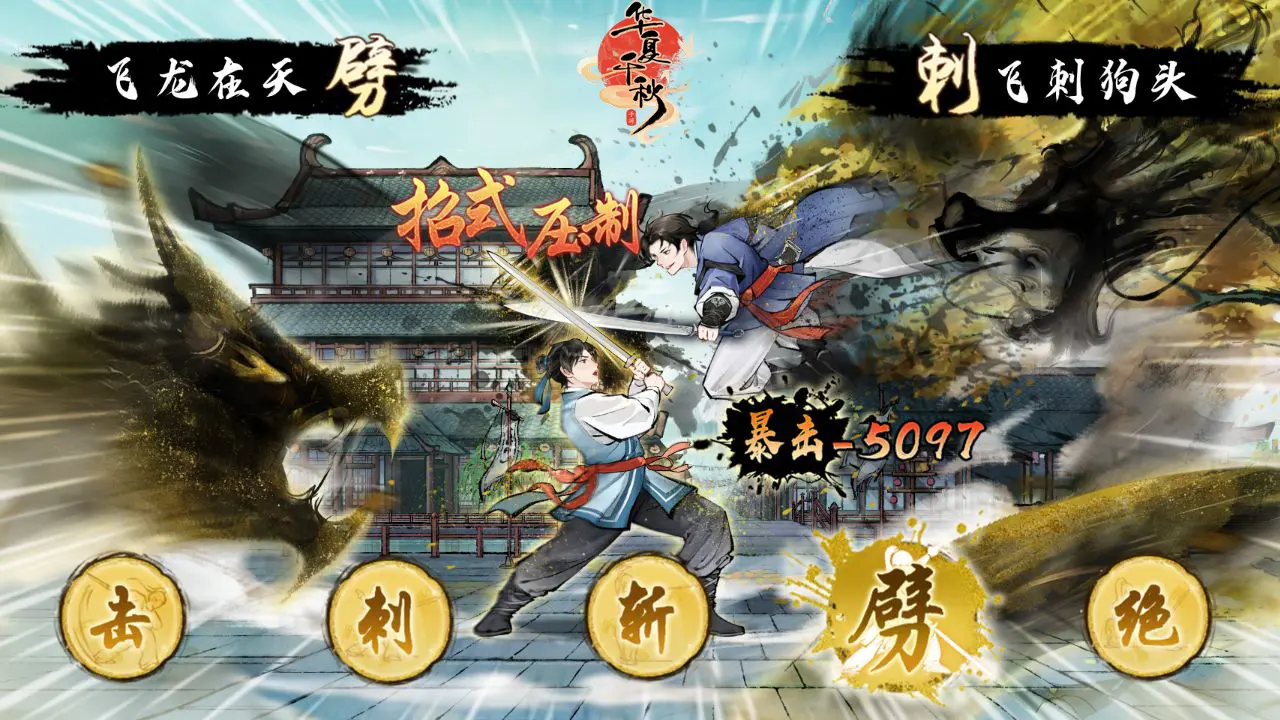
When using this school, in terms of tactics, start with Wudang Slash to boost the critical hit rate, then adjust your qi to achieve the purpose of charging up. After charging, directly use Emei Ultimate for rapid output, and finally use combo qi recovery to form a cyclic attack pattern.
In a single round of combat, this series of attacks will inflict significant damage on the enemy. However, it should be noted that there is a strong reliance on triggering combos.
In summary, the Emei Combo School in Huaxia Qianqiu is a martial arts school worth using for new players. Although the disadvantages of the school are quite evident, the extremely high critical hit rate can completely make up for these shortcomings. Moreover, this martial arts school is very easy to form in the later stages, making it an excellent choice for casual players.
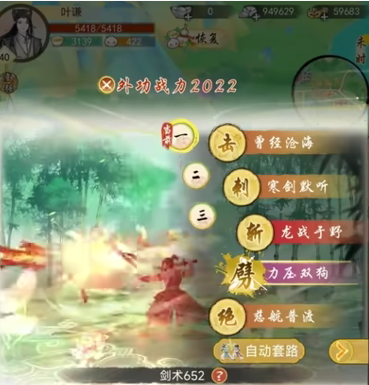
How to Play the Nuclear Burst Strategy in Three Kingdoms Unity How-to Guide for the Nuclear Burst Strategy in Three Kingdoms Unity
Different factions have their own unique advantages. The Three Kingdoms Unity Core Burst faction combines multiple characters to form a powerful damage output. Today, we will provide a detailed introduction on how to complete this faction, its main characteristics, and after mastering the following techniques, players will naturally understand.
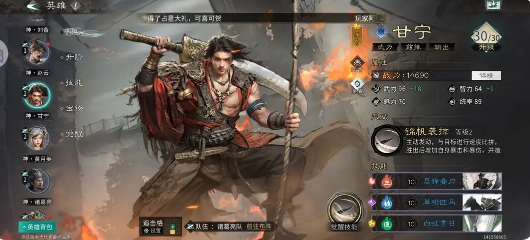
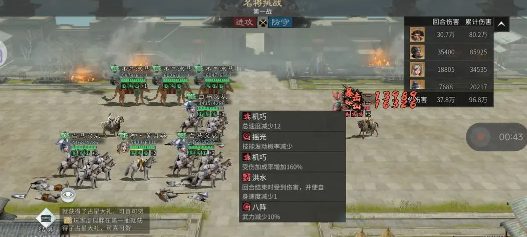
This faction mainly focuses on pairing core lineups, combining Gan Ning, Huang Yueying, Zhuge Liang, and others. Gan Ning's innate skill can effectively suppress the enemy through speed, and once victorious, it can increase his own critical hit rate and burst damage. After reaching level two, it can add 420% damage. The awakening skill can steal the enemy's beneficial status and cover the entire battle with increased damage. With the advantage of speed, it can easily achieve over 500% burst damage and 100% critical hit, with single skill damage reaching up to 100,000.
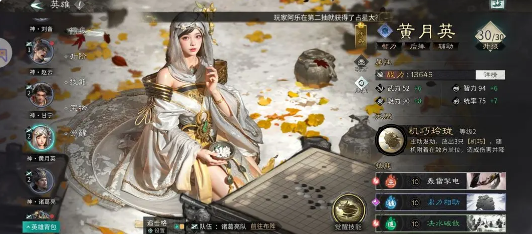
Once Huang Yueying's core skill is released, it will randomly affect the enemy, causing damage and affecting their speed, as well as reducing incoming damage. When paired with Zhuge Liang, upon joint awakening, Mu Niu Liu Ma can be released every turn. In the later stages, it can steadily stack high deceleration and also have more than 160% injury bonus. Mu Niu Liu Ma provides 10%, plus 2.5% full team healing, effectively ensuring sustainability.
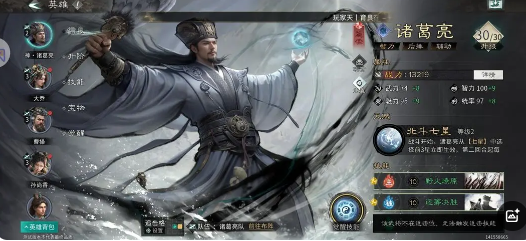
Zhuge Liang can directly activate three stars before the battle, and each subsequent turn will add one star. Tian Xuan increases direct damage by 20% and adds 10% to increased damage. Tian Quan has a 10% chance to give teammates an extra action. Yao Guang quickly boosts the skill activation rate, achieving a strategic effect.
By combining these characters, a strong playstyle can be formed. Players can use Huang Yueying to reduce speed, and then cavalry can increase speed through normal attacks, ensuring Gan Ning's advantage in output. A lineup of three cavalry can effectively trigger the year's awakening bonus, maximizing the benefit of force. From a low-cost cultivation perspective, it does not occupy fragments of the Three Emperors, generally obtained directly from the self-selection box, which is relatively friendly for common players. This combination will have a stable performance in war, with cumulative damage reaching over 900,000, easily handling some high-difficulty dungeons. Adjustments can also be made in subsequent stages, such as adjusting Huang Yueying's skills to further enhance burst damage.
The content introduced today is quite detailed, and players will naturally know how to play the Three Kingdoms Unity Core Burst faction. To master this faction, it is essential to understand how to operate reasonably and master the above lineup combinations, even when facing formidable enemy lineups, you can rest assured.
How to Play with Yūgao in Ninja War in Naruto Mobile Game: A Guide to Yūgao's Skills and Gameplay Strategies
Naruto Mobile Game: How to Play with Yukiyo in the Ninja War? Yukiyo, a brand new ninja about to be released in Naruto, is a silhouette under the moon. By accumulating energy from the lunar phases, she can quickly achieve her goal of defeating the enemy. As one of the practitioners of the Leaf Village swordsmanship, how she performs her sword skills in battle is something players are very concerned about. Below, we will introduce the skill gameplay for this character, so let's learn more about it in the following text.
The normal attack has a special mechanism. The moon icon below indicates the change in her energy. The waxing and waning of the moon represents four stages of lunar phase energy accumulation. 0 bars mean empty, followed by 1 bar, 2 bars, and 3 bars, with 3 bars being full. The stage of lunar phase energy affects the second skill. In addition to the initial motion of the second skill that can accumulate energy, hitting the enemy or completing a full normal attack, each segment of the first skill, or landing an ultimate move, can also restore 1 bar, while a combination skill directly restores the lunar phase energy to full.
For the second skill, seal and draw the sword. At this time, lunar phase energy can be accumulated. When the energy is fully charged (3 bars), all energy is consumed, and she instantly moves forward to slash, then thrusts and grabs the enemy. If the thrust is successful, she swings the sword in a circle, dealing heavy damage to the enemy. The more energy accumulated, the shorter the pre-motion of the second skill. During the pre-motion, using a normal attack consumes 1 bar of energy, after which she retreats and jumps, releasing two sword energies to attack the enemy.
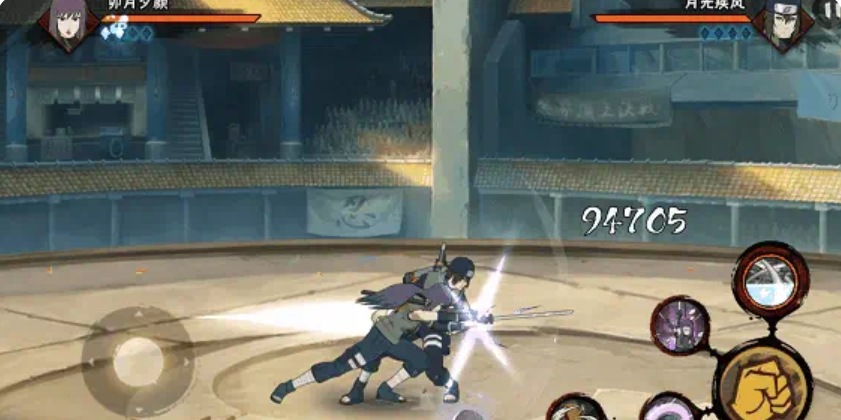
The first skill has two segments. Pressing once releases the first segment, where she seals and rushes forward to slash the opponent. Pressing again before the yellow bar ends releases the second segment, where she jumps into the air, spins, and strikes the enemy. At this point, you can control the movement with the joystick, briefly hovering in the air before quickly descending, thrusting, and grabbing the opponent.

Finally, her ultimate move. She seals on the spot, then quickly thrusts and slashes the enemy in front of her, summoning two shadow clones to join in the sword dance attack against the enemy. Finally, she delivers a finishing blow to the enemy with a powerful slash.
This concludes the introduction to the skill gameplay of Yukiyo in the Ninja War for Naruto Mobile Game. We believe that now everyone has a thorough understanding of this ninja's skills. This character's skills are quite versatile, allowing for various plays in battle, and different effects can be achieved through different combinations of skills.
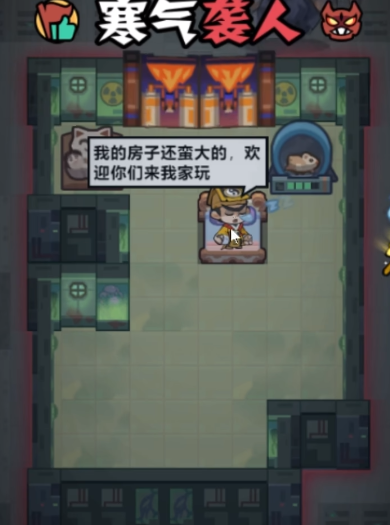
Recommended Lineup for Monster Golden Finger: Introduction to the Burn Strategy Lineup for Monster Golden Finger
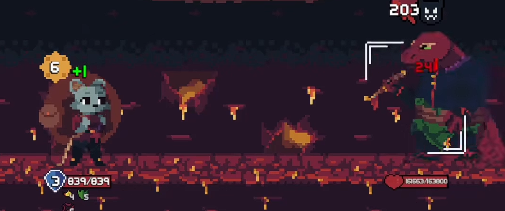
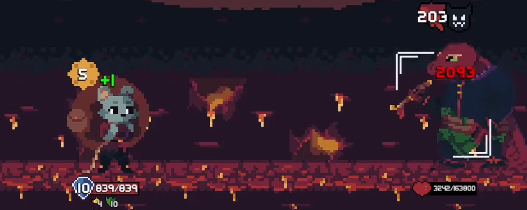
There are quite a few casual mini-games on the market, and these usually don't have high configuration requirements. The overall visual presentation isn't particularly outstanding, but the games are very fun to play, and one of the more frequently mentioned ones is the "Monster Golden Finger." Below, we provide recommendations for the lineup in Monster Golden Finger. Although this game is easy to get started with, the difficulty significantly increases from the second level onwards. If players do not have a good understanding of the game's lineup, it will be very difficult to pass the levels. So, next, we will bring you recommendations regarding the game's lineup and characters.
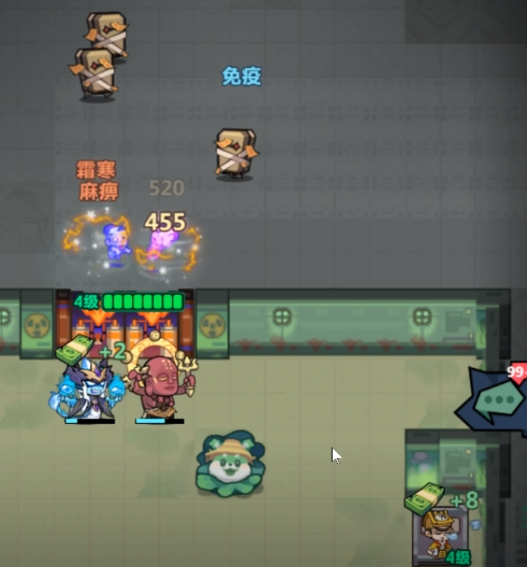
To start, let's talk about the lineup that is currently most suitable for newcomers. The first recommendation would definitely be the Burn Team, which primarily focuses on burn damage. Although this team's survivability is rather average, its damage output is extremely high, and in this game, damage is the most important factor for us. Based on the current information, if players want to form a Burn Team, they need to collect the Ancient Buddha of the Lamp, who is the core character of this lineup. Only with him can this lineup be considered playable. In the game, the Ancient Buddha of the Lamp is an SSR-level offensive character, and he is relatively hard to obtain in the early stages.
However, the resources needed for his development are not too many. His role is as a magic AOE, capable of dealing not only high damage but also mostly group damage. Additionally, when damaging enemies, he can stack the burn debuff, which causes fixed blood loss over time, making him an effective tool for clearing large numbers of ordinary enemies. As the level increases, the damage from this debuff also significantly increases. Essentially, relying on the Ancient Buddha of the Lamp alone, one can quickly clear out common enemies, as the real headache in the mid-game is not the game's bosses, but the large number of ordinary enemies appearing.
If there are no effective means of clearing enemies, it will be very difficult to pass the levels. For artifact recommendations, the first one is the Soul Calming Bone Flute, which can effectively increase our overall damage and also boost our health and defense. If that's not available, the Flame Crystal Plate can be chosen, although it is not as good as the Soul Calming Bone Flute, its overall strength is not much worse. At the very least, the Auspicious Pattern Armor can also be selected.
Regarding relic recommendations for this character, the first one is the Inferno Microwave, which can increase our fire attribute damage and also enhance burn damage. However, drawing and developing this relic requires a lot of resources, so players need to prepare accordingly. If choosing this, the next three relics must be the Battery, Ghost Fire Lighter, and Sacrificial Candle. These three relics are easy to collect; each one, besides increasing our own damage and fire attribute output, can also unlock the ability 'Sky Burning' upon collection completion.
This ability further increases our burn damage to enemies. Once players have collected this set of relics, their damage will improve by several levels, so it's best to try and collect them all. After collecting, remember to develop them when resources are sufficient.
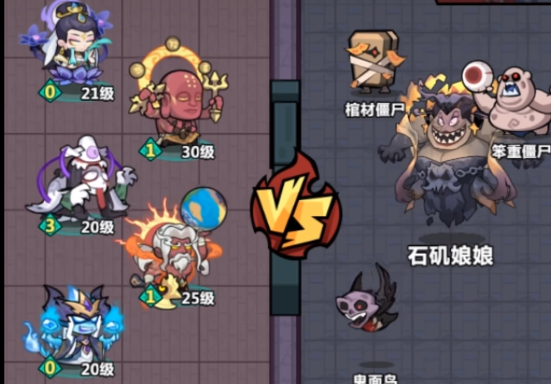
For the lineup's characters, the first choice could be the King of Hell, who is easy to obtain. This character has strong offensive capabilities, with extra damage bonuses against bosses, and does not require a lot of resources for development, making him very suitable for players to use.
The second character to choose is the Nine-Tailed Fox, which can be considered the core support for the Burn Team. Its biggest selling point is reducing the magic defense of a wide range of enemies by 15%. It also has some offensive capabilities, but its own offensive power is low, so it can only be used as a support.
The above are the recommended lineups for Monster Golden Finger. The lineup recommended in this issue is the Burn Team, which is often mentioned by players. The effectiveness of this team is directly linked to the Ancient Buddha of the Lamp, so the resources obtained by players should mainly be used to develop this character.
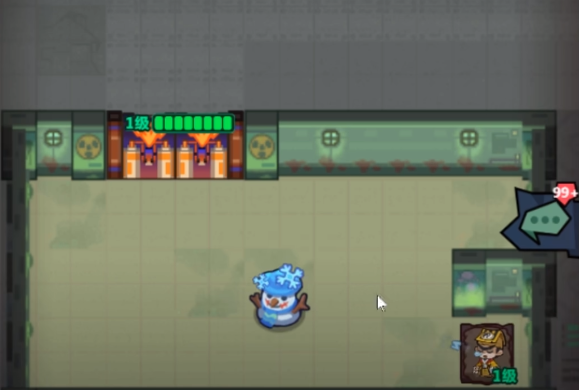
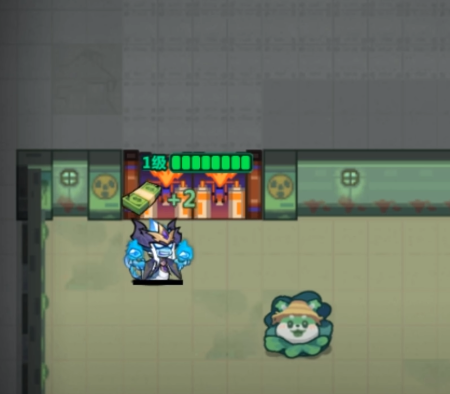
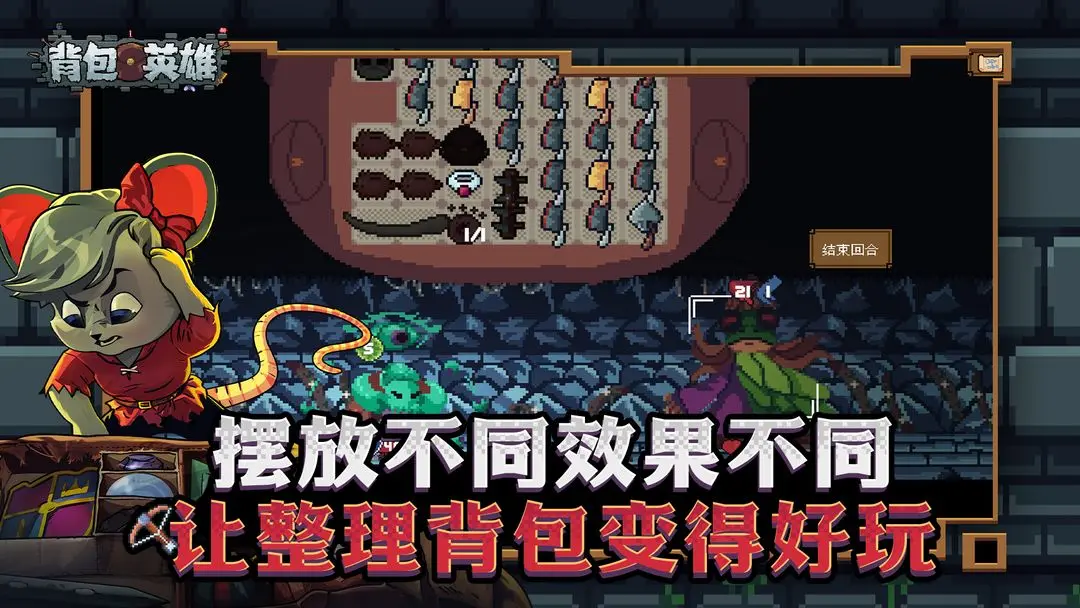
How to Play the Kitchen Knife Build in Backpack Hero: A Guide for the Mobile Version
In the game Backpack Hero, there are many different playstyles, each with varying strengths. When it comes to the high-strength playstyles, there are quite a few, and players naturally want to try these strong playstyles. Today, we will take a look at the powerful Chef's Knife playstyle in Backpack Hero, and bring you a guide on how to play this strong style. After reading this guide, everyone should be able to learn how to play this powerful playstyle.
When it comes to playing this powerful playstyle, when you start playing the Chef's Knife style, the first thing you need to do is obtain three Kingdom Chef's Knives. Then, you need to place the knives in diagonal or adjacent positions in your backpack to maximize the output of these three knives.
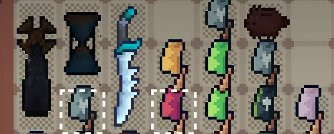
Next, you need to get three Eight-Kingdom Chef's Knives. These knives need to be placed in adjacent positions because only then can you get the critical hit and lifesteal effects, allowing the three knives' effects to stack. After completing this step, you then need to get a Guard Chef's Knife, which can be placed anywhere.

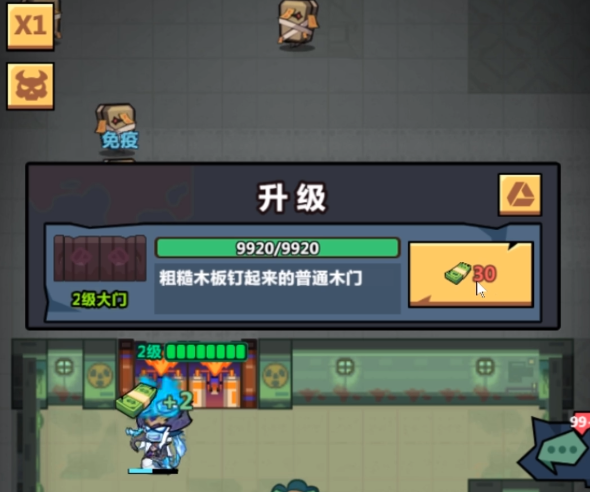
This knife provides attack speed bonuses and is the main damage dealer. After setting up the knives, you also need to choose relic weapons. For relic weapons, select ones that can increase attack power and have effects for adjacent or diagonal weapons. Once done, you can enjoy the synergy effect.
This way, you can increase the output of each knife. After completing this, the playstyle is set and ready to use. When using it, you need to wait for opportunities to enhance. Because of the synergy, the enhancement benefits are very high, so never waste an opportunity. Relying on enhancements, you can quickly form a combat-ready build.
The above is all the content about how to play the Chef's Knife playstyle in Backpack Hero. After reading the introduction above, I believe everyone now knows how to play this playstyle. Once you understand how to play, you can follow the instructions given in the article to try out this playstyle.
Introduction to Stellar Resonance Ray Stream Gameplay How to Operate Stellar Resonance Ray Stream
Today, I will introduce the Ray Stream playstyle in Star Trace Resonance. In the combat system of Star Trace Resonance, the Ray Stream stands out due to its stable and controllable attack range, making it a strategic and practical playstyle. The core logic revolves around the precise release and combined use of ray-type skills. By reasonably pairing equipment and skills, it achieves sustained damage suppression at medium to long distances. Next, I will provide a detailed introduction.
The core mechanism of the Ray Stream is built on the continuous hit characteristics of ray-type skills. These skills usually have a longer attack range and certain area coverage capabilities, allowing players to inflict sustained damage on single or multiple clustered targets while maintaining a safe distance from enemies. This playstyle is positioned as mid to long-range output, emphasizing the control of skill release timing and adjustment of attack positions to minimize counterattack damage while continuously suppressing enemies, laying the foundation for victory in battles.
Equipment selection should focus on enhancing the effects of ray skills, prioritizing items that directly increase ray damage multipliers, extend skill duration, or reduce resource consumption. Some equipment can also add extra effects to rays, which not only improve output efficiency but also enhance survivability by restricting enemy movements. Skill combinations should be based on core ray skills, paired with auxiliary skills that expand the attack range or boost damage multipliers, forming a coherent and efficient output loop. Additionally, it's essential to include skills with displacement functions or shield effects for survival assurance. Displacement skills can be used to quickly adjust the output position, avoiding close-range attacks or area-of-effect skills from enemies, while shield skills can absorb damage during concentrated enemy counterattacks, creating a safe environment for sustained output.
In actual operation, the placement and angle of ray skills are particularly crucial. When facing a single moving target, it's necessary to predict the enemy's movement path and align the ray's coverage area with the target's direction of travel to ensure continuous hits. When dealing with multiple clustered enemies, adjust the ray angle to maximize coverage over densely packed enemy areas, fully leveraging the area damage advantage. During battle, always pay attention to the enemy's attack rhythm. Before they launch a charge or high-damage skill, promptly use displacement skills to maintain distance and keep the output rhythm consistent.

The introduction to the Ray Stream playstyle in Star Trace Resonance is complete. This playstyle is suitable for players who prefer mid to long-range sustained output, focusing on controlling combat distance and managing skill rhythms. By familiarizing themselves with the characteristics of different ray skills, optimizing equipment and skill pairings, and continuously adjusting strategies in real combat, players can consistently perform well in various battle scenarios.
Recommend


Strategy

A Guide to Zhetian Fanchen Yiyue Sharing Tips for New Players on How to Play Zhetian Fanchen Yiyue
Introduction to the Public Beta Time of Zhetian Fanchen Yeyi When is the public beta for Zhetian Fanchen Yeyi?
How is Zi Yue from Zhetian Fanchen? Introduction to Zi Yue from Zhetian Fanchen
What are the Luhida Origin redemption codes? Sharing of Luhida Origin mobile game gift codes
Lu Xida Origin Team Recommendations Lu Xida Origin Team Guide
Lu Xida Origin Strategy Sharing: Beginner's Guide to Lu Xida Origin
