This guide brings you the Star Trace Resonance Challenge dungeon strategy. In this fantastic world, there are different dungeon challenges that not only hone your combat skills but also drop experience points, equipment, and other rich rewards. These are of great significance for your growth and becoming stronger. So, if you're a beginner who hasn't successfully passed yet, follow the strategies below to master the methods of clearing the dungeons.
I. Goblin Nest
The elite monsters in the nest are stronger compared to those in other dungeons. The Fire Goblins have a wide range and high damage, while the Wood ones have a high healing amount. These two types of monsters need to be prioritized in battle. Compared to the minions, the boss's mechanism is more straightforward and brutal. Its first mechanism is the Thunder Ball. We need to eliminate the one with the elemental shield among the nearby minions, allowing the healer and tank to pick up two elemental shields. At this point, a randomly bouncing Thunder Ball will be triggered, which we need to guide behind the Goblin King to make it enter a weakened state. If unsuccessful, the Thunder Ball will explode, causing area damage, and it's almost certain death after being hit by this move, so make sure to communicate with your teammates in advance for guidance; its second mechanism is the Thunder Circle Rotation. At this time, the boss will divide the field into six parts, dealing clockwise damage to opposite areas. To pass, remember the trick: when the first circle appears on the ground, determine if you are within the range. If you are, jump clockwise because the lightning deals multiple hits, and jumping can effectively help avoid a lot of damage. After the damage ends, return to your original position. The final third mechanism is the simplest. Note that in the team, one DPS needs to face the boss directly, and the other needs to face away from the wind array behind the boss. This way, large-scale attacks won't form. Repeating this operation will allow for an easy clear.

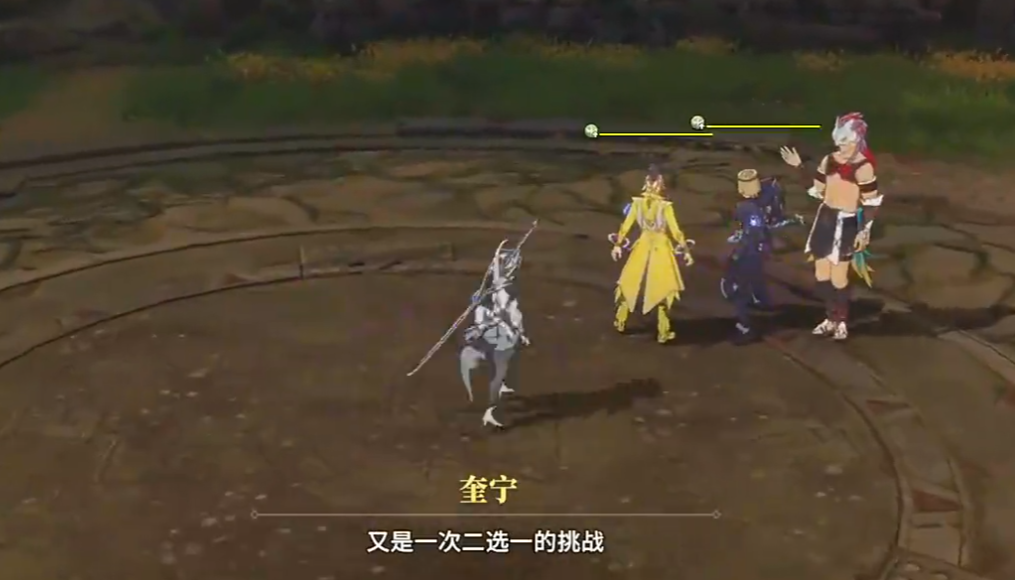
II. Kamanis Trial
Kamanis Trial is quite special as there is no running phase. You immediately face the elite monster Quinine upon entering. It has no particular mechanisms to deal with. The tank should attract the aggro at the front, and the DPS should avoid the large circles and focus on AoE damage. Then, you enter the first choice phase, where you can choose between Dark Radiance Dual Spirits and Storm Weaver. It's recommended to choose the simpler Storm Weaver, as Dark Radiance has troublesome displacement abilities, making it inconvenient to pull, and a slight mistake can lead to death. After defeating, you come to the second choice, which is either Will or Faith Trial;
Faith is slower but less likely to result in death. New players are advised to go for Faith, as long as you dodge the traps and have a tank to absorb the damage, you can pass. Those seeking speed and strength can choose Will, which requires escorting the warrior to the energy bar and killing all the minions along the way. Entering the boss phase, the boss's basic attack involves a sweeping strike with high damage. Remember not to output damage at close range. Melee characters can use dodges to avoid damage. After it summons the Soul Spear, first attack the spear until the third one is nearly destroyed, then use multi-hit skills or basic attacks to destroy them all. It will also perform a Soul Cut. Remember to place the soul far from your output to prevent being instantly killed by attraction.
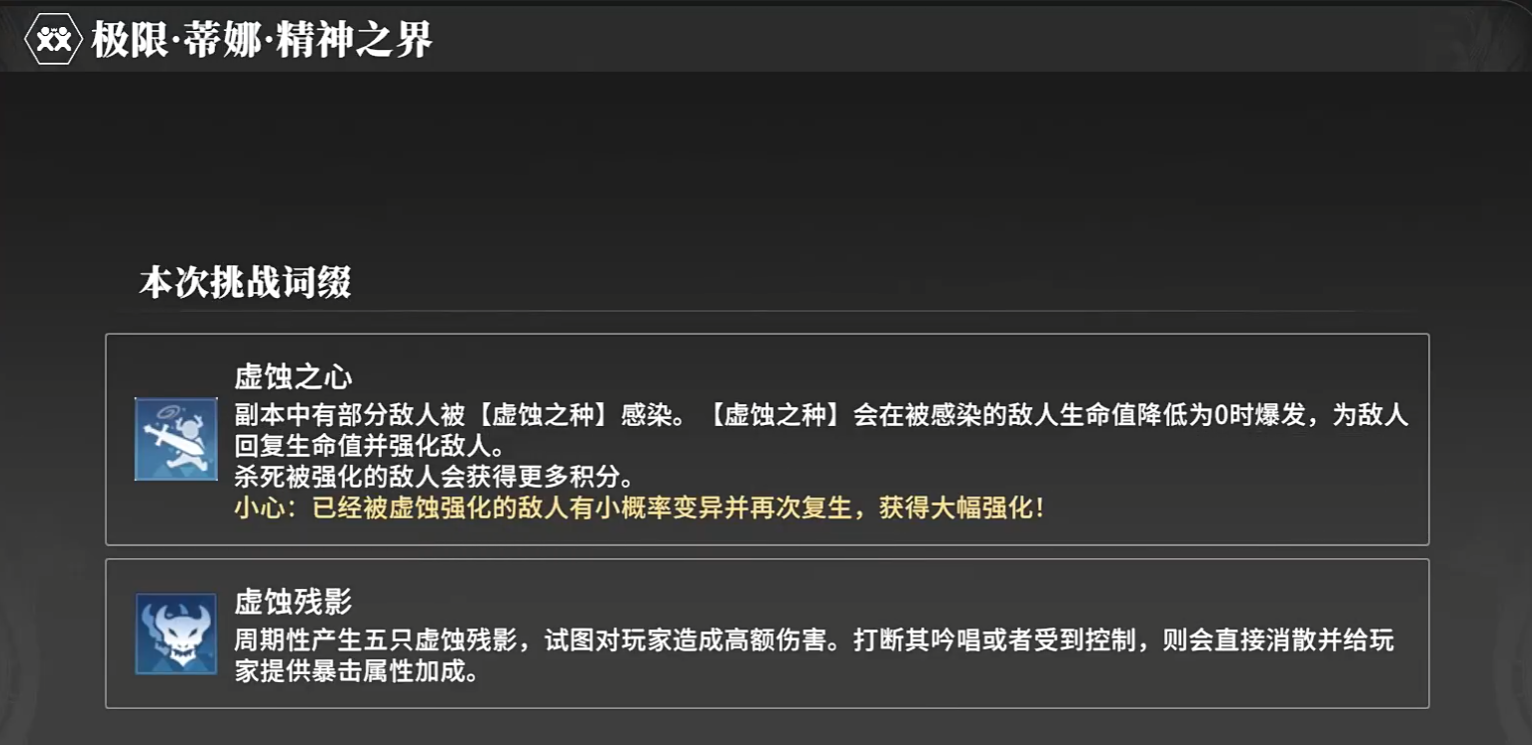
III. Tina's Spirit Realm
The recommended lineup for this dungeon is 1 tank, 1 healer, and 2 DPS. As long as this lineup is met, plus the ability to revive once, the difficulty is not high. Remember to pull all the minions to the elite's vicinity when playing as a tank. After attracting all the monsters, the DPS can then focus fire. If the tank's durability is insufficient, remember to dodge enemy attacks. Never step on the fire on the ground. When playing as a healer, pay attention to skill distribution. Use skills when the tank cannot withstand the damage. Players with a purple mark will suffer from tracking attacks. Pay attention to the timing to dodge. Then comes the boss, whose basic attack has a very noticeable pre-attack motion, making it easy to dodge. Other skills are also predictable and can be dodged. In the second phase, the boss will play a hide-and-seek game with us. Just teleport towards the cabinet on Tina's right hand. Be careful not to teleport too quickly, as the weapon's actual judgment range is large, and don't think about jumping over it.
That concludes the Star Trace Resonance Challenge dungeon guide. The different dungeons introduced above each have their unique mechanisms. Follow the strategies provided and coordinate well with your team, and you will surely defeat the bosses and obtain rich rewards to enhance yourself.