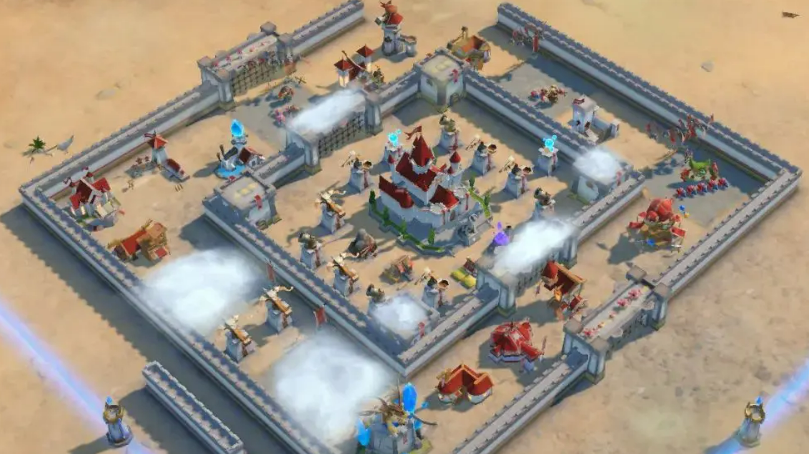
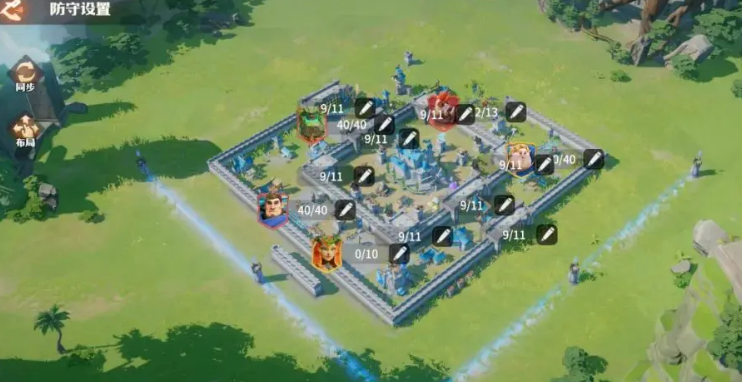
In the Dragonstone War, the layout of the main city is key to every lord's successful defense, especially when participating in the main city offense and defense battles. How to reasonably arrange the city defenses determines how strong your defensive power can be displayed before your opponents. Today, the editor brings you a guide to the main city layout for the Dragonstone War. Let's talk about how to create a perfect main city defensive layout to increase your chances of survival in this offensive and defensive battle.

Firstly, the core principle of the layout is to protect the core buildings, delay the enemy's attack, and use terrain advantages to set traps. Don't forget, the enemy's goal is clear: to destroy your keep and score buildings. Therefore, how to use walls, towers, and other structures to build an impregnable line of defense becomes a required course for each lord.

When laying out the defense lines, the setting of the Dragonstone barriers is particularly important. These barriers not only increase the difficulty of defense but also effectively interfere with the enemy's attack routes. The ideal layout is to place the barriers in front of important buildings, forcing the enemy to take detours instead of directly attacking the keep. The position of the barriers should be flexibly adjusted according to the enemy's formation and offensive, not giving the enemy an easy chance to break through.

Next, the arrangement of walls and other defensive structures must have a sense of layering. Setting the city on the periphery can effectively delay the enemy's attack time and disperse their firepower. In the placement of defensive towers and watchtowers, cleverly use the walls to form crossfire zones, working in conjunction with garrisons and troops to form a synergistic combat advantage. Especially, the choice of garrisons should be close to the junction of defensive towers and walls, using these areas to concentrate fire on the enemy, maximizing the defensive effect.

However, note that unimportant buildings (such as resource buildings, warehouses, etc.) should be placed on the periphery. They can serve as "bait" for the enemy to consume time, so that the enemy does not easily reach the key buildings. As for those buildings that can earn you points, such as the keep and resource buildings, they must be carefully protected. Especially the keep, as the highest-scoring target, should be protected by the strongest defenses and most powerful troops.

Sometimes, learning from others' successful layouts is also a shortcut. You can observe the top players on the leaderboard, find their main city layouts, and replicate them into your own map. Replicating layouts not only saves a lot of time but also allows you to learn many defensive skills from the top players. Finding a defensive style that suits you can both improve the defensive effect and make you more at ease in battle.

After completing the layout, don't forget to check it repeatedly to ensure that every detail is flawless. Defense is a comprehensive challenge; in addition to relying solely on city defense structures, you also need to reasonably pair garrison troops to ensure they can withstand the enemy's attacks at critical moments. Ultimately, remember that layout is an art that requires constant experimentation and adjustment. Every failure is an opportunity for you to improve, and only through continuous practice and optimization can you ultimately create an impregnable line of defense.

The above is the content of the Dragonstone War main city layout guide. I hope this guide on the main city layout can provide some inspiration and help you achieve better results in the world of the Dragonstone War. Through clever fortifications, gain more rewards, and ultimately shine in the offensive and defensive battles!


