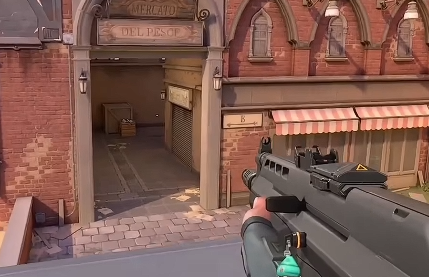
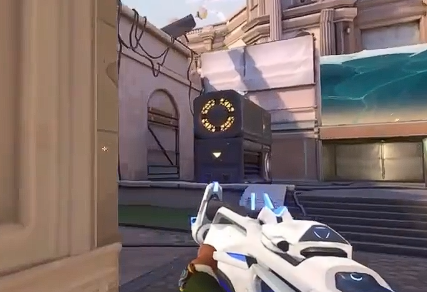
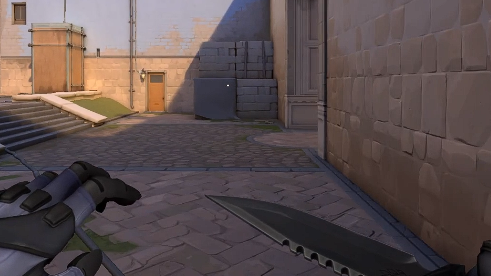
The map of Valorant's Operation Energy in the Hanging City of the Subsea can be considered a popular one. Whether in ranked or unranked matches, this map is often encountered, so it's essential to understand how to play it. To help everyone figure out the tactics for this map, the following content will provide a guide on the Hanging City of the Subsea. After reading this guide, you will know how to play this map.

When playing as the attacking side on this map, if you choose to attack point B, you need to go through the left-hand passage. During this process, someone needs to stay at the middle (right-hand) archway to watch the back. When advancing from the passage, give the first utility at the left turn or pre-aim the exit position to clear it. After confirming that no one is holding the exit, move out with a larger body profile, then push forward to the exit and clear the area behind the right-hand wall.
After clearing the area, the next step is to use smoke to block the enemy's B site return positions, which are the elevator door and the straight archway. Then, use flashes and other utilities to get information from the first entry point. During this process, there may be enemies in the stable or in the shop, and these enemies need to be located. The first rusher is responsible for getting the position, while the smoker is responsible for getting information from the stable. After obtaining the information and completing the breakthrough, the next step is to plant the spike and set up defenses against retakes. The player watching the middle door can remain stationary, continuing to gather information and look for opportunities to surprise the enemy. This is the tactic for point B.

After understanding the tactics for point B, let's move on to point A. When attacking point A, first, leave someone in the middle. If you have a sniper, they can hold the middle directly. The rest of the team should head towards point A. Upon reaching the first archway at point A, use utilities to clear the area and pre-aim the entrance. This is a direct sightline that must be cleared.
After clearing, check the area behind the wall directly ahead. There might be enemies hiding here, so if you have utilities, use them to clear the area. Once cleared, you can organize an attack near the main entrance. The player holding the middle can try to sneak out from the banana pass, but be cautious as there might be enemies holding the position. Move slowly and quietly, and coordinate with the player at the archway to perform a pincer attack and clear the area, then plant the spike. This is the tactic for point A. After understanding this, let's move on to the defending side.

For the defending side, if you are defending point B, you need to position yourself early. There are several positioning options. First, as mentioned earlier, you can stand in the stable area. You can also stand at the entrance to the elevator room or the staircase. Additionally, you can stand at the direct sightline position at the entrance, though it is not recommended as it is easy to be pre-aimed and taken out. Besides these positions, you can also stand behind the wall connected to the attackers' passage, as this wall is penetrable. Just equip an Odin or a Guardian and shoot through the wall to attack. All you need to do is gather information and shoot through the wall. Finally, the middle must always have someone. This is the defense method for point B.

After understanding point B, let's move on to point A. When defending point A, first, leave someone in the elevator area. Continue to have someone in the middle. You can also have someone on the second floor, either at the wooden box on the left or at the connection point, but it is recommended to be at the connection point. You can also have someone at the bomb site below, the right side of the elevator, the stone blocks on the left, or the blue boxes in the shop. There are many positions where you can hold your ground, so choose based on the situation. After setting up, the defense is complete. This is the defense method for point A.

The above is the complete guide for the map of Valorant's Operation Energy in the Hanging City of the Subsea. For newcomers who are not very familiar with this map, after going through the above instructions, you should now have a clear understanding of the tactics and strategies. Once you know how to play, you can follow the shared tactics to play the map.


