The Dragonstone War creates a vast Dragonstone continent for everyone, where you can manage your own unique school, cultivate various heroes and troops to engage in battles. Map pushing is a very important gameplay element, and forming a lineup is extremely critical. Today, I will talk about how to pair up the lineup for map pushing in Dragonstone War. To be able to quickly push maps in the early stages, it's essential to put together a reasonable lineup, which is a very important operation for new players.

To facilitate quick map pushing and exploration in the early stages, lineup pairing is very crucial. The first recommendation is Andrenna, who is currently a mainstream hero for starting out. This hero is positioned as a ranged shooter, capable of high-speed attacks, with significant damage bonuses against high-health units, allowing for long-range attacks on enemies that also inflict a short stun, giving her some control capabilities. Her rage skill grants a temporary attack speed boost upon release, prioritizing attacks on the enemy with the highest health. After an upgrade, she gains additional damage against enemies more than seven tiles away.

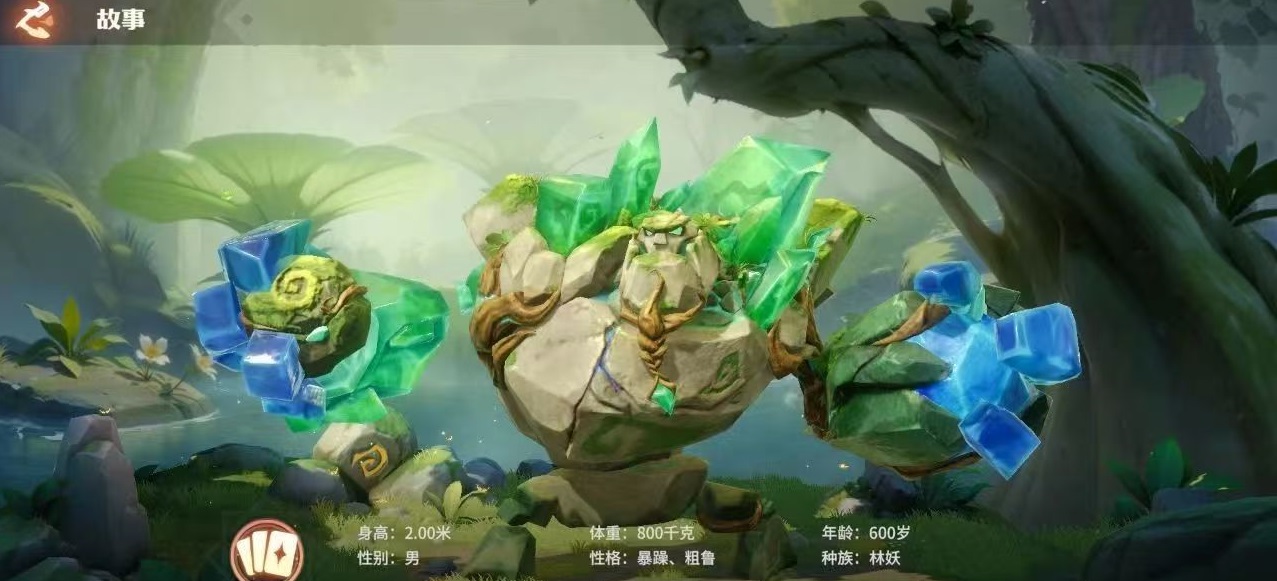
The second recommendation is Shenor, who is an excellent tank in the game, with options to enhance summoning abilities or throw the main force to the enemy's back row. He has extremely high health and dual defense attributes, and after taking a certain amount of damage, he can summon small stone golems to help absorb damage. His rage skill can knock back and stun enemies, allowing him to both take damage and provide control. The third recommendation is Ossod, who is a front-line tank hero obtained at the beginning, possessing both survivability and protection. He features a balance of toughness and damage, serving as a strong support for early map pushing, taking damage for the team and providing rage skill output.

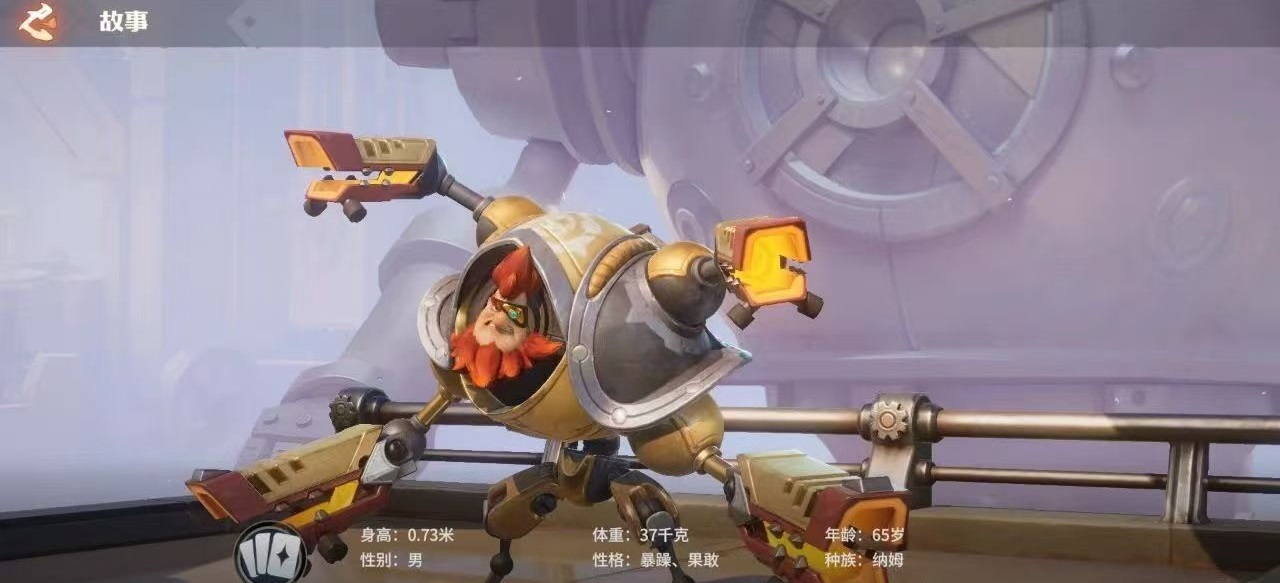
His rage skill can grant damage reduction to a wide area of allied units, reducing our consumption when pushing maps. The fourth recommendation is Thor, who is positioned as a back-row damage dealer, capable of dealing large area damage. When the enemy uses a swarm tactic during map pushing, he can quickly clear out minions, with outstanding group damage through his ricochet effect.

After reading my analysis and introduction, everyone should now understand how to pair up the lineup for map pushing in Dragonstone War. Following the lineup combinations I've introduced doesn't require much investment in terms of resources or effort, making it easy to develop, but it is highly efficient for early map pushing.


