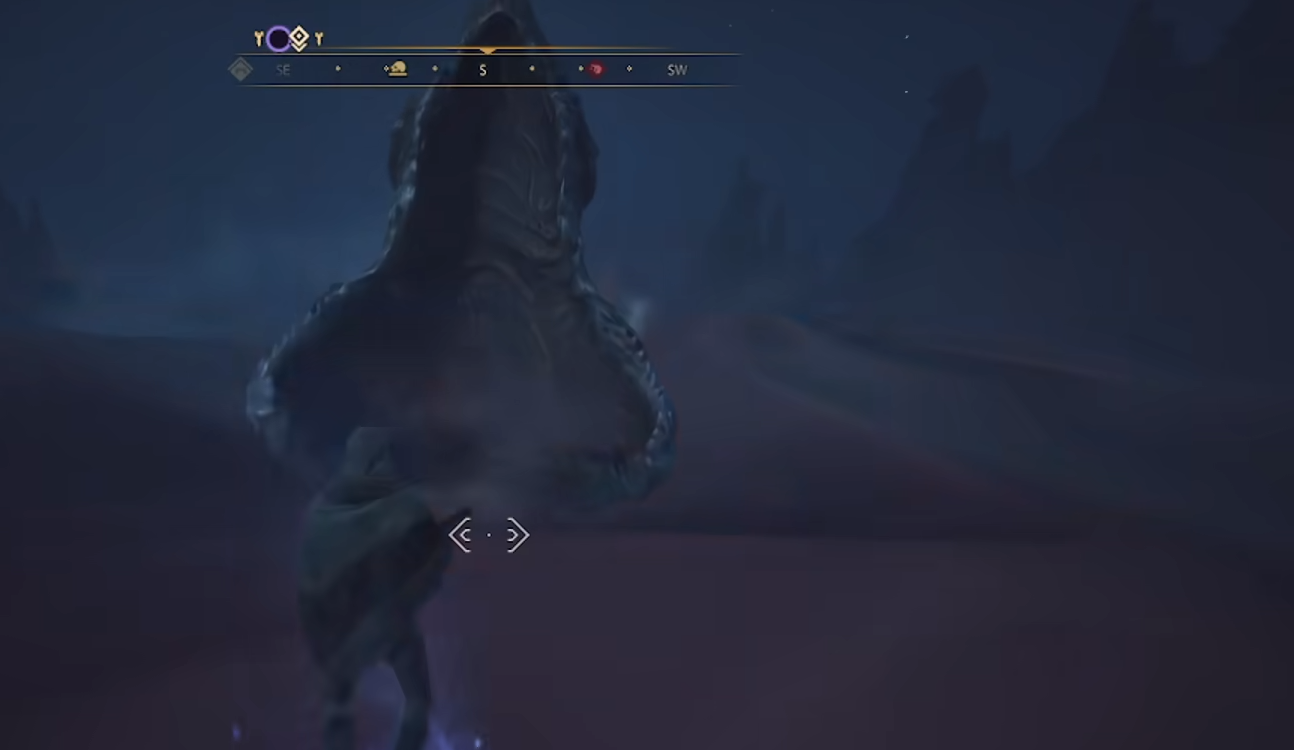
In "Dune: Awakening," the Sandworm is one of the greatest threats to players' survival in the desert, with its attacks being lethal and unpredictable. Many players are troubled by how to avoid the Sandworms in Dune: Awakening. The following is a comprehensive strategy that combines terrain mechanics, equipment selection, and operational skills. With these techniques, everyone should be able to easily deal with this monster. Let's take a look.
【biubiu Accelerator】Download the Latest Version
》》》》》#biubiu Accelerator#《《《《《
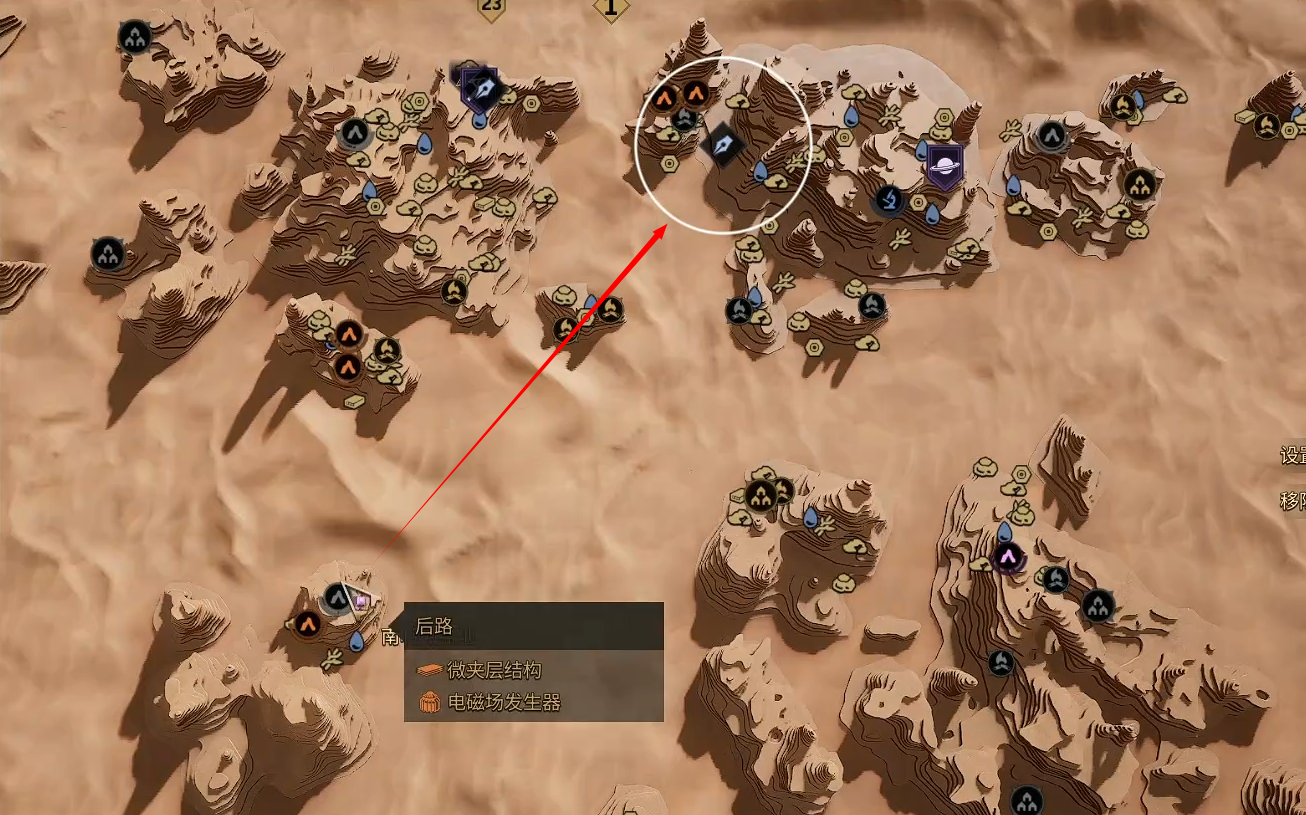
1. Sandworm Activity Pattern: Sandworms only emerge from flat desert areas and cannot traverse rocky areas or yardangs (wind-eroded ridges). After being swallowed by a Sandworm, all equipment (including vehicles) is permanently lost, except for bound items (such as main quest props). If a motorcycle obtained from a previous mission is swallowed, it cannot be reclaimed at the mission point again. Therefore, it is essential to regularly store valuable equipment in the base warehouse and only carry necessary supplies in high-risk areas. Alternatively, you can purchase the "Death Insurance" service from the exchange (consumes Cosmic Locks), which allows partial recovery of equipment after death.
Movement Principle: When planning routes, prioritize traveling along rock belts or ridges to avoid crossing open sandy areas. If you must cross, choose the shortest path between two points (such as a straight line between two rocky areas).
2. Valley Sand Red Circle Warning
Danger Zone Marking: On the second map (such as the heart of the desert), red circles indicating "drum sand" will appear on the ground. Entering these areas will immediately trigger a Sandworm attack.
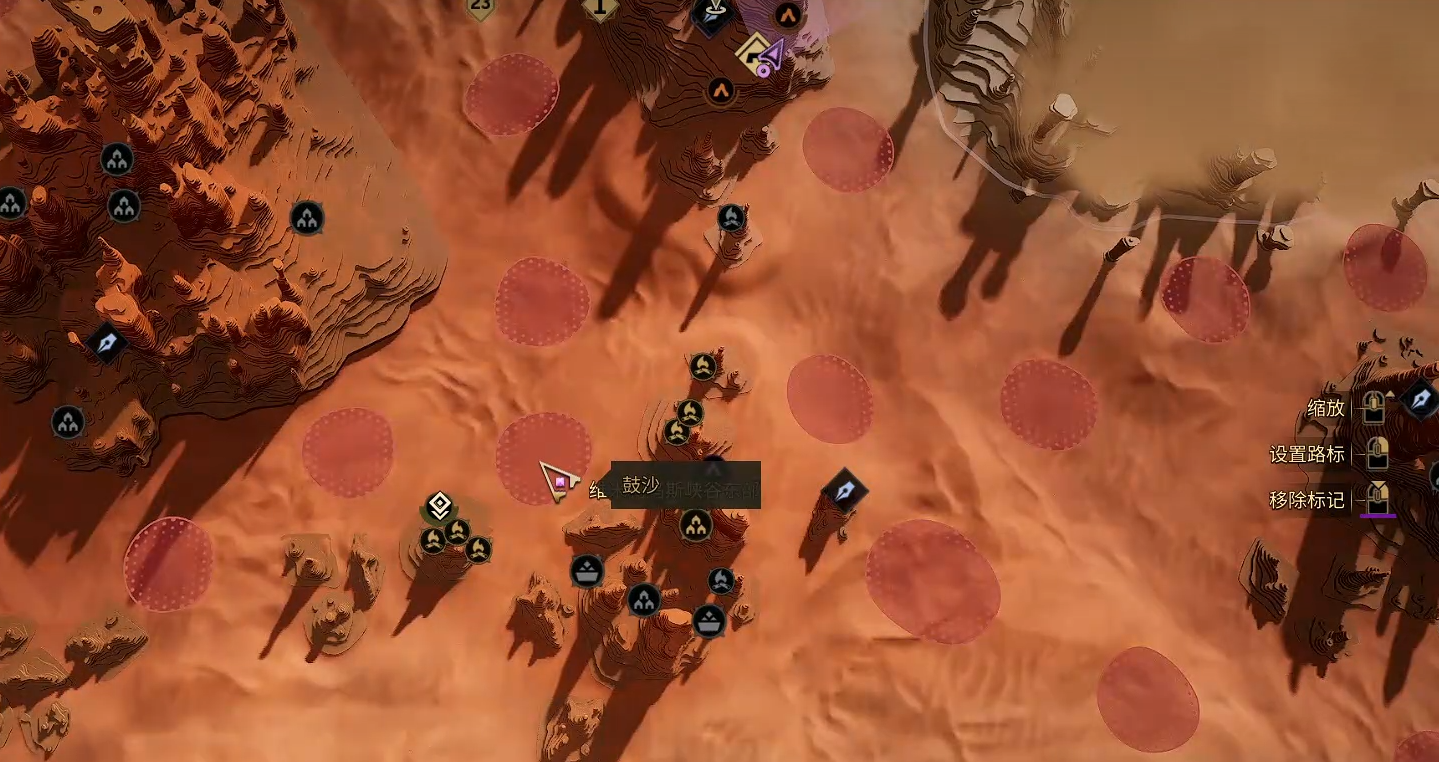
Detour Techniques: While riding a vehicle, frequently check the map to confirm your route and stay away from red circle areas. If you accidentally enter one, immediately abandon the vehicle and use a grappling hook (if available) to evacuate to higher ground.
3. Equipment and Skill Selection
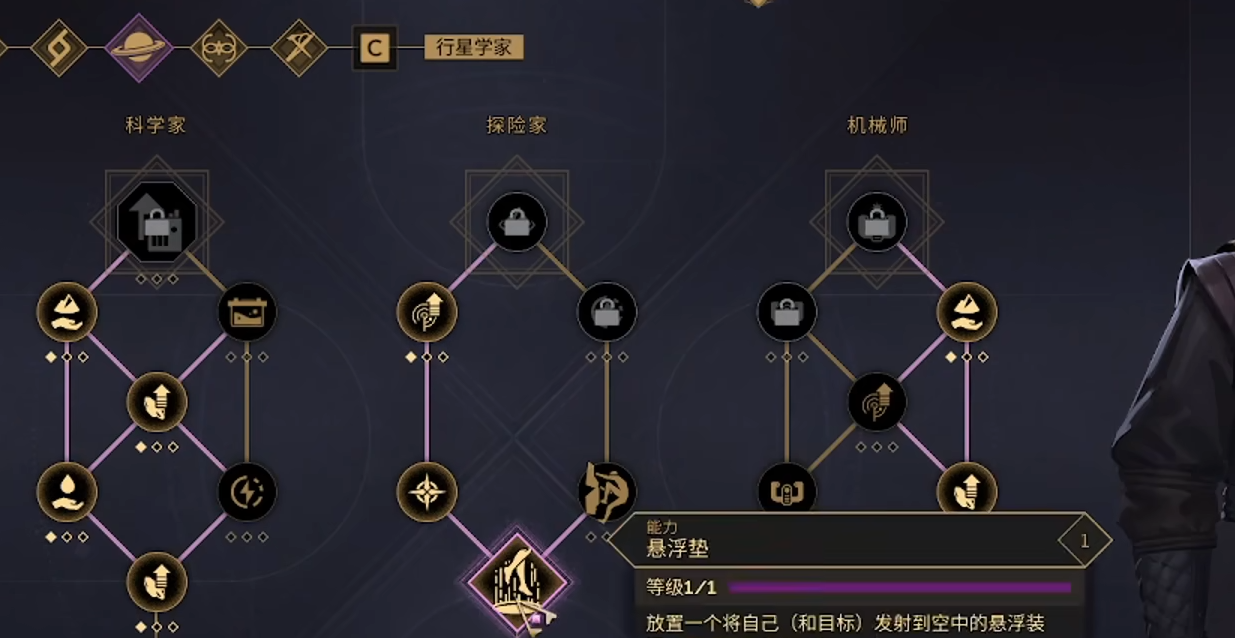
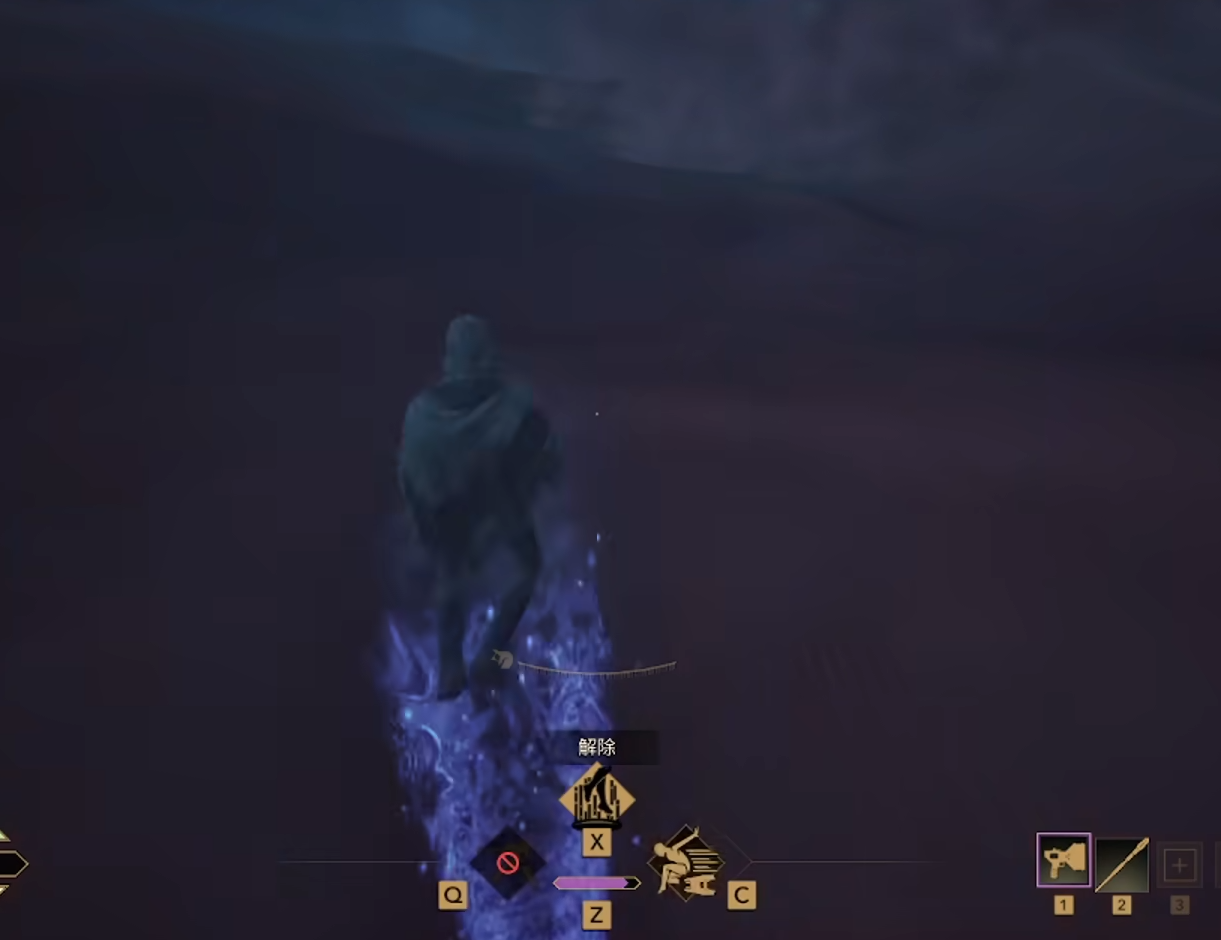
① Planetary Scientist Hover Pad
Function Analysis:
Aggro Reset: Activating it briefly hovers and disrupts the Sandworm's perception, forcing it to reselect a target (effective against wild creatures or enemy players as well).
Movement Enhancement: During the hover period, movement speed increases by 30%, suitable for emergency escapes.
Operational Techniques:
When the Sandworm approaches, press Q to activate the hover, remain stationary until the Sandworm is within 5 meters, then quickly press C to trigger a short-range dash to dodge. Repeat 2-3 times, and the Sandworm will temporarily retreat, allowing the player to escape to a safe area.
② Sonic Disruption Device
Acquisition: Unlocks the blueprint after completing the main quest "Spice Smuggler," requiring titanium alloy and energy cores to craft.
Usage Effect: When deployed, it emits continuous sonic pulses, dispersing Sandworms within a 50-meter radius for 20 seconds (cooldown time is 3 minutes).
③ Still Suit Upgrade
Stealth Coating: Unlocked through faction reputation, reducing sand vibrations when moving and lowering the chance of being targeted by Sandworms.
4. Combat and Emergency Handling
If you are active at night and get locked onto by a patrol's searchlight, the Sandworm will also be triggered, creating a double threat. It is recommended to first kill the patrol soldiers or destroy the searchlights (using EMP grenades) to avoid a direct confrontation. If killed, do not respawn on the spot! The Sandworm will linger near the corpse, so it is advisable to respawn at the nearest shelter.
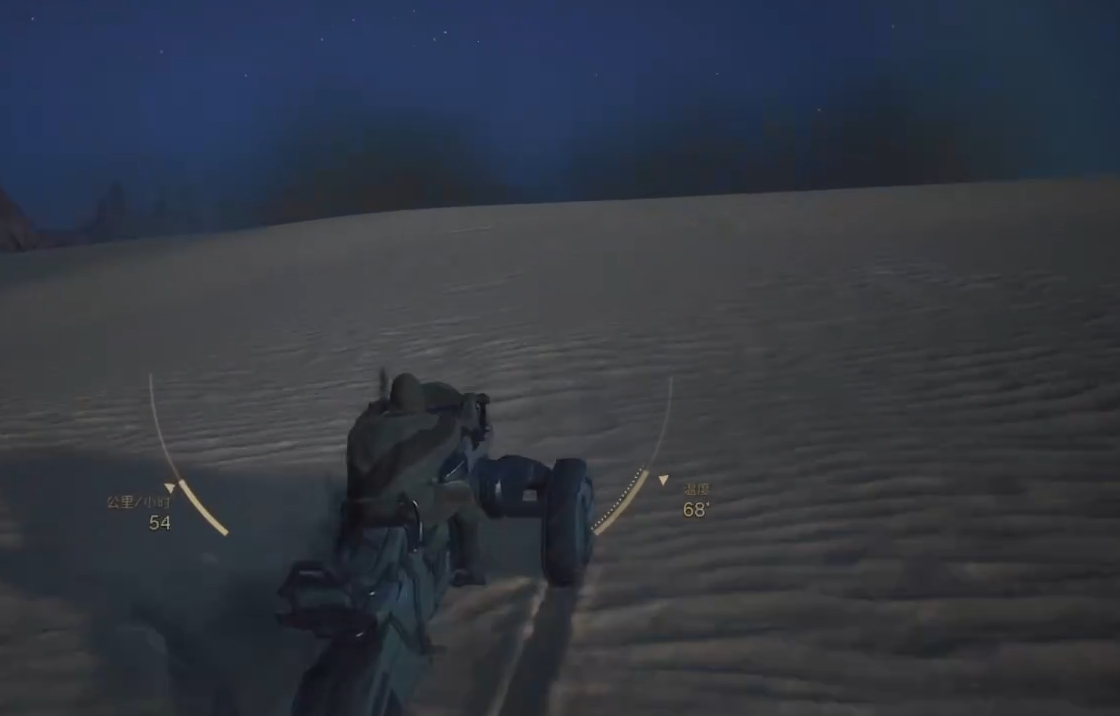
Additionally, the vibration of vehicle engines (such as motorcycles) significantly increases the likelihood of Sandworms appearing. At night or in high-risk areas, it is recommended to travel on foot. Therefore, if you encounter a Sandworm, immediately dismount and run in the opposite direction. The Sandworm will prioritize attacking the vehicle, giving the player a chance to escape.
5. However, after the official release, team collaboration and tactical coordination can be used to solve this problem.
Designate one person in the team to carry the sonic device as a "bait," responsible for luring the enemy, while the other members handle gathering or combat. The bait needs to move regularly and deploy the sonic device to attract the Sandworm away from the core area.
If a teammate is swallowed by a Sandworm, quickly mark their death location and wait for the Sandworm to leave before retrieving the equipment (must be done within 5 minutes).
To deal with this massive BOSS threat, having a good internet connection is crucial. It is recommended to use biubiu Accelerator, which keeps latency below 50ms, preventing you from being unable to react in time and having no way to escape.

Now, users can activate basic benefits (72 hours of usage rights) by entering a specific verification code [biubiu no disconnection]. For first-time registered users, the system will automatically issue an additional 24 hours of usage time. These two benefits can be seamlessly stacked, ultimately providing a full service period of 96 hours.

In summary, advanced techniques for dealing with Sandworms can follow the principle of terrain > equipment > operation. Prioritize using the terrain to avoid, then use equipment to control the situation, and finally rely on operational skills to escape. Be mindful of not carrying rare items in high-risk areas and make good use of the cooldown times of the sonic device and hover pad. Also, there will be ground vibrations and audio cues before a Sandworm attack; staying calm will help you correctly judge the direction of escape. Through these strategies, players can greatly increase their survival rate in the Arrakis desert and gradually master the rules of coexistence with Sandworms.