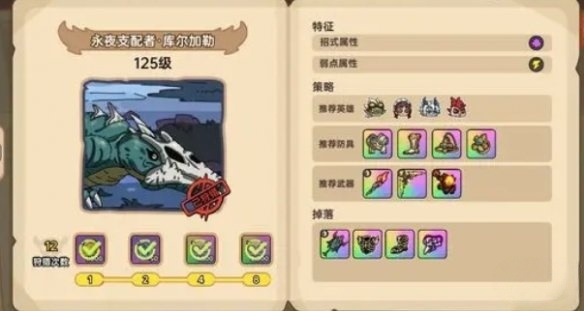
This edition brings a share on the strategy for fighting the Bone Dragon in Heroic Land. In the high-level challenges of Heroic Land, the presence of the Bone Dragon is particularly stern. Unlike other bosses that rely on flashy skill displays, it tests players' judgment and team coordination with a set of strict mechanics and a battle logic that leaves very little room for error. The fight against the Bone Dragon revolves around "marking" and "lock blood."

In the initial phase, the Bone Dragon distinguishes its targets through wide-ranging tail slashes and bite attacks. Although the tail attacks do not come with marks, they force a change in positioning, disrupting the output rhythm. What truly impacts the battle is its bite judgment. Not only does the bitten target suffer damage, but it also gets marked. Marked characters cannot enter the challenge space during the subsequent lock blood phase, and will also face continuous damage boosts and reduced healing efficiency, becoming a burden to the team. In the mid-battle, the Bone Dragon summons small minions, which have the same bite mechanism as the main body. They do not attack fixedly but scatter and roam, trying to disrupt the formation and expand the marking coverage. If the team falls into chaos, the spread of marks will directly affect the integrity of the next phase's mechanism trigger.

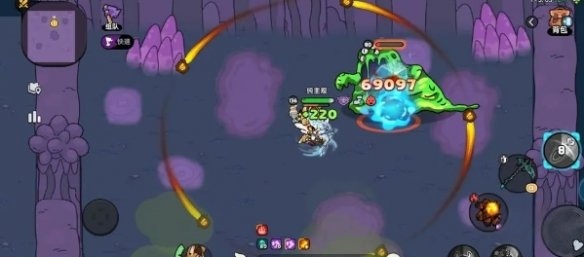
The Bone Dragon's lock blood phase has two layers. In the first stage, the boss pulls unmarked characters into a closed space to fight three fast-moving small slimes. If all are not killed within the time limit, this phase is considered a failure, the boss will regain a large amount of health, and the lock blood mechanism will reset. The second stage features only one high-health slime; although fewer in number, its attack power and resistance are increased, requiring a clear output rhythm and weapon selection to pass smoothly.

Mark management plays a decisive role throughout the battle. Marked characters cannot participate in the lock blood phase, which requires the team to consciously avoid the bites from the boss and minions before entering the mechanism. If accidentally marked, one should choose to stop and delay, waiting for the state to naturally resolve, then re-enter the rhythm. Any attempt to forcibly trigger the mechanism while marked will result in the team losing critical output windows, or even causing the boss to heal and push back.

In terms of equipment, it is recommended to use weapons with high-frequency area-of-effect (AOE) capabilities, such as the Hades Scythe, Lightning Sword and Bow, and Wind Staff. These weapons are highly efficient in clearing mechanism monsters, effectively shortening the required time for the lock blood phase and reducing the risk of the boss regaining health. For sets, you can choose the Dragon Set, Hades Set, or the set dropped by the Bone Dragon itself, focusing on improving output efficiency and the cycle of skill cooldowns.


