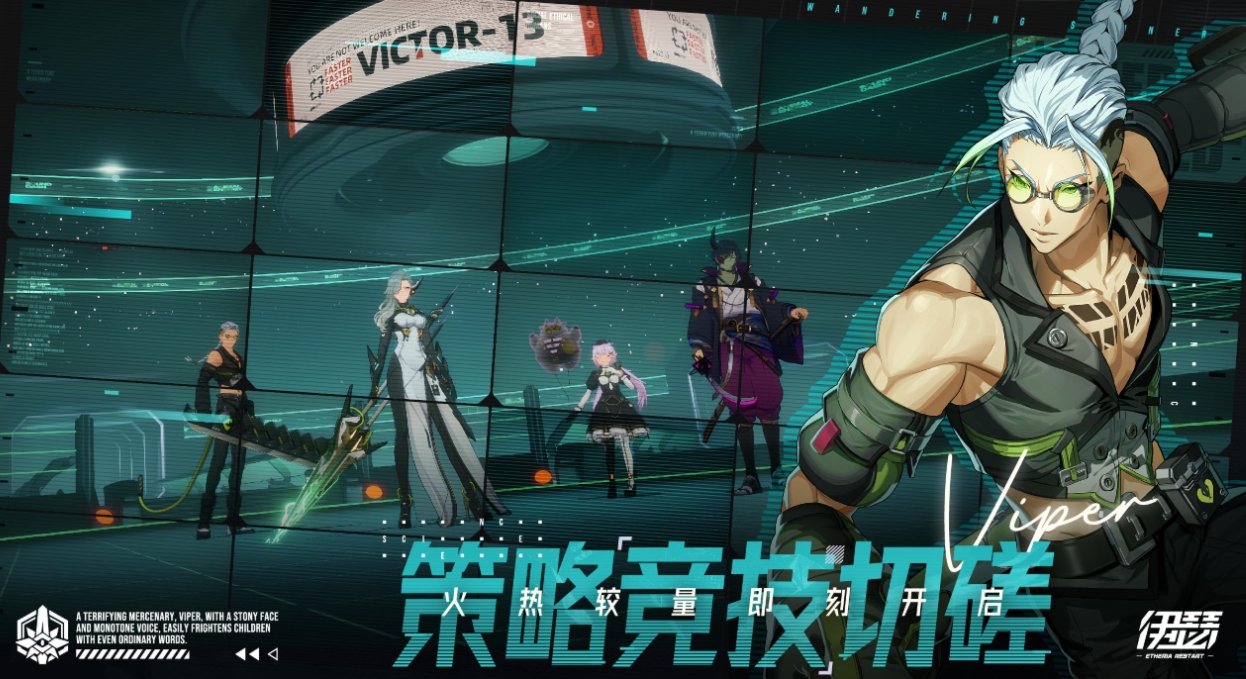
In the context of Iser's game era, the hyper-link missions and generous rewards for pushing through levels make the pioneering process quite clear. Players only need to follow the path indicated by the Hyper Link Certificate steadily, and generally, pioneering is not difficult. The Nie Rong introduced in the Iser beginner guide is also a way for everyone to smoothly start their adventure. If you want more tips, keep reading.
For beginners, there are many details to pay attention to when farming Originators. Originators of different qualities have differences in stats, especially in the early stages of the game, where this instability is more pronounced. Based on this, during the pioneering phase, it is recommended that everyone carefully select a set of golden/red quality Originators with main attributes that fit their needs according to their current difficulty level, and moderately increase character levels. Do not be overly obsessed with perfecting every attribute. Of course, when there is a lot of extra stamina, it is advisable to use this time to continue farming Originators to effectively enhance the overall combat power of the team.
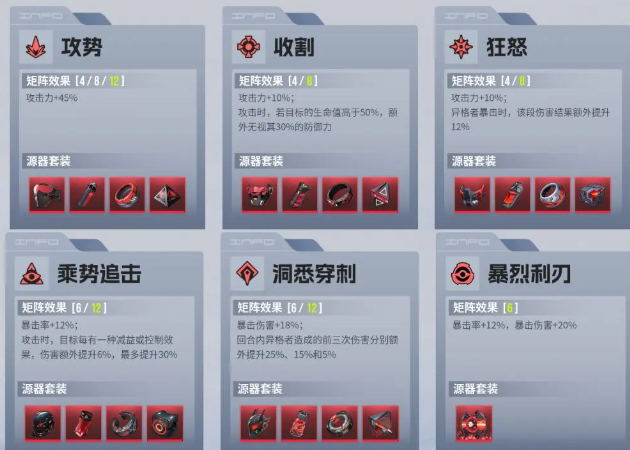
The main DPS characters should focus on crit rate and crit damage. Once the crit rate exceeds 60%, they can be equipped with corresponding attribute gear that matches the main DPS output to maximize their damage. Support characters, on the other hand, should prioritize speed sets. Depending on tactical needs and the characteristics of the required attributes, flexibly decide whether to add effect hit, HP, and speed buffs. Especially for those who take on control roles, it is essential to stack as much speed as possible to ensure the team can seize the initiative and launch attacks first. For survival role characters, choose appropriate Originators based on their attribute characteristics.
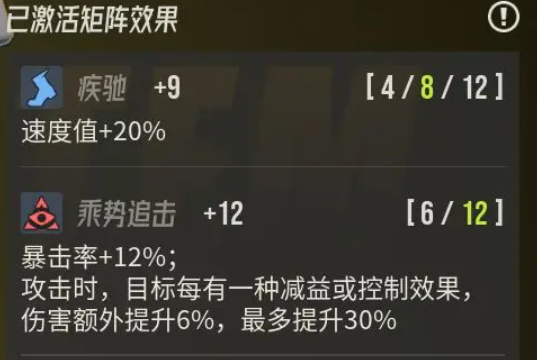
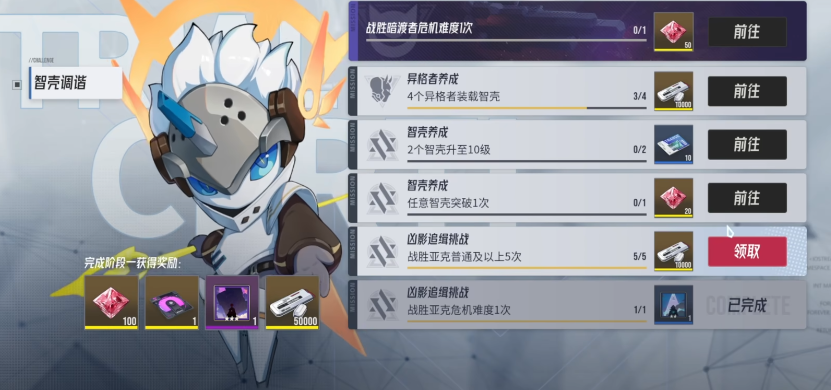
The gameplay of the Wisdom Shell system in the game also follows certain rules. Almost every quality corresponds to a Wisdom Shell that can enhance specific skill effects, but the benefits from low-quality Wisdom Shells are relatively limited. Therefore, it is suggested to focus on farming matrices and higher-quality Wisdom Shells, and appropriately increase their levels to gain more significant combat bonuses. Stamina management is a crucial aspect of the game. It's important to note that hyper-link missions do not require players to complete them in a fixed order; instead, priority should be given to improving one's own strength, and then challenging the missions once powerful enough.
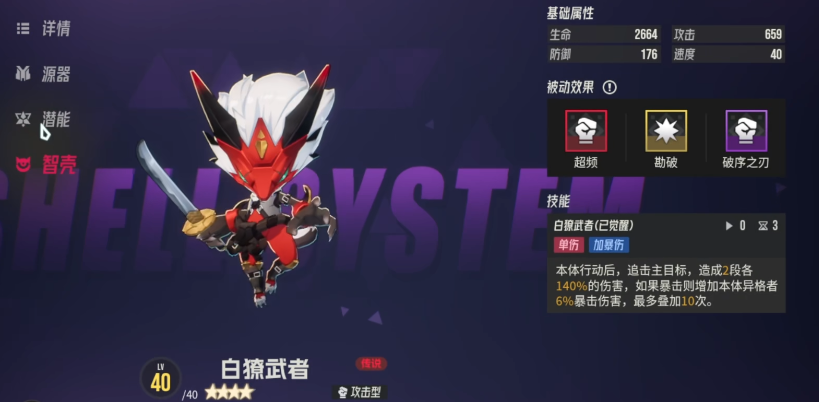
During the beginner's pioneering period, stamina resources must be fully utilized because if a dungeon challenge fails, one stamina point will be deducted. Therefore, everyone should try to ensure the success rate of clearing dungeons to avoid unnecessary stamina loss. At the same time, when using stamina, it is important to plan reasonably to prevent excessive overflow, ensuring that you can enjoy the additional benefits from natural stamina recovery. The level mechanism of Variants in the game follows the traditional setting, with each character having different star ratings at the beginning, which directly reflects their rarity.
However, all Variants have the potential to grow to 6-star max level. Each star upgrade requires specific star-up items, and these precious items mainly come from various activity rewards and diverse in-game activities. In the early stages of the game, most battle scenes do not urgently need the support of healing characters, as the main storyline does not set a star rating system based on the number of non-fallen team members. As long as you can successfully defeat the enemies, you can pass the level.
Moreover, after each battle, the status of all characters will automatically recover to full. For dungeons that need to be repeatedly challenged, the star rating is mainly determined by the time taken to clear the level. It is worth noting that this star rating does not affect the final rewards but determines the number of times the auto-battle function can be set: one star allows for 5 auto-battles, two stars for 8, and three stars for 10. When not encountering level bottlenecks, players can use the classic lineup combination of one buff character, one debuff character, and two DPS characters.
In some PVE content, the fifth position can be replaced with a third DPS, healer, or counter-specific enemy character, depending on the situation. When the enemy's strength gradually increases and the battle turns into a prolonged attrition war, adjust the lineup in time, replacing the original buffer or second DPS character with a healer to ensure the team's sustained combat capability. Once the team composition is determined, arranging the action order reasonably becomes the key to victory.
Since the Iser game does not have dedicated speed-attribute equipment, in the early stages, players can only rely on randomly obtained pieces to adjust the battle rhythm. In this case, it is necessary to ensure that all debuff and buff effects are applied before the DPS characters act. Through stacking debuffs, buffs, and other state assistance means, the DPS characters can unleash multiple times the damage, thus quickly securing victory in battles.
The Iser beginner guide mostly covers techniques that everyone has the opportunity to master in the early stages. These playstyles can also be gradually updated in the main storyline. Therefore, for beginners, the most important thing not to miss is the introduction provided by the initial main storyline.


