Five-star Good Citizen, where the Heatwave City belongs to a world with a relatively high level of openness. Therefore, for new players who are just starting the game, they often feel confused about the early gameplay. Don't worry, this carefully compiled Five-star Good Citizen guide will help players quickly familiarize themselves with the game mechanics and basic operations, assisting everyone in smoothly starting their survival and exploration journey in Heatwave City. I hope everyone can find their own survival skills from it.
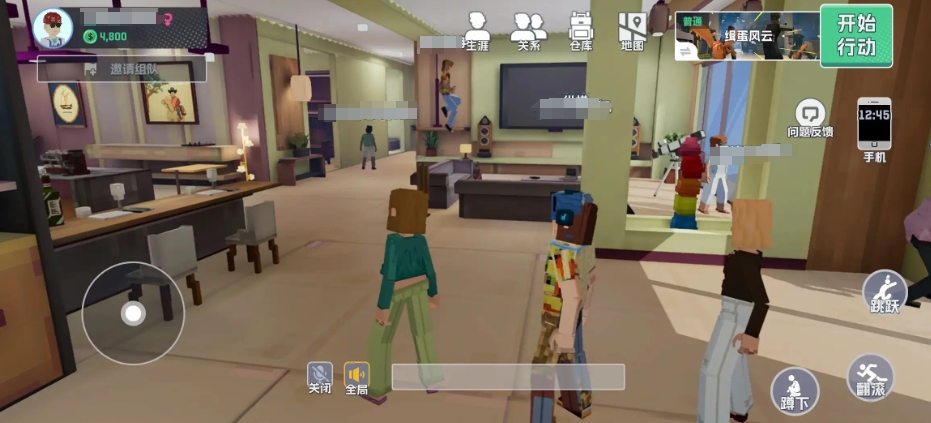
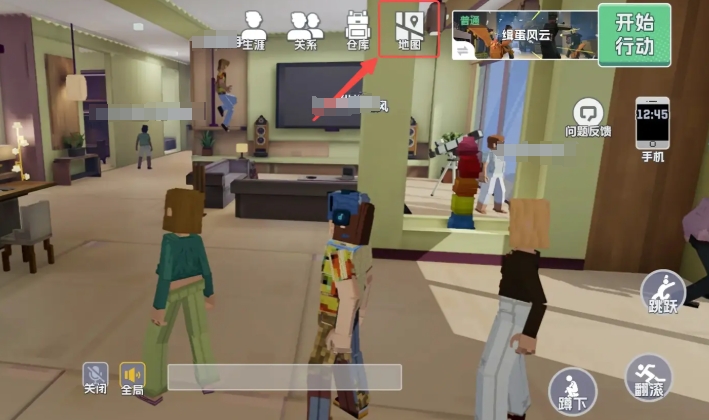
After completing the character creation, you and other players will be teleported together to a safe house located in a high-rise mansion. This is not only a place where you can purchase your residence in the future, but currently, Carlos is temporarily using it as a matchmaking lobby. At this moment, you might as well stop and take a good look at the magnificent scenery of Heatwave City, fully experiencing the unique passionate atmosphere of this city, allowing yourself to immerse more quickly into the game world. Here, you can also see the basic game introduction, which is also the waiting lobby for the game. Here, you can also see the actions of other players, and you can freely interact here.
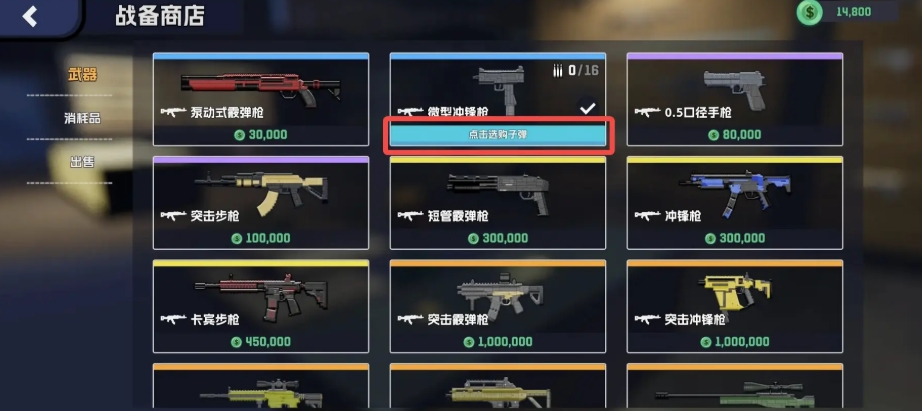
Opening the map, the gun shop comes into view; it's the primary supply station for players in Heatwave City. The game thoughtfully provides 5000 action funds for new citizens. By reasonably utilizing these funds, you can significantly increase your evacuation success rate at critical moments. At the arms dealer, make sure to buy some armor, which can effectively increase the success rate of your actions. As Carlos said, armor is the real life-saving straw. In the early stages, pay attention to defending against corner shotguns, as many players have been taken out by such weapons.
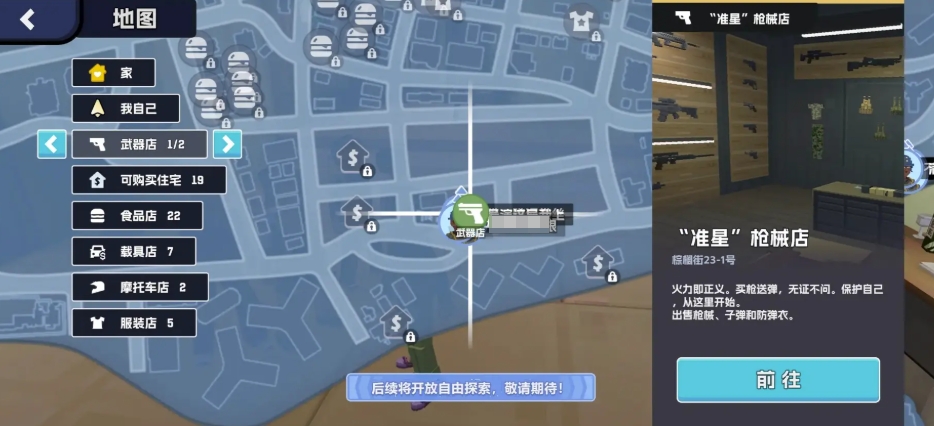
So, it is recommended that you find this location and go to the arms dealer to pick up a few practical weapons. Once you have enough money to buy weapons, don't forget to purchase bullets. A professional marksman can tell if there are bullets in the magazine by its weight, which is also part of the preparations that should be done before battle. After everything is ready, click "Start Action," and the system will match you. At this time, other players in the matchmaking lobby are moving around, and they are very likely to be your teammates in the upcoming battle.
After a successful match, you can choose the weapons you want to bring into the battlefield. New players will be provided with a pistol, and you can add stronger weapons and armor according to your needs to further enhance your survival capabilities. Vehicles are the main helpers for evacuation after you have gathered enough resources. With a vehicle, not only can players evacuate smoothly, but it also brings the thrill of pursuit. Then, click to add weapons and armor packs, and once you reach the destination, you can start the action.

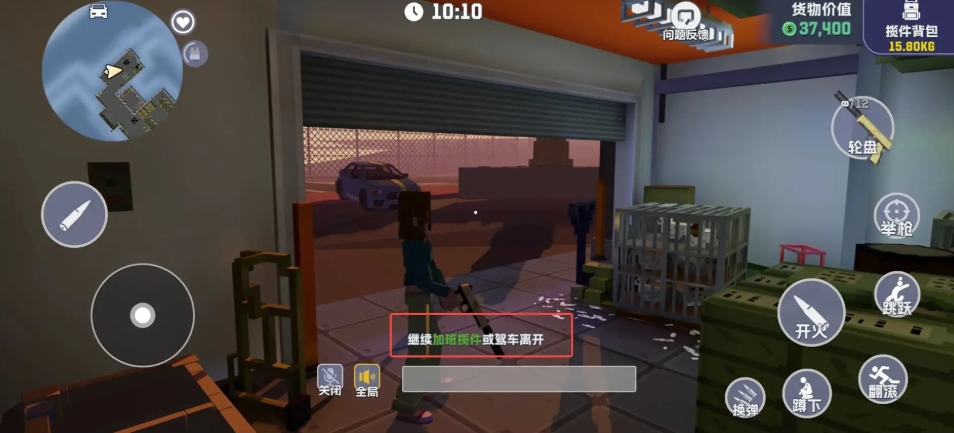
After entering the battlefield, you can open the wheel menu and select the appropriate weapon. After ensuring you have enough self-protection, remember to bring the most important equipment. Here, the loot backpack is the most important equipment, as all the resources you obtain are stored here. Also, remember to wear the armor pack. The heart icon in the upper right corner of the mini-map represents the current health of the character, while the bottom shows the armor level. After wearing the armor pack, when attacked, the armor will be consumed first, thus increasing your survival capability. High-value goods are the main goal in the battle.

When you have collected enough supplies in the loot backpack and the mission indicates that the current player has met the evacuation conditions, then you can prepare to evacuate. Of course, some players, even if their backpacks are not full, will stay behind and try to bring back more substantial additional gains. Many of the supplies here can be taken away, but if the current backpack is filled with goods, it's time to consider evacuating. Remember to find the right direction when evacuating, and during the evacuation process, there may be people lying in wait to directly snatch the bag, so this is the most dangerous time.
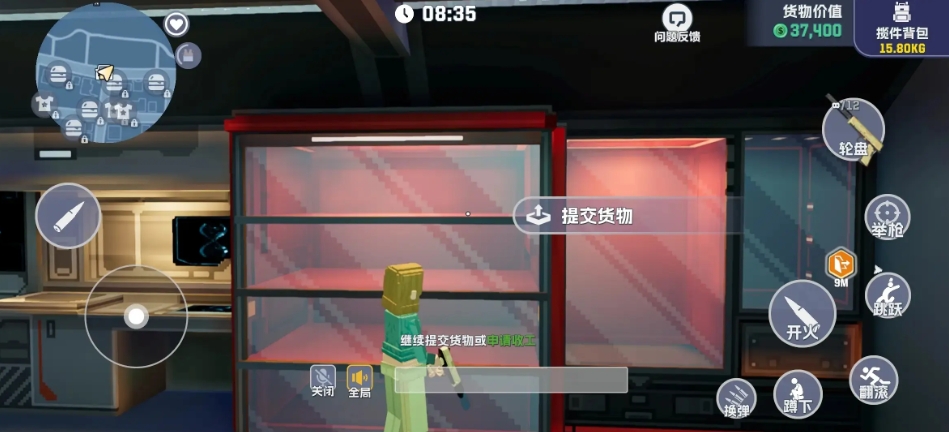
Once you successfully evacuate, you can submit the goods at the parcel locker and then apply to finish. This operation is considered a success. Note that the parcel locker can accept a maximum of six items, so remember to prioritize submitting high-value goods; otherwise, any goods that cannot be placed in the parcel locker will not be able to be taken out of the battle. After returning to the safe house, players can go to the warehouse to check the goods they brought out from this operation and then go to the arms dealer to sell the goods, thereby obtaining more funds and preparing more thoroughly for subsequent actions.
The above is the content of the Five-star Good Citizen guide. Although you survive here as a citizen, the main gameplay still revolves around combat and survival. So, do not overlook the process reminded by this editor. Following the process, you can collect more supplies.