In the world of Dragonstone Wars, when players are carefully assembling their teams, they must pay full attention to the subtle yet critical nuances in team composition. After all, a reasonable and efficient lineup can easily defeat enemies, and today's Dragonstone Wars formation layout strategy is the core content we will deeply analyze in this issue. In fact, especially in the early stages of the game, the key points of team composition are even more important for players.

When it comes to formation layout, you must ensure that there are enough ground units and air units. For ground units, take the extremely challenging Rock Ridge Dragon as an example. It not only provides a strong visual impact but also represents its powerful attack capabilities. Facing such a formidable enemy, players, when forming their lineups, must focus on two key elements: single-target high damage and support sustain. Because ordinary attacks are ineffective against the Rock Ridge Dragon, players urgently need to rely on heroes or troops with high single-target damage, as only they can inflict significant damage that threatens its health.
However, having high damage output alone is far from enough. The Rock Ridge Dragon's attacks are not easily defensible, which requires players to add support sustain forces to their lineup. These support heroes or troops possess magical healing abilities, able to inject other benefits into front-line units facing danger in a timely manner. At the same time, they can provide various buffs to teammates, such as increasing attack power, defense, etc., giving everyone more combat capabilities.

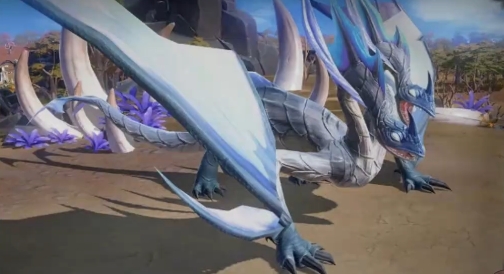
For air units, let's look at the Cloudwing Dragon. If the team composition needs to be considered from a new perspective, the Cloudwing Dragon's aerial advantage allows it to launch fierce attacks from a high vantage point on ground troops. At this point, for players, having powerful anti-air units becomes the key to defeating the enemy. These anti-air units each have their own unique abilities; some use advanced long-range weapons to accurately strike the airborne dragons, making them hesitant to dive, while others have the ability to fly and engage in aerial battles with the dragons.

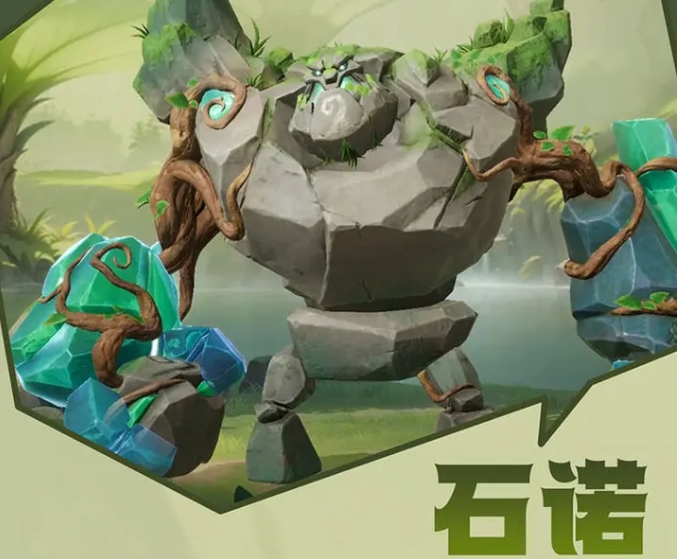
Of course, while dealing with air threats, front-line tank units are also indispensable. They can bravely withstand the dragon's attacks with their bodies, creating a safe and stable environment for the backline anti-air forces and other damage dealers, allowing the backline teammates to fully utilize their strength. In such a formation, note that the combination of Stone + Simon is quite good, as this team has distinct characteristics, presenting a classic tank + healer pairing.
Stone serves as a tank in the front line, absorbing damage, while the healer provides support and healing from the back. Although this classic pairing is solid, it's important to note that they need to be complemented by damage-dealing troops, otherwise, there may be insufficient damage when facing enemies. For other formation troop pairings, you can choose 33 Mighty Acorns + 1 Gloomy Mudman. The Mighty Acorns, with their powerful strength and solid defense, can hold the front line, while the Gloomy Mudman can use its unique skills to cause trouble and damage to the enemy, while also assisting the entire team in battle.

This team excels in reducing battle losses, especially during the early stages, helping players minimize troop losses and better advance in the Blackwing rankings. However, since this team lacks a dedicated damage dealer, the troop levels need to be relatively high. Another notable pairing is Stone + Cilice, which features a horde tactic. Relying on the high defense of the front line, like a sturdy wall, to resist enemy attacks, the backline continuously summons reinforcements to maintain combat power.
In terms of formation, you can choose 32 Mighty Acorns + 2 Resolute Stone Men. The Mighty Acorns once again demonstrate their strong defensive and offensive capabilities, becoming the core of the front line. This team has many advantages, with no obvious weaknesses except for fearing Fire Dragons and Drillers, which have area-of-effect damage. Even if unfortunately encountering such powerful enemies, players can cleverly counter them by using troops that specifically counter Fire Dragons and Drillers.

The Dragonstone Wars formation layout strategy ends here. To perfectly achieve the goal of pioneering, you must understand these formations. Depending on the type of ground and air enemies, the formation combinations you can use will differ.


