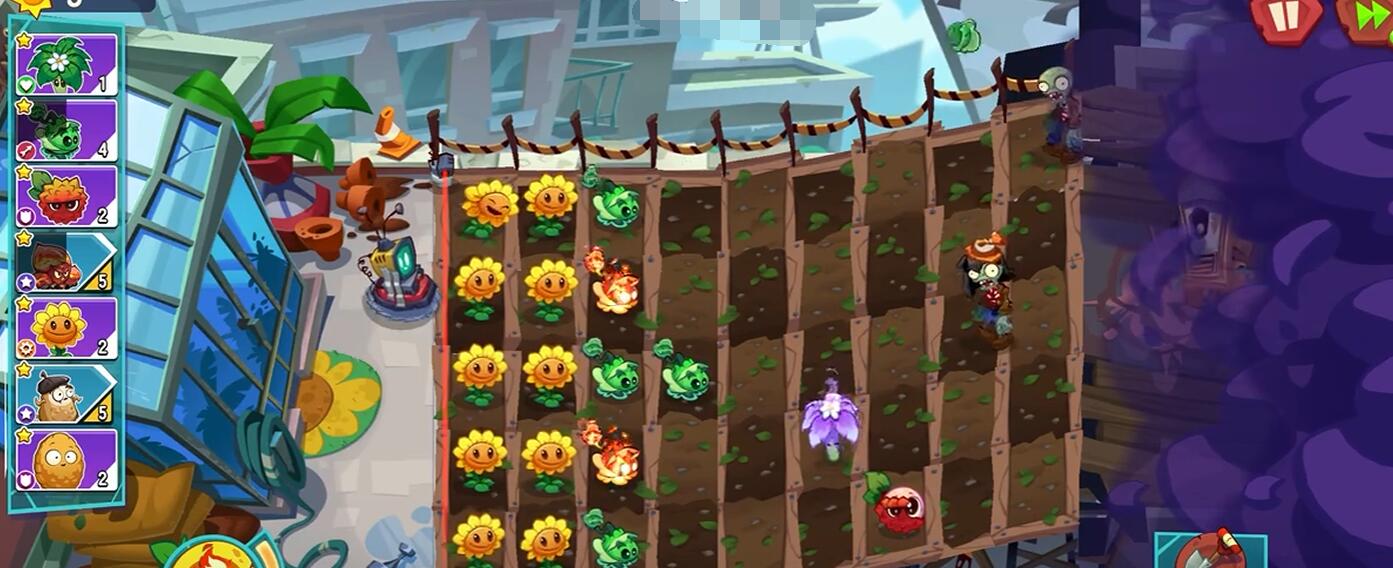
PVZ3is a strategy game where you place various plants to prevent zombies from invading. The Radish Umbrella, as aprotective defensive plant, can block flying zombie raids at critical moments and provide a "safety umbrella" for the back-row output. Of course, to play well, it's still necessary to understand the details of the Radish Umbrella in Plants vs. Zombies 3. These small mechanisms can help everyone understand the plants and master the essence of this gameplay right away.

The function of the Radish Umbrella is to intercept flights + reduce damage in an area. After planting, it generates a shield-like barrier that lasts for 10 seconds on its row, directly blocking the surprise attacks of balloon zombies and seagull zombies, and also reducing the damage to ground plants on its row by 30%. When playing the Sky City themed level, if balloon zombies sneak attack the back-row output from the air, planting the Radish Umbrella in the 4th column (one position in front of the back row) will allow the shield to withstand three waves of flying zombie attacks, letting the Peashooter in the 5th column safely deal damage to three rows. Against seagull zombies, the shield can also reduce the impact damage, and when paired with the chain lightning of the Lightning Reed on the ground, it clears enemies twice as fast as using only output plants.

For team composition, choose complementary output. The most practical combination is with the "Peashooter," which can attack three rows simultaneously. The Radish Umbrella defends one row against flying attacks, preventing the Peashooter's firepower from being dispersed. It also works well with the Lightning Reed; after the flying zombies are blocked by the umbrella, the chain lightning of the Lightning Reed can quickly clear the field. For levels with mixed invasions of both ground and flying zombies, the Radish Umbrella blocks the flyers while the Lightning Reed electrifies the ground, creating a dual defense that makes it very difficult for zombies to break through. In boss levels like the Mechanical Fortress, placing a Guiding Thistle next to the Radish Umbrella allows the umbrella to block the small flying monsters summoned by the boss, maximizing the output efficiency of the Guiding Thistle.

The timing and placement of release don't matter much in low difficulty, but in high difficulty, you must pay close attention to the flying waves. For example, if the 5th wave is a group of balloon zombies (8 balloons + 5 coneheads), plant the Radish Umbrella in the 4th column 5 seconds in advance, so the shield just blocks the first wave of balloon attacks. If the 10th wave is a combination of seagull zombies and kamikaze zombies, wait until the seagulls fly over the 3rd column before placing the umbrella, to avoid wasting the shield. The position must be chosen in thecolumn in front of the back row(for example, to protect the 5th column output, place it in the 4th column). If placed too far forward (like in the 2nd column), the umbrella becomes useless once the ground zombies break through. In endless mode after level 20, flying zombies come with self-destruct skills, so you need to see which side (left or right) the zombies are coming from and be ready to temporarily plant the umbrella to fill gaps.

Mastering the defense mechanism, timing, and positioning of the Radish Umbrella will make your defense line more solid, whether dealing with flying zombie raids or protecting the back-row output. It's best to use various types of combinations often during play to fully unleash the potential of your Radish Umbrella!


