The photo function in Final Fantasy 14's Crystal World can capture countless beautiful moments, whether it's the sunny Sanaan or the rainy Summer Farm, all can be preserved through photos. So, how exactly do you take a photo? The following tutorial will explain the complete method and process, so every player can take great pictures on this continent. If you need it, check out this article.

After finding the scene you want to photograph, click on the small camera icon at the lower left of the screen to enter the photo system. In the upper right corner of the photo interface, you can see a row of small icons, among which the second and third ones are for adjusting the character's orientation and view angle.
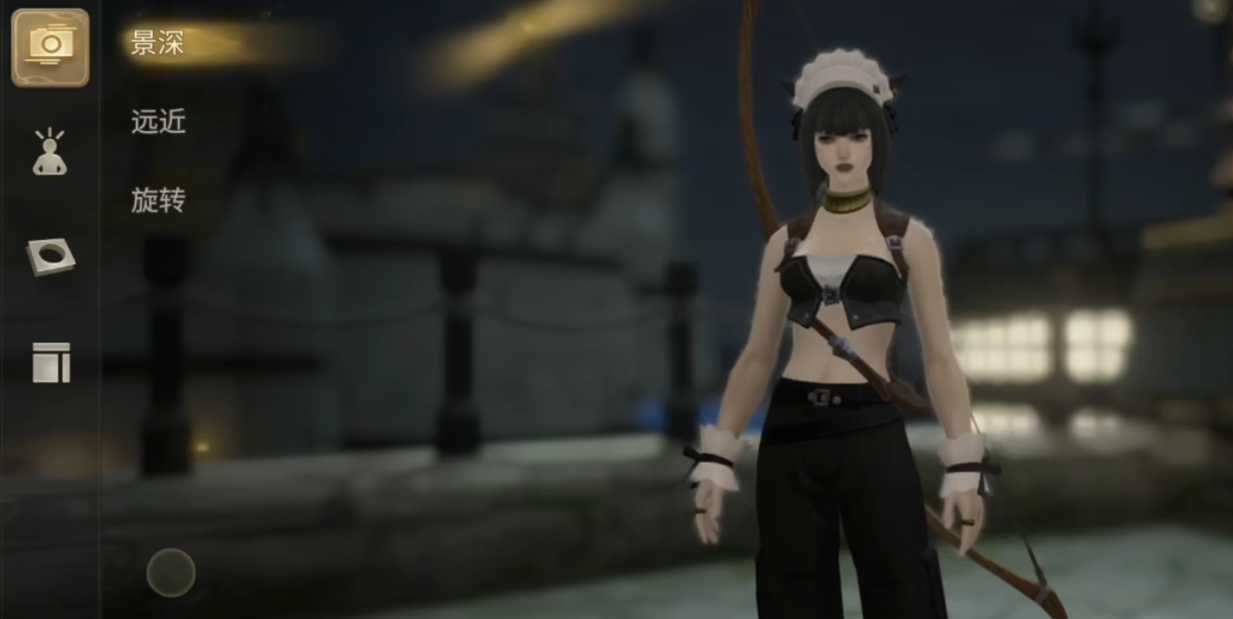
If both options are turned off, the character's line of sight will remain default and will not change with the camera. If both are turned on, you'll notice that the character's line of sight and orientation will rotate as you drag the viewpoint, allowing for more interactive shots between the character and the camera using these two functions.
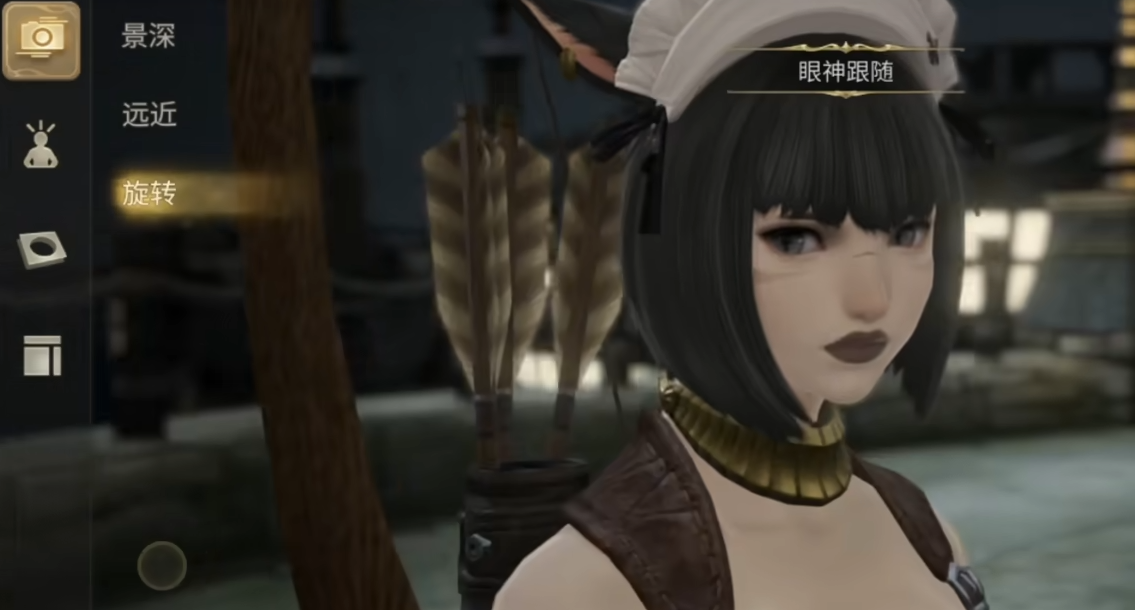
The fourth option in the upper right corner helps to enable a grid assist, which aids in better composition. Clicking the first one in the upper right corner reduces the inherent black shadow in the captured photo. The first option on the left among the four is "Depth of Field".
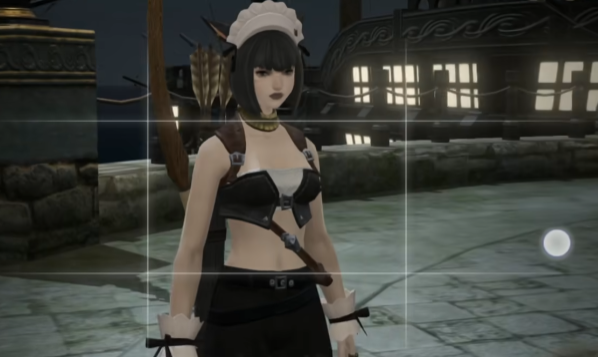
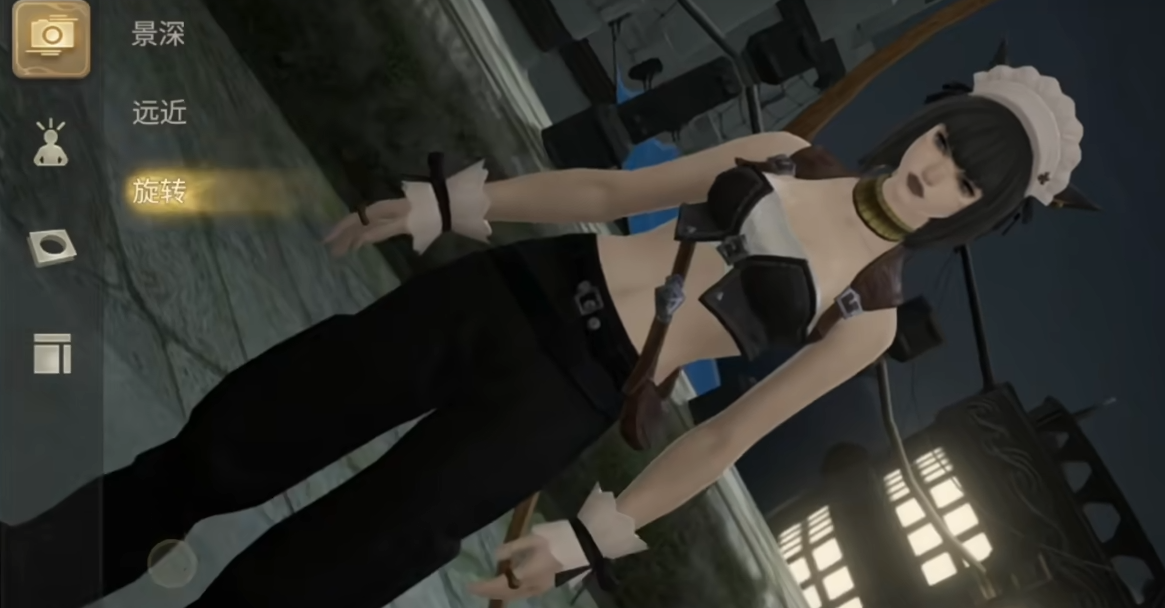
Depth of field helps adjust the aperture of the lens, blurring the background when shooting characters to highlight the main subject. The second, distance, adjusts the proximity of the lens, making it suitable for both close-ups and full-body shots. The last, rotation, adjusts the degree of picture rotation, making it possible to take both landscape and portrait photos.
This concludes the photography guide for Final Fantasy 14's Crystal World. It covered how to take photos and the functions of various features in the photography system. After understanding, you can apply them in the game to take your favorite photos and preserve precious memories from your adventure.
