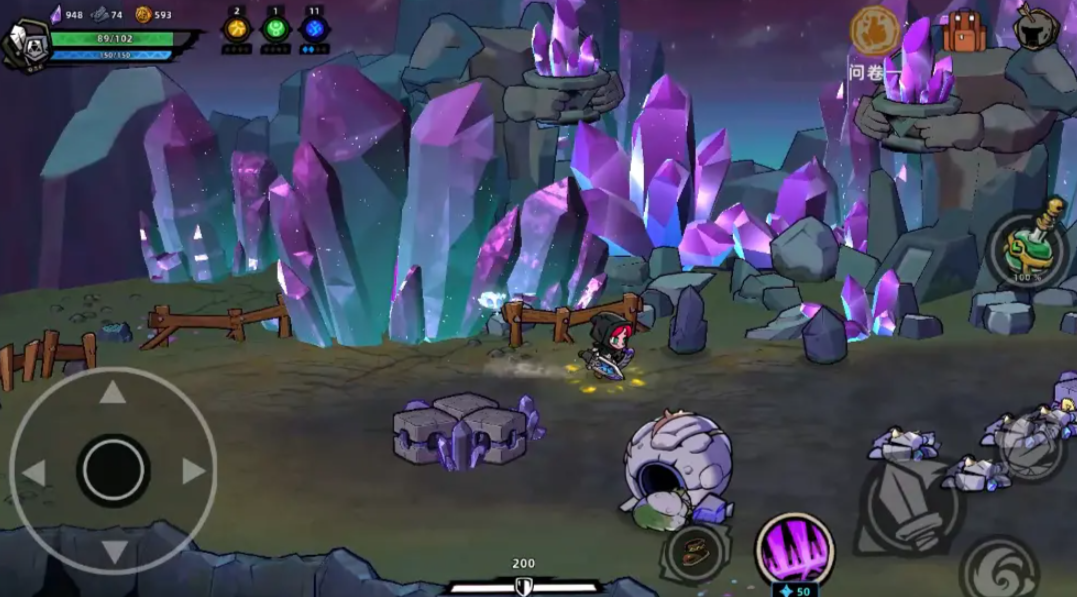
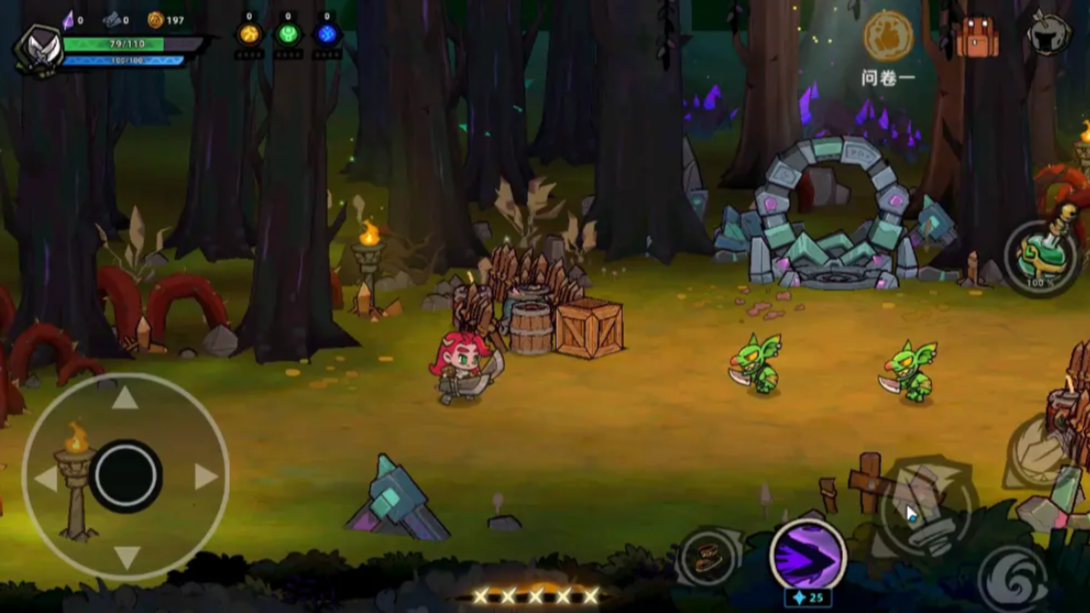
This guide brings you an overview of the treasures in Lost Castle 2. Each treasure has its unique effect, which will determine the overall attack style. However, many newcomers are completely unaware of these effects, making it easy to choose a treasure that is not suitable for them, thus affecting the overall output. To avoid this situation, the following treasure guide will help you get to know and understand them.

1. Goblin Horn
It increases attack power by 2% with each hit, up to a maximum of 12%. All bonuses are lost upon taking damage.
2. Lucky Coin
Every 5 seconds, it boosts attack damage by 50%, and the rune effect increases the critical hit chance of that attack by 50%.
3. Devouring Fang
Upon killing an enemy, there's a 50% chance to restore 1% health and 10% mana. The rune effect is that after triggering any recovery effect, your attack power and critical hit rate increase by 2%, lasting for 15 seconds, and can be stacked up to 10 times.
4. Lone Momo Pig Contract
It summons a powerful lone Momo pig to assist in battle. The Momo pig is a summoned creature, and its health and attack power will increase according to the owner's runes. The Momo pig will self-destruct after being killed twice consecutively by enemies.
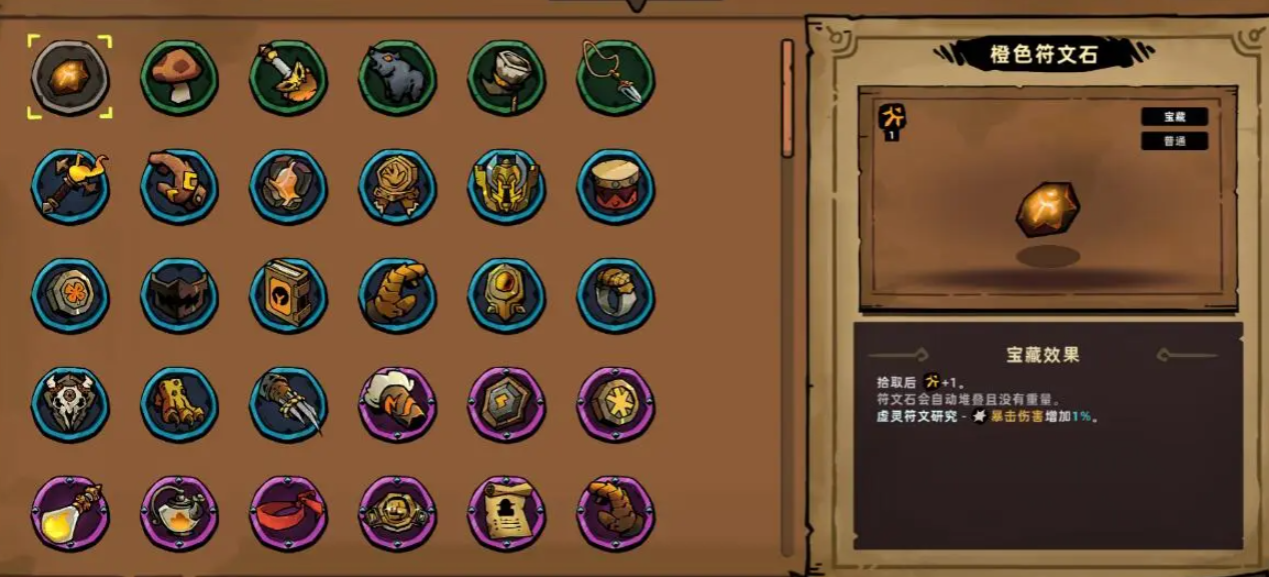
5. Orange Rune Stone
Picking it up adds 1 to your runes, and the rune stones automatically stack without weight. The rune effect is a 1% increase in critical hit damage.

6. Fire Dragon Scale Hand
The Fire Dragon Scale Hand launches 3 rockets after each weapon skill use, with a 2-second cooldown. The rune effect is igniting an enemy grants a flame aura for 5 seconds.
7. Fishman Shaman Totem
In a new area, and when using a weapon skill for the first time, it summons a blue totem pole. This totem pole helps all nearby teammates recover mana, and when lifted, it quickly recovers its own mana. There can only be one totem pole at a time.
8. Crystal Dragon Claw
The Crystal Dragon Claw is a legendary rarity treasure, unlocked by defeating the boss of Crystal Mountain. Its ability is to release an electric shock on a random nearby enemy each time you dodge, with a 2-second cooldown. The rune effect is that when attacking an electrified enemy, each electric pulse increases the damage they take by 4%, stacking up to 20% and lasting for 7 seconds.

9. Charging Glove
The Charging Glove deals an additional 5% to 35% damage with each attack, with the amount of extra damage related to the interval between the last two attacks.
10. Demon-Slaying Wakizashi
When dodging, it generates a ghost blade to attack surrounding enemies, dealing multiple hits, and this damage is considered as a dodge attack.
11. Kinetic Converter
It gains a small amount of weapon energy every 8 meters moved, and the type of energy depends on the weapon you are holding. Filling the rune allows you to gain more weapon energy at once.

12. Glacier Emblem
The Glacier Emblem changes the rune shock attribute to ice. When filled, it causes a rune crit after each attack that freezes an enemy with ice, with a 1-second cooldown.
13. Fragile Amulet
While in a new area and if no damage has been taken, it increases attack power by 15%. The rune effect is an additional 15% critical hit rate.
14. Creepy Glasses
This is a legendary rarity treasure, unlocked by defeating the leader of Black Castle. It increases the critical hit rate of all weapons by 30%, and the rune effect converts any critical hit rate over 100% into critical hit damage.

15. Desperate Headband
The Desperate Headband increases the critical hit rate by 50% when attacking enemies with a higher percentage of health than yourself. The rune effect is a chance to trigger a slash with each critical hit.
16. Eroded Wristguard
Each time an enemy is killed nearby, it permanently increases the rune slash by 0.5%, up to a maximum of 50%. The rune effect is a 20% chance to trigger a kill effect with each slash.
17. Soul-Draining Wedge
It restores 1% of the damage dealt as health with each normal attack and special action, not exceeding 35% of the maximum health. The rune effect is a 15% increase in attack power and 2 points of defense when your health is not more than 35%.

This guide to the treasures of Lost Castle 2 ends here. The above mainly introduces the different effects of various treasures. After understanding them, you can reasonably match them based on the enemies or resources in hand, leveraging the advantages of the treasures to make the battle smoother.


