The map Abyssal Cavern in Valorant's Operation Energy can be said to be the one players least want to encounter, and this is because the map is indeed difficult to play. However, due to the seasonal map rotation, it is inevitable that this map will be played. So today, we bring you a guide on how to play Abyssal Cavern. After reading the guide, you will know exactly how to play this map and won't dislike it anymore.

Regarding the gameplay of this map, we will look at it from the perspective of both the attacking and defending sides. First, let's look at the attacking side's strategy. In the game, the attackers always spawn at the rope connection point. At this time, A site is on your left, and B site is on your right. If you choose to attack A site, there are two methods. The first method is to have the duelist position in the game cross over through the rope connection first, then have the duelist not move after crossing over. Then, the other four members of the team attack from the front of A site.
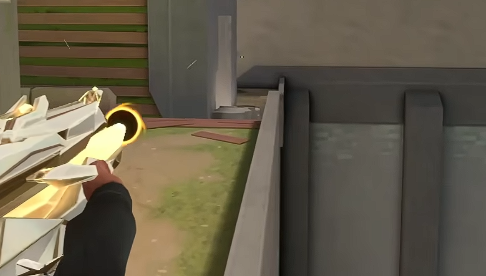
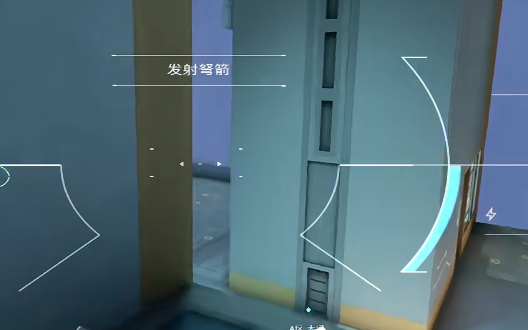
During the attack, the lone duelist needs to start flanking. They need to judge the approximate location of the enemies based on the gunfire from the front, and then coordinate with the flank. During this process, special attention needs to be paid to the entrance of the second-floor pipe at the rope location. If there isn't enough pressure from the front, someone might continuously hold the position here.

Therefore, when flanking to this position, you need to peek carefully to gather information. If you find that the enemy is still holding the position, you need to inform your teammates in the front to speed up their attack. This situation indicates that there won't be many enemies in the front, so the utility player in the front can throw utilities directly from the stairs to take the spike plant spot. In this case, the enemy on the second floor will definitely defend, and then you can continue to flank and create a pincer movement to secure A site and plant the spike for a retake.
However, if no one is watching the back or if the duelist clears the enemy alone after peeking, the duelist can provide information and coordinate with the teammates in the front to perform a retake. This is the first method. The second method is the conventional full-team utility push to control the site. This is the strategy for the attacking side at A site.

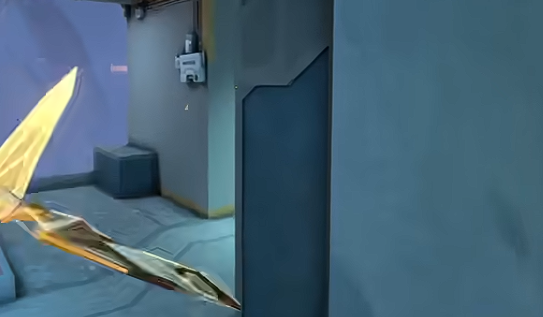
Next is B site. Similarly, the duelist can go over the rope first. After crossing, the other four players can attack from the front through the pipe. During the attack, utilities such as flashes should be thrown at the first pipe entrance to force the enemy holding the position to retreat and control the entire pipe. Then, coordinate with the flanking duelist to create a pincer movement. Once the pipe is clear, the duelist needs to push forward and clear the points.
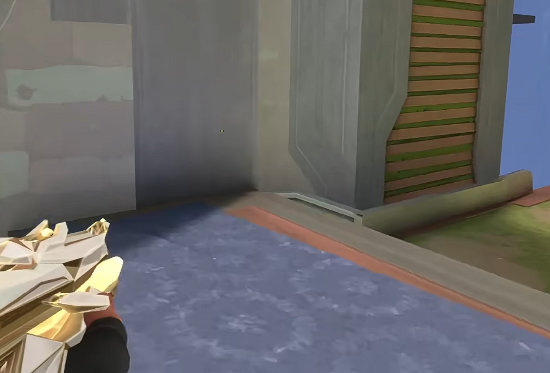
During the clearing process, there is usually someone holding the second floor because this position can cover the entire spike plant area. Therefore, the duelist must exert effort to control this point. If they can control it, they win half the battle. After securing the point, the teammates in the front can quickly clear the point with the duelist controlling the second floor, thereby occupying the site for a retake. This is the strategy for B site. After understanding the strategies for these two sites on the attacking side, we can now look at the strategies for the two sites on the defending side.

For the defending side, whether it's B site or A site, the strategy is essentially the same. This strategy involves guessing the site. Because there are only five players in a game, to defend two sites, you must allocate the number of players. This means that the site with fewer players will face greater defensive pressure, making it easier to break through. Therefore, the defending side needs to guess which site the enemy will attack in this round and try to allocate more players to defend that site. If you guess correctly and coordinate with the retake, you can win. If you guess incorrectly, it's easy to lose. This is the strategy for the defending side.
For the defending side, this map is absolutely an attacking map. It is almost impossible to achieve a large lead while defending. All you can do is try to guess the site and score points. Don't think about gaining a huge advantage while defending. That advantage needs to be achieved when you switch to the attacking side.

Above is the complete guide on how to play Abyssal Cavern in Valorant's Operation Energy. The specific strategies for this map have been explained in the text above. After reading and understanding the strategies, you can follow the instructions to play the map.


