In the world of Seven Days, if you want to modify firearms, you first need to find firearm accessories. There are many accessories in the game, and you need to collect them one by one. Finding all the accessories in Seven Days is not an easy task. It can be said that relying solely on players themselves to find them requires a lot of time and effort, making it very difficult. Therefore, a guide is needed to help find these accessories. Today, we bring you a comprehensive accessory collection guide. After reading this, you will be able to find all the accessories mentioned below.

Accessories 1-3:
Let's look at the accessories. The first firearm accessory is located in Dayton Wetlands. After arriving here, go to the creek area, then turn right and walk to the stone below on the right to obtain the first accessory, the Improved Rifle Magazine. After obtaining it, head to the boss challenge location in this area. Upon arrival, walk outside to the opposite position where you can see multiple flowers. After collecting these flowers, you will receive the second weapon accessory, the Flash Hider.
After finding it, you need to look for the third weapon accessory, the Holographic Sight. This sight is located in the Broken Delta region. You need to go to the Meyer Market drop-off point in this area. After arriving, walk to the upper left, then proceed to the intersection. Here, you will see five statues. Turn the statues around, and after doing so, you can obtain this accessory.
Accessories 4-7:
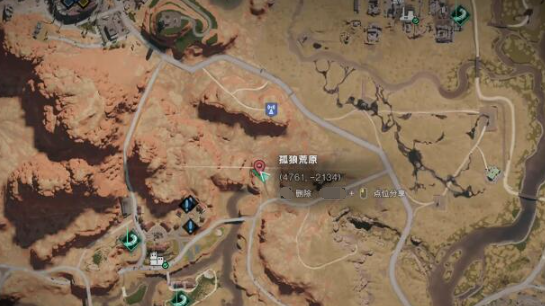
After obtaining it, you need to get the fourth weapon accessory, the IR Laser Pointer. This accessory is located in the Blackheart Zone's Sun Farm area. After arriving here, walk to the upper left and look up to see balloons. Pop these balloons in order, and afterward, you can find this accessory below the last balloon. After obtaining it, you need to get the fifth weapon accessory, the Multi-Purpose Grenade Launcher Suppressor. This suppressor is located above the Life Evolution Research Lab in the Lone Wolf Badlands. After arriving, walk upward to see a camera. Interact with the camera's projection to obtain this fifth accessory.
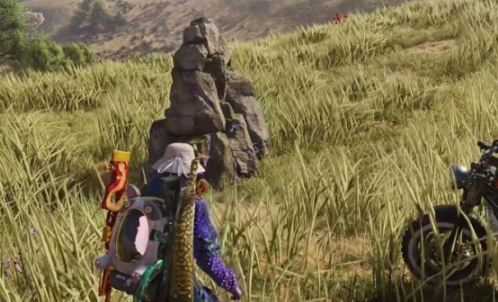
After obtaining this accessory, you need to go to the Lone Wolf Badlands to find glowing rubble and blow it up. After blowing it up, you can obtain the sixth accessory, the Integrated Laser Pointer. Next, go to the upper left corner of the Intertwined Realities Lab. In this corner, you can find three statues. After finding them, stand next to the leftmost statue and interact with it to obtain the seventh accessory, the Precision Rifle Scope.
Accessories 8-10:
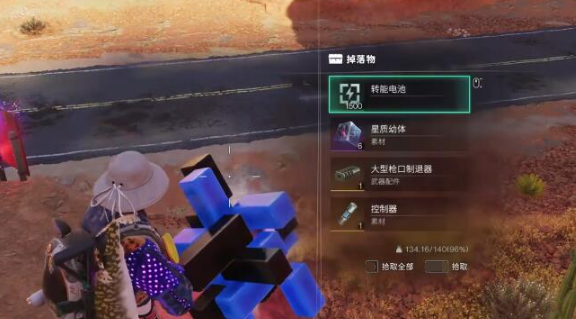
After obtaining the seventh accessory, you need to find the eighth accessory. This accessory is located in the Lone Wolf Badlands. After arriving here, go to the billboard below. Below the billboard, you will see a puzzle that needs to be solved. After solving the puzzle, you can obtain the eighth accessory, the Large Muzzle Brake. After obtaining this accessory, go to the Gaia Megawedge teleportation point in the lower part of Broken Delta. After arriving, fly down the mountain. At the bottom, you will see a box covered by vines. Burn off the vines and open the box to obtain the ninth accessory, the Tactical Flashlight.
After obtaining the flashlight, go to Rust River. Upon arrival, you will see an old church. Use the spatial rule to investigate the church. After picking up an eerie painting, you will obtain the tenth accessory, the Optic Sight.
Accessories 11, 12:
After obtaining this accessory, go to the lower right corner of the Gaia Institute in Delta. Here, you will see abnormal doors, and between these doors, there is a scarecrow. Interact with the scarecrow to obtain the eleventh accessory, the Mid-Range Tactical Scope.
After obtaining this accessory, go to the seaside on the right side of Meyer Market, then walk to the billboard on the opposite side of the road to find the last accessory, the Osprey Suppressor. This accessory is located below the billboard. Interact with the billboard to see this accessory, and after seeing it, all accessories are collected.
The above is the complete guide for obtaining all accessories in Seven Days. After reading the above introduction, you should now know where these accessories are and how to obtain them. Once you understand the locations, you can go and collect these accessories.
