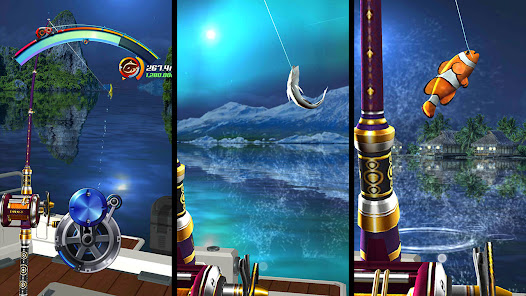
Kail Fishing
Game Introduction


Hot Strategy
How to play as Ysera, Introduction to Ysera's playstyle
In the game of Eser, to increase the fun, developers have provided many different bosses for players to challenge, and the boss Israel is a relatively difficult problem for new players. In today's article, I will summarize some strategies on how to defeat this boss for you. Many players will encounter this boss after entering the game, and its difficulty is indeed quite high, causing many players to feel a bit frustrated. Are you also wondering what kind of techniques can help you defeat him smoothly? Perhaps today's article can provide you with a suitable answer.
Firstly, in terms of team selection, I recommend choosing some fire-attribute characters, as they will deal higher damage to Israel, helping you pass this stage more easily. For damage output, I highly recommend bringing Lian, whose burst damage is very high, making it easier to clear out minor monsters later on. For support, I suggest Huan Ying or Hel, who can reduce the cooldown of skills for other team members or add shields to block high damage from minor monsters. Before defeating Israel, players need to defeat some smaller bosses first. Although the process may seem tedious, the combat power and defense of these bosses are not particularly high, so you don't need to spend too much effort to win easily.
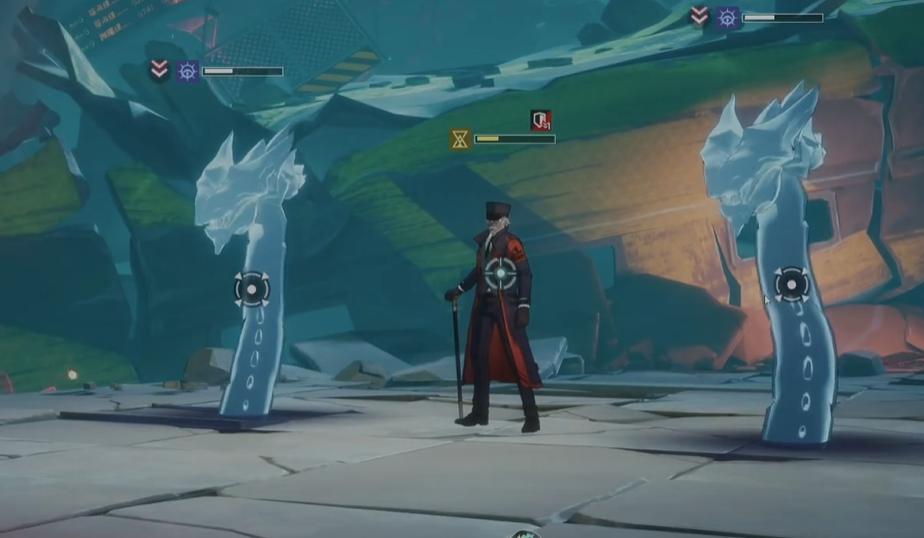
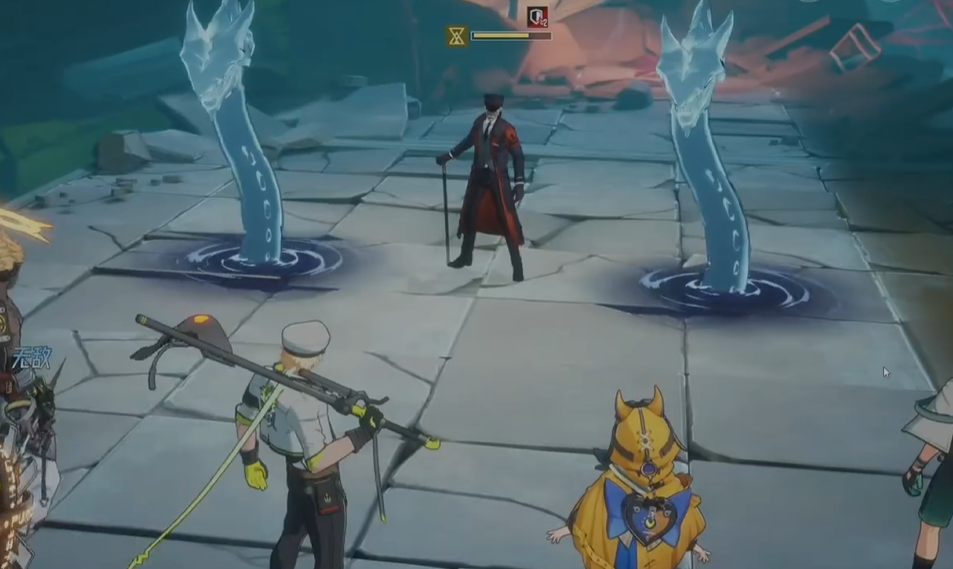
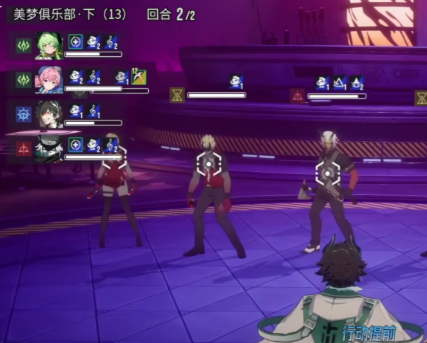
After defeating the evil ghost Mode, players will officially start their confrontation with Israel. The battle can be divided into two phases: in the first phase, Israel will summon a large number of minor monsters, and players need to switch targets promptly; otherwise, the damage received will be quite high. The second phase involves terrain interference, where Israel continuously releases AOE (Area of Effect) skills, and players need to dodge them in time. At the same time, some ranged attack minor monsters will appear around, which also need to be cleared quickly. Therefore, it is recommended that players bring some ranged attack characters.
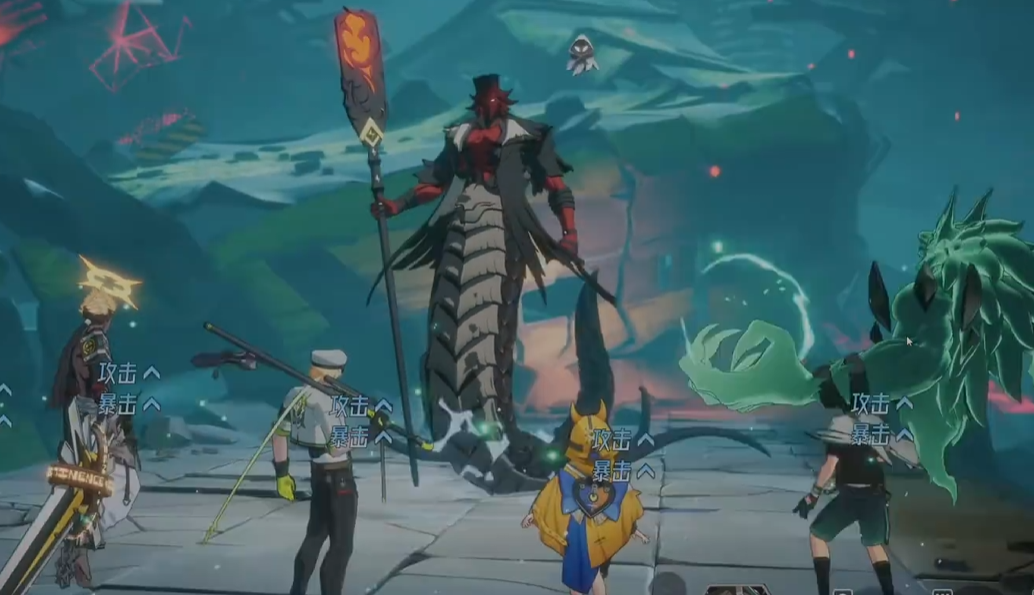
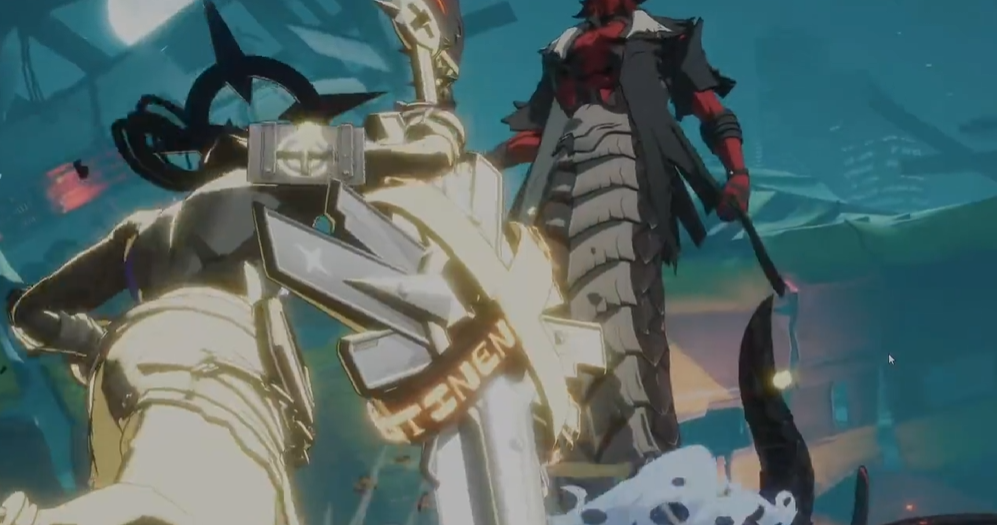
When Israel enters the low health phase, he will enter a berserk state, at which point players need to pay extra attention to his skills. During this phase, Israel will randomly release skills, typically dealing large area damage, and while increasing their output, players must also dodge in time. Additionally, it is essential to completely defeat him within two turns, or else the mission will be considered a failure. Overall, this boss requires fairly strict DPS from players, so I recommend bringing another Withered Heart.
Regarding the boss Israel in the mobile game Eser, many players find it very challenging, and it is indeed a significant problem for new players. Therefore, in today's content, I have detailed the specific tactics for defeating this boss. Although the difficulty is not extremely high, if you want to beat him, it is very necessary to prepare in advance.
Is the Naruto Leaf Village expert Uzumaki Kushina good to use? Introduction to Uzumaki Kushina's character skills
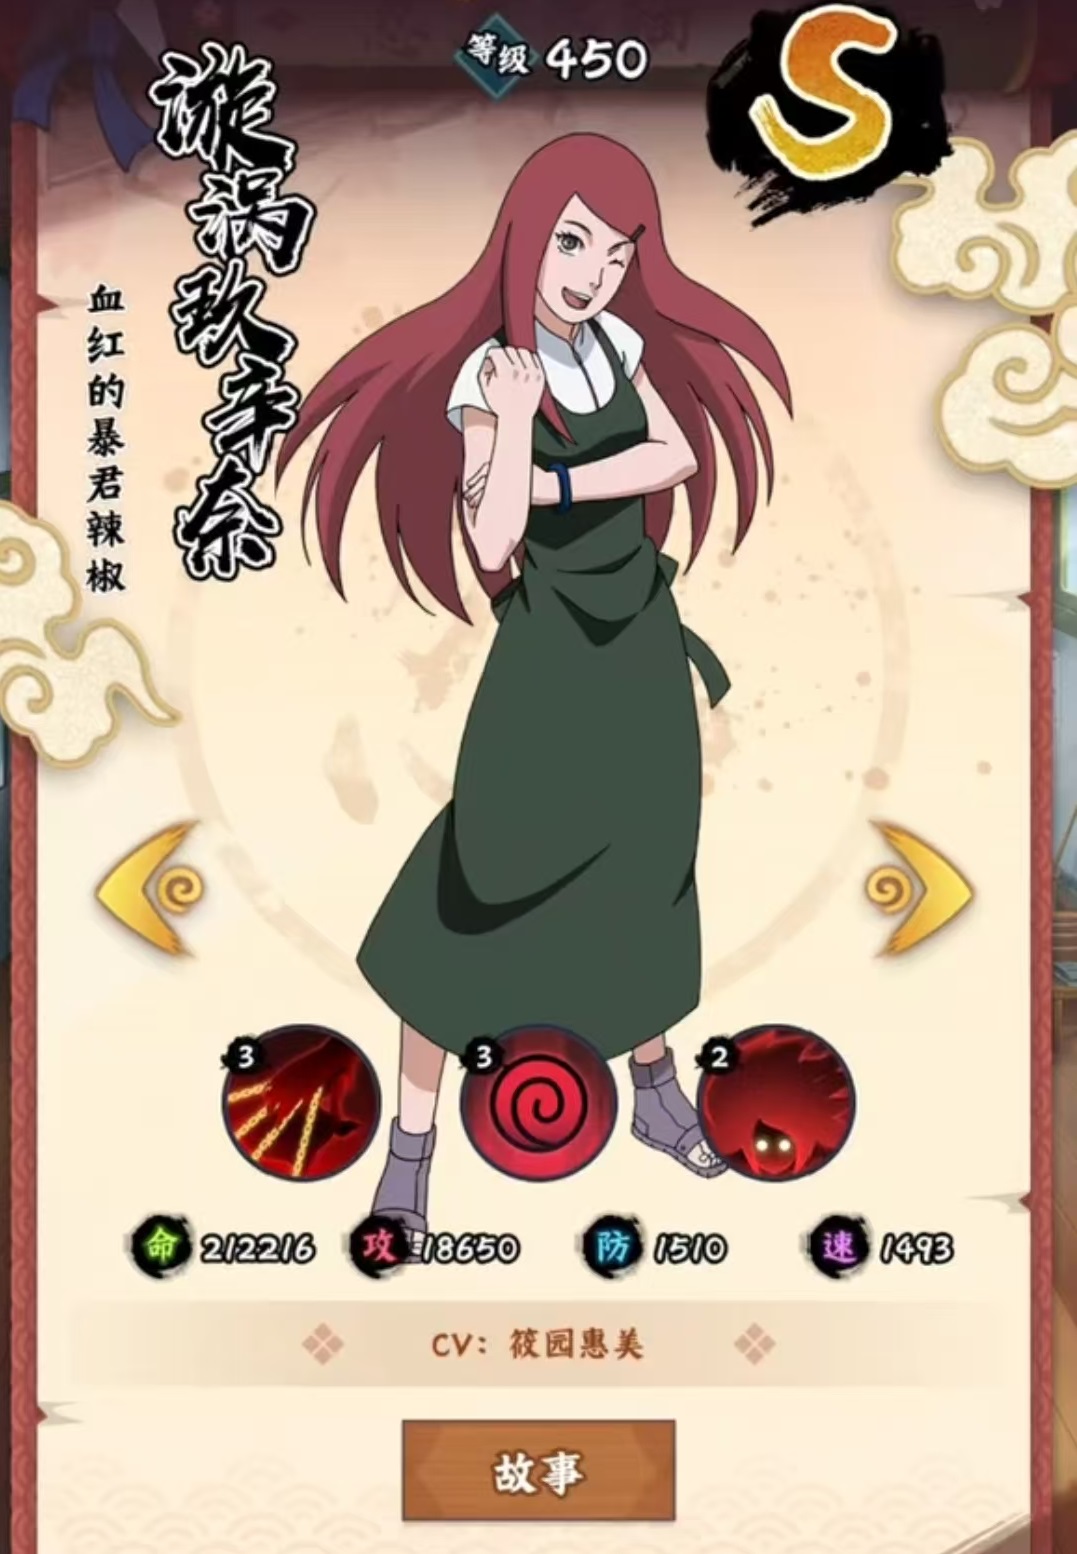
If we talk about the potential stock characters in the game Naruto Leaf Village Expert, today we must definitely mention Uzumaki Kushina. Although there are all kinds of ninja characters competing for attention here, the question of whether Uzumaki Kushina from Naruto Leaf Village Expert is useful is still a concern for many players. The S-rank ninja Uzumaki Kushina, who we will focus on introducing today, is not a character on the current game popularity rankings, but the unique value she possesses is also useful in the early stages.
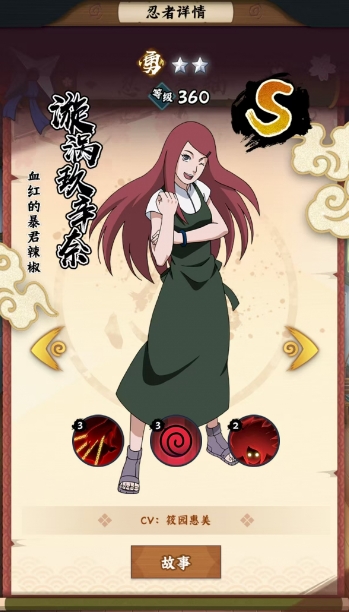
In the game's setting framework, S-rank ninjas indeed face some inherent shortcomings compared to those top-tier existences at the peak of quality. The most obvious shortcoming is the lack of a passive skill, a defect that gradually becomes apparent in the later stages of the game. However, S-rank ninjas can shine brilliantly in the early stages of the game with their unique advantages. Uzumaki Kushina is a typical representative who can stand out in the early stages. Her active skill, Diamond Seal, brings a considerable amount of damage output.
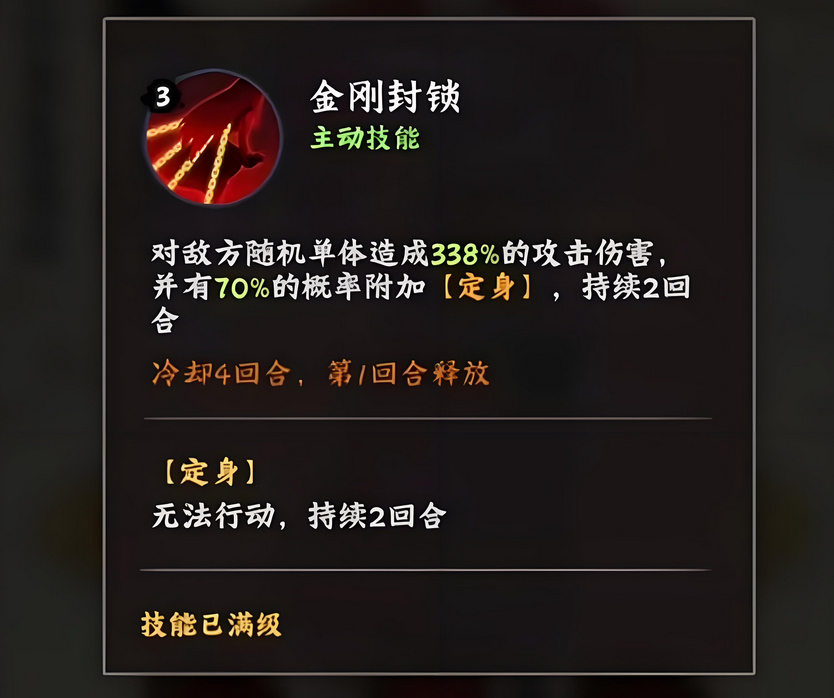
Although this skill is an attack skill, it cannot select a target; instead, it causes damage to random units. This time, the damage reaches 338% of the attack value, a number that is sufficient to make the enemy feel pressured in actual combat. Whether facing fragile characters or those with some defensive capabilities, it can cause significant damage. What’s even more astonishing is that this skill has a 70% chance to inflict a paralysis effect on the target, and this paralysis state can last for two turns.
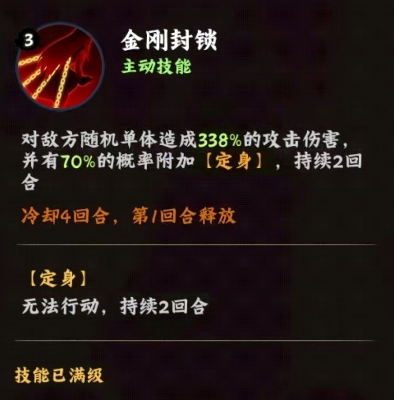
Once the enemy falls into this predicament, they completely lose their ability to act. Unlike traditional common binding effects, this paralysis state does not easily break when attacked. This characteristic gives it a great tactical advantage, making it impossible for the enemy to escape control through conventional means. During these two turns, other team members can attack, use skills, or adjust positions without interference, thus delivering a smooth and efficient combination of attacks.
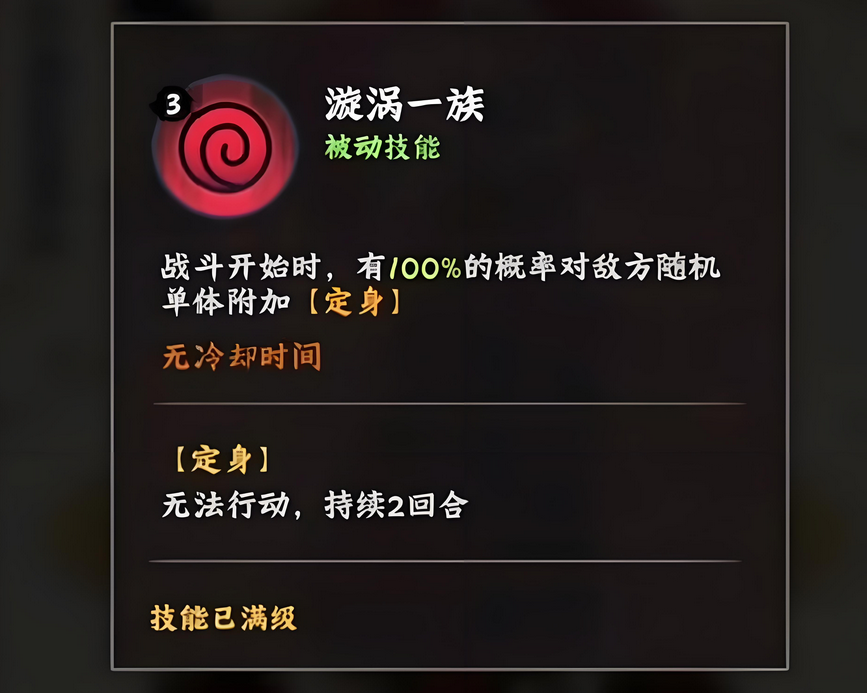
The core passive skill, Uzumaki Clan, is a 100% trigger opening control. If the active skill is already impressive, her passive skill, Uzumaki Clan, has a 100% chance to inflict a paralysis effect on a random enemy unit at the beginning of each battle, lasting for two turns. Such a high trigger rate almost guarantees that in every battle, one random enemy character will be firmly locked in place. This feature provides players with a rich tactical choice space, allowing them to precisely control the enemy's core damage dealer or key support role. Once these important targets are successfully restricted, the win rate of the battle will be increased.

It is precisely based on this powerful and stable control effect that Uzumaki Kushina has become the control core of the team. Teammates can take targeted actions such as dealing damage, healing, or providing other support based on the favorable situation she creates. For example, when our damage-dealing ninja is preparing to release a major skill, Uzumaki Kushina can use the Uzumaki Clan skill in advance to control the enemy's main defender or disruptor, ensuring the major skill hits and deals maximum damage. Or, when our healer is restoring health to teammates, her control skill can prevent the enemy from taking advantage of the opportunity to launch a sneak attack, ensuring the safety of the healing process.
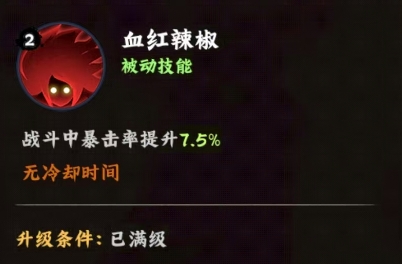
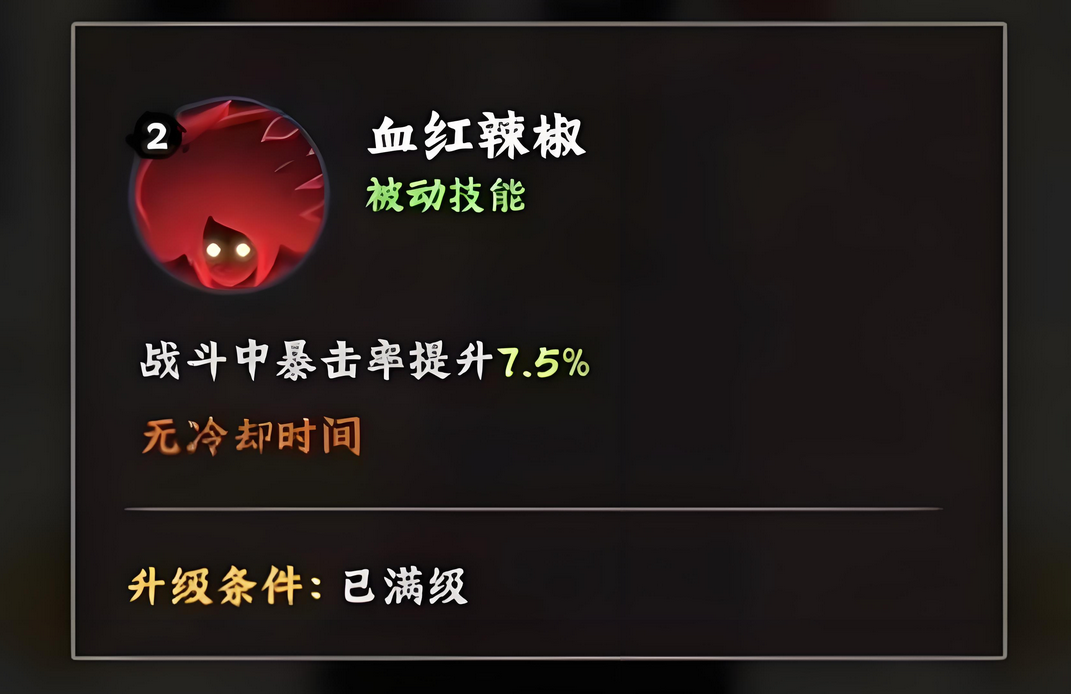
Besides the two key skills mentioned above, Uzumaki Kushina also has a passive skill that increases critical hit rate, which is a 7.5% increase in critical hit rate during battles. However, objectively speaking, due to the character's base damage not being particularly outstanding, and the lack of a passive skill that would provide comprehensive attribute bonuses due to the quality level, this critical hit rate increase appears somewhat insignificant in actual combat. In most cases, players tend to use her as a pure control-oriented utility character, focusing on and fully utilizing her excellent paralysis ability. After all, in a control-centric tactical system, stable control effects are far more important than occasional critical hits.
Finally, in terms of team composition, Uzumaki Kushina demonstrates extremely high compatibility and adaptability with her unique control skills. She can perfectly integrate into many early-stage teams, especially for the vast majority of casual players, making her a highly cost-effective choice. Due to the relatively limited resources of casual players, most resources are typically allocated to cultivating SSS or SS-rank ninjas, leading to a relative scarcity of resources for S-rank ninjas. A character like Uzumaki Kushina, with a clear functional positioning, fits well with the resource allocation needs under this situation. She does not require a large investment of resources and, in a team composed of several ordinary S-rank and A-rank ninjas, Uzumaki Kushina can compensate for the team's control deficiencies with her control skills.
Is Uzumaki Kushina from Naruto Leaf Village Expert useful? As summarized, she can be quite useful in the early stages. Currently, many low-quality ninjas in the game are similar to Uzumaki Kushina, but as long as players can discover and utilize their strengths, there are still some usable opportunities.
How to play Yisruiel Correct way to play Yisruiel
How to defeat Israel? Many players who are experiencing this game for the 1st time may find it a bit tricky. The operation is still quite difficult, so how can you defeat it? Players still need to know how to counterattack and then master the corresponding skills. For example, you can use the following methods. Today, I will share some details with everyone.

Before the challenge, players should first choose to reasonably match their lineup. It's recommended to pick some fire-attribute characters with high burst damage, such as choosing Isaya and Rian. These two roles can play a supportive role, making the overall strength of the lineup more outstanding. Even when facing a strong lineup, there's no need to be overly worried. Of course, don't forget to equip Withered Heart, which can directly cause stacking damage to enemies. If players make good use of it, they can directly leverage its advantages. For support roles, Hel or Huan Ying Yi can be chosen. These two characters can actually help players reduce skill cooldown times and also apply shields. In the lineup, the shield can play a supporting role, blocking more damage.
In Israel's 1st phase, the health basically does not drop below 60%, and there are two mechanisms in total. Players need to watch these two stages and deal with them accordingly. The 1st one is the Watchtower Sword Rain. During this phase, players need to clear all the small soldiers around them. After clearing all the small monsters, they can effectively avoid future worries. In the 2nd phase, it turns into terrain interference. Small monsters will be summoned, and these small monsters will release ranged attacks against the player. This needs to be taken seriously; if not, it could leave potential hazards, ultimately leading to some losses. Players can first defeat all the small monsters, and after successfully defeating them, they can earn reward points.
When it enters the final stage, there will be an output judgment, which is the endgame. This is quite important, and players need to pay attention to the next steps. At this point, the boss will release a full-screen attack skill. If the player fails to control its health below 10% within two turns, it means failure, and even a team wipe. Therefore, players must take it seriously.
How to defeat Israel? The above content is a detailed introduction by the editor. Since this boss has an attack value judgment mechanism, to defeat it, it's not as simple as imagined. You must ensure that your team has both attack and defense roles. I hope this content can help the players.
Is Naruto's Konoha expert Kushina Uzumaki good to use? Analysis of Kushina Uzumaki's skill strength
Today, I'm going to introduce the S-rank ninja Uzumaki Kushina from the game. Although this character is not among the current top-tier, I believe it has its own value. Let's take a look at whether Uzumaki Kushina, the Leaf Village expert in Naruto, is useful. Compared to the highest quality ninjas, the drawback of S-rank ninjas lies in the lack of one passive skill, which makes them indeed weak in the later stages, but they can play their part in the early stages.
Uzumaki Kushina's active skill, Adamantine Chains, can deal 338% attack damage to a random enemy unit and has a 70% chance to inflict immobilization for two turns. Once immobilized, the target cannot act, and you don't have to worry about the effect being removed after taking an attack, which is better than the bind. The passive skill, Uzumaki Clan, has a 100% chance to inflict immobilization on a random enemy unit at the start of the battle, with the immobilization lasting for two turns as well.
This passive is the true core of this character. It's the main reason I recommend choosing Uzumaki Kushina; while the damage is secondary, the immobilization effect it brings is very good, often playing a miraculous role in many battles. Moreover, the trigger rate of the passive is very high, ensuring that one random enemy will be immobilized, allowing you to try repeatedly in combat to control the opponent's key member. Once the key member is controlled, the win rate of the battle will significantly increase.
The last passive skill increases the critical hit rate by 7.5% during the battle. This passive is somewhat dispensable because this character's damage isn't particularly high, and lacking the attribute bonus from an additional passive means it mainly serves as a control tool, primarily for inflicting immobilization. In team composition, it can also be used as a control character, fitting into many early-game lineups. For free-to-play players, since most resources go to SSS or SS rank ninjas, such S-rank characters don't get much resource allocation. A character like Uzumaki Kushina, however, fits perfectly into this mix.
The above content is my answer to the question of whether Uzumaki Kushina, the S-rank ninja, is useful in the Leaf Village experts of Naruto. After reading, everyone should have a clearer understanding of this S-rank ninja. Many lower-quality ninjas in the game have their unique roles, and if used properly, they can also leverage their strengths.
Dust White Forbidden Zone Cassie狂诗介绍 Dust White Forbidden Zone Cassie狂诗怎么样 Note: "狂诗" seems to be a specific term or name in this context, and it's kept as is since there's no direct equivalent in English without additional context. If you meant something else by "狂诗," please provide more details.
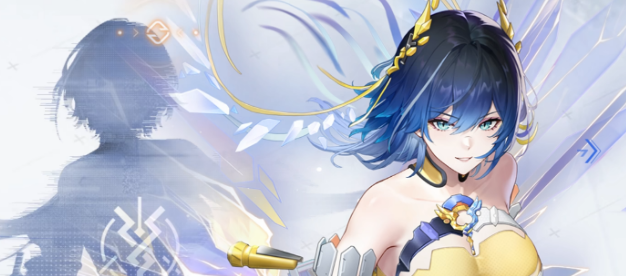
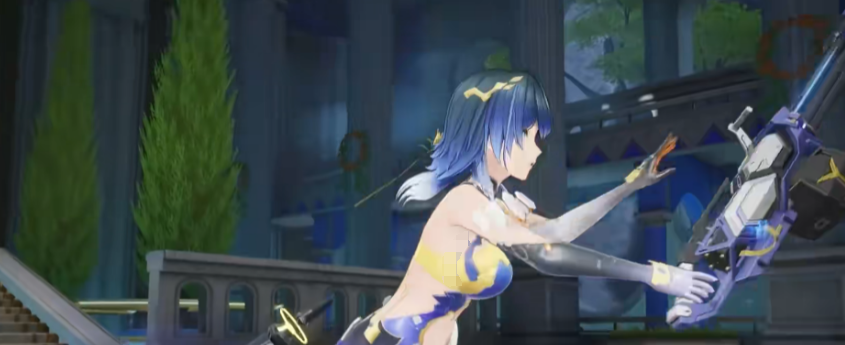
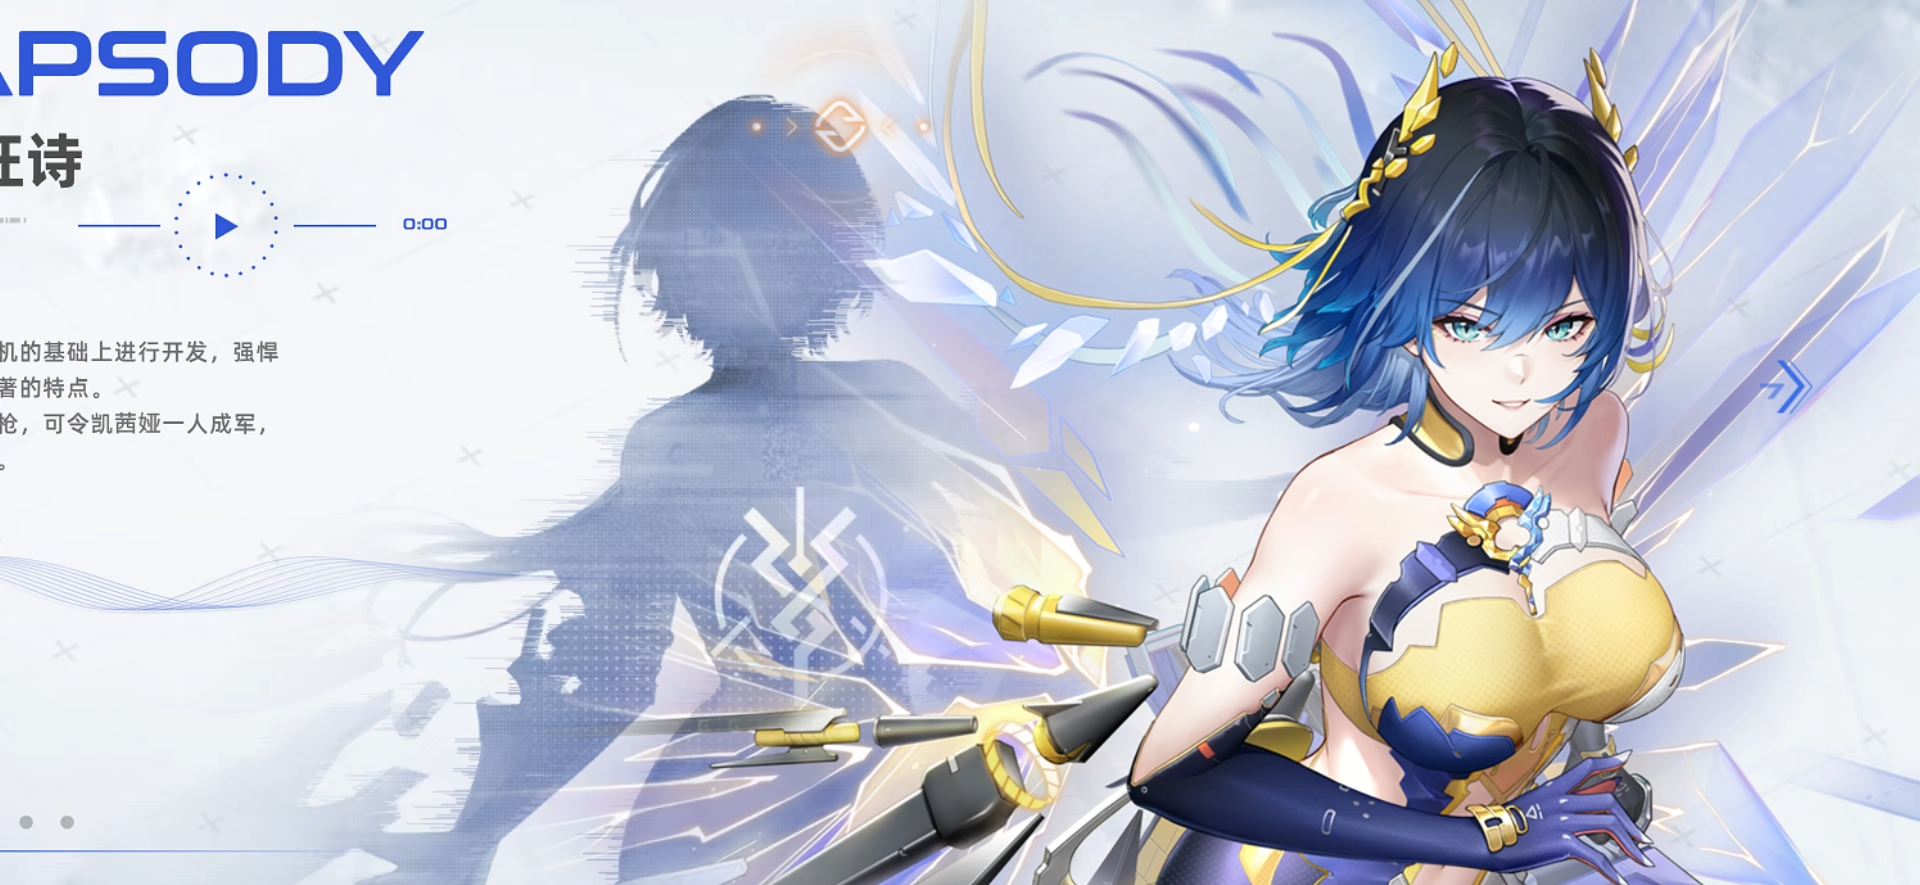
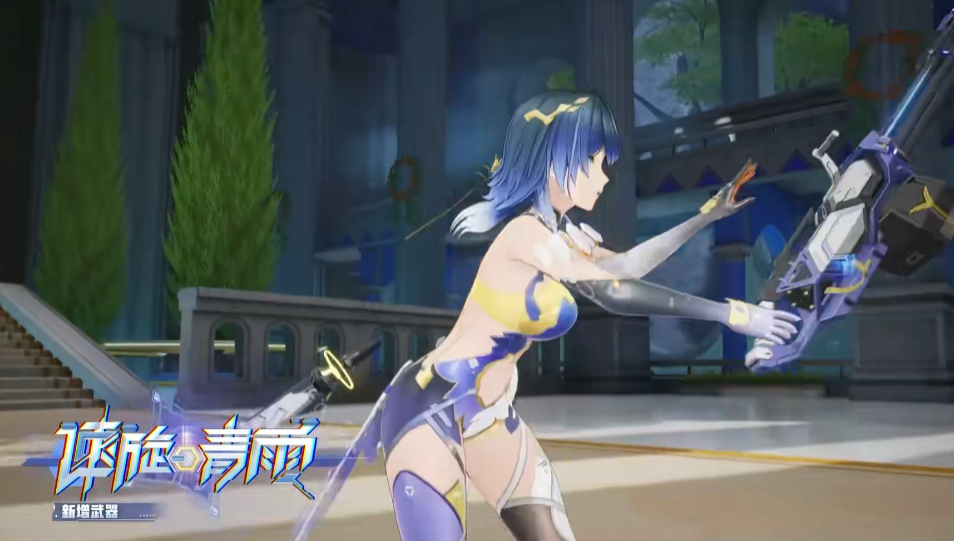
Cathy Rhapsody of the Dust White Forbidden Zone, as a brand new character launched for the 2nd anniversary celebration, attracted a lot of players' attention right from her debut. Her short hair with a blue-black gradient, paired with a cool and stunning demeanor, is simply breathtaking. Today, I will bring you an introduction to Cathy Rhapsody of the Dust White Forbidden Zone. This character not only captivates players with her appearance but also demonstrates formidable strength in battle. Let's dive into a detailed analysis of Cathy Rhapsody's skills and gameplay, and see if she's worth your investment.
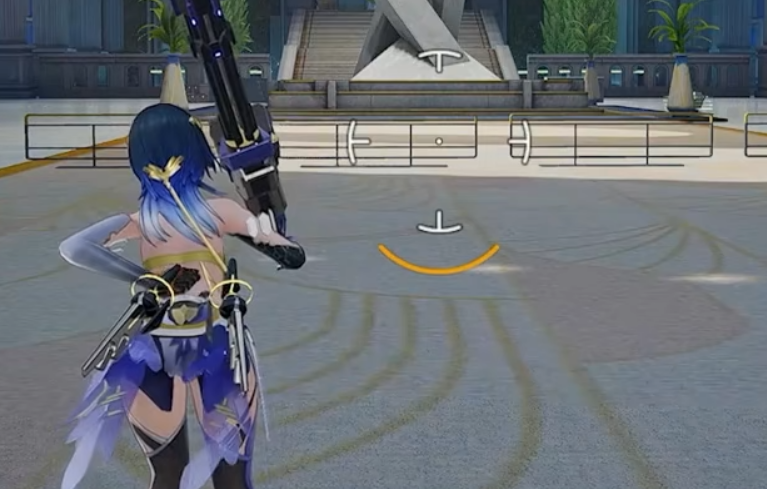
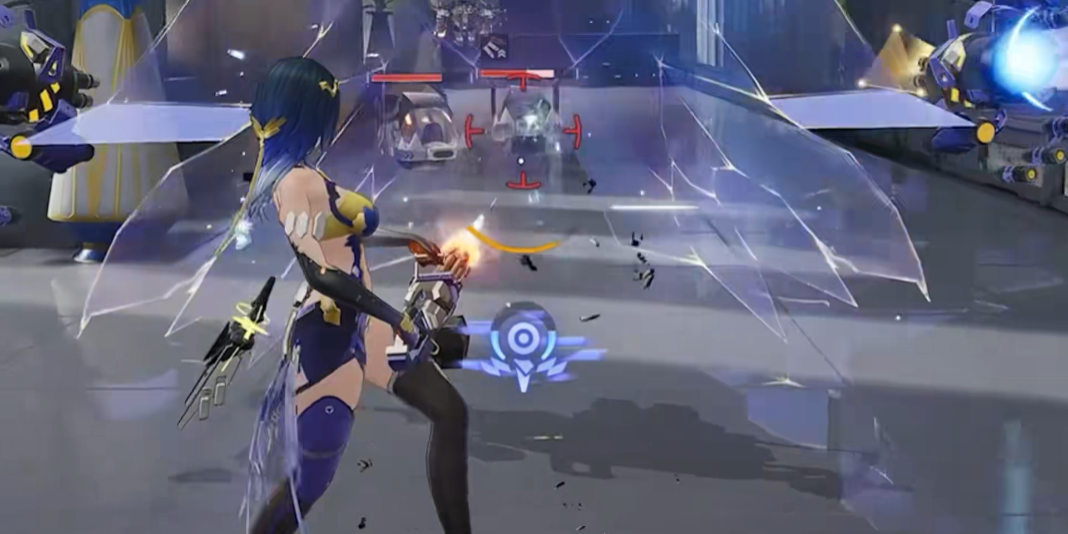
Firstly, Cathy Rhapsody's weapon - the Gatling Gun, is almost tailor-made for her. This weapon boasts a super large magazine capacity of 300 rounds. Imagine sweeping through the battlefield, with bullets pouring out like rain. However, its feature lies in the need to warm up before firing, which means you do not consume any ammunition at the beginning; only after warming up does it enter a frenzied shooting state. This design allows Cathy to maintain a high output frequency at the start of combat, avoiding early gaps due to insufficient ammunition. Especially in her aiming mode, the view will zoom in, allowing for more precise strikes against enemies. Her rate of fire is astonishing, even faster than dual-wielding submachine guns, making her a terrifying presence to the enemy.
Regarding Cathy Rhapsody's damage output, she is better suited to be paired with support characters that provide empowerment. The effect of empowerment can increase her damage, and given her extremely fast firing rate, frequently triggering these effects means her DPS will significantly rise. Although her weapon itself lacks a critical hit mechanism, the frequent attacks make up for this, enhancing her overall output. If you want her damage to be more explosive, it's best to increase her damage bonus through other means rather than relying solely on critical hits.
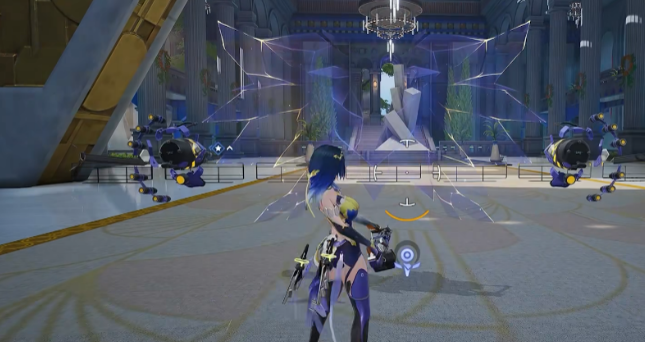
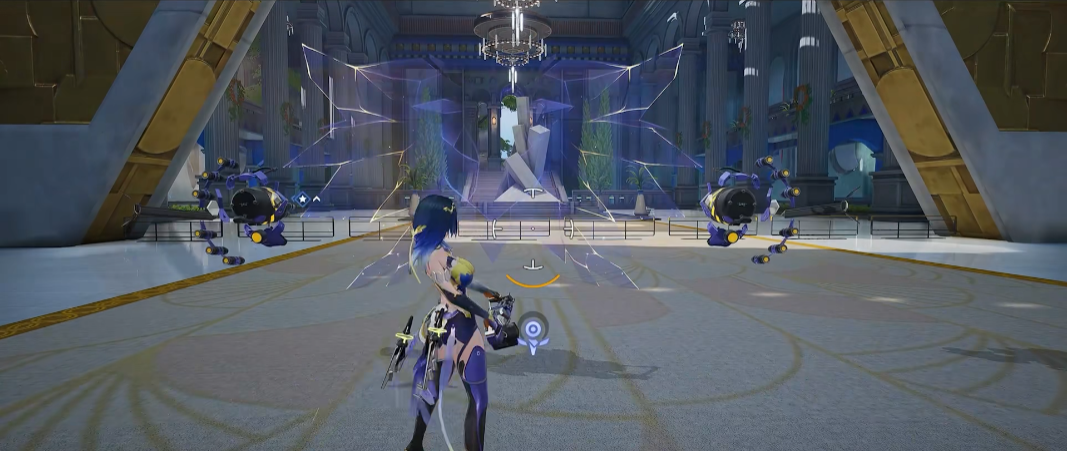
Cathy Rhapsody's defensive and survival capabilities are also noteworthy. She possesses a force field shield that can be activated when using regular skills. This shield has three levels, which can be recovered during combat and provide additional enhancement effects based on the level. More importantly, the force field not only protects her but also works in tandem with turrets on both sides, achieving a good balance between offense and defense. It can be said that this force field skill greatly enhances her survivability.
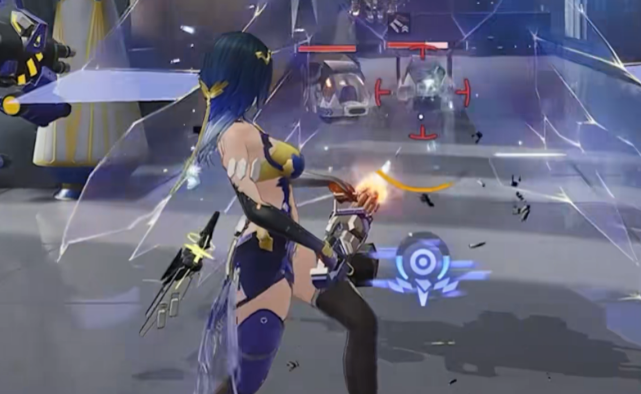
Cathy's tactical mobility is another highlight. Not only can she dodge enemy attacks, but she can also accurately navigate maps while flying, allowing her to move flexibly in intense battles and avoid being surrounded by enemies. As for her ultimate skill, it can be described as an all-around burst. She releases the power of space-time, unfolds light wings behind her, instantly loads multiple floating cannons, and deals massive area damage. This skill is not only powerful but also plays a significant role in controlling enemies. Her support skill can levitate enemies, providing excellent control opportunities for teammates, making her a godsend in team fights.
Above is the content of the introduction to Cathy Rhapsody of the Dust White Forbidden Zone. Cathy Rhapsody is an all-rounder character, excelling in both offense and defense. Her Gatling Gun provides extremely high sustained output, while the force field shield and dodging mechanics ensure her longevity on the battlefield. When paired with empowerment-supporting characters, her DPS can be further increased, showcasing overwhelming combat power.
How is Casey's Rhapsody in the Forbidden Zone of Dust? Analysis of Casey's Rhapsody Character in the Forbidden Zone of Dust
How is Casey Rhapsody in Dust Forbidden Zone? Casey Rhapsody is a new character to be released in version 3.0 on the 2nd anniversary. This character has short hair with a blue-black gradient, and her appearance is very beautiful, which must have captured the hearts of many players. In terms of setting, she is a cryo-attribute character and the main C-position for the Gatling gun. Naturally, everyone is very concerned about her strength. Below, we will analyze this character for our friends.
She uses a new type of weapon, the Gatling gun, with a capacity of 300 rounds. Before firing, it needs to warm up, so it does not consume bullets at the beginning. When Rhapsody shoots, you can see the zoomed-in aiming mode. The firing speed of the Gatling gun is very high and remains constant, even faster than dual-wielding submachine guns.

It is suitable to be paired with empowerment auxiliary effects, as the damage from empowerment remains unchanged, so the higher the trigger frequency, the higher the DPS. It is likely that critical hits are not possible, and the chance of crit damage is also relatively low. The bonus received from fire rate will be converted into a bonus for shooting damage according to a certain ratio.
When using regular skills, she activates a force field shield. The force field has three levels and can also be recycled. After recycling, it provides additional enhancement effects based on the level. If bullets pass through this spacetime force field, they will not only coordinate attacks on enemies with turrets on both sides but also gradually increase the level of the spacetime force field.
The activation of regular skills seems to be interruptible by support skills, without affecting the release and effectiveness of the skills. Rhapsody has a dodge action, and flying and running may require a long press to trigger. Her ultimate skill is similar to Infinite Vision, fully unleashing her spacetime power, spreading light wings behind her, and using the light wings to load multiple floating cannons, causing damage to a large area of enemies in front; the support skill uses spacetime power to levitate target enemies, providing control effects.
This concludes the introduction to Casey Rhapsody in Dust Forbidden Zone. The skill effects mentioned are based on some in-game demonstrations. For the specific skill mechanisms, the final version upon release should be taken as the standard, but the information provided here is mostly accurate.
How to Fight Golza in the Ultraman Series: A Guide on Battling Golza
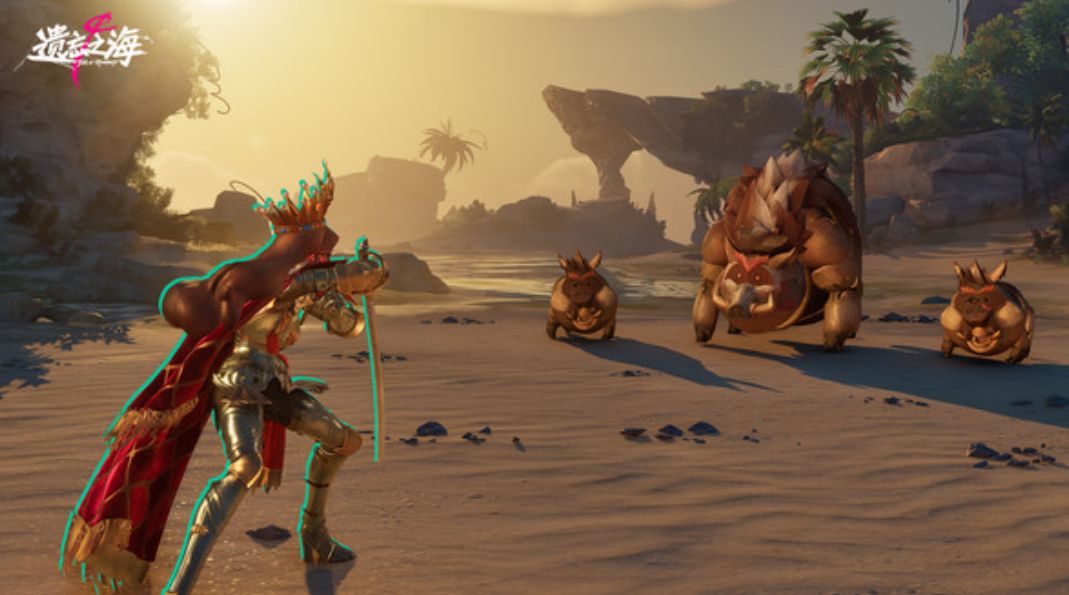
There are many monsters in the Ultraman series battles, and some of them are particularly difficult to defeat. Especially, how to fight Golza in the Ultraman series? To defeat these powerful enemies, you must plan ahead, as their moves and abilities are all different. Attacking blindly might lead to a crushing defeat, so to complete all tasks, it's necessary to understand the specific strategies.
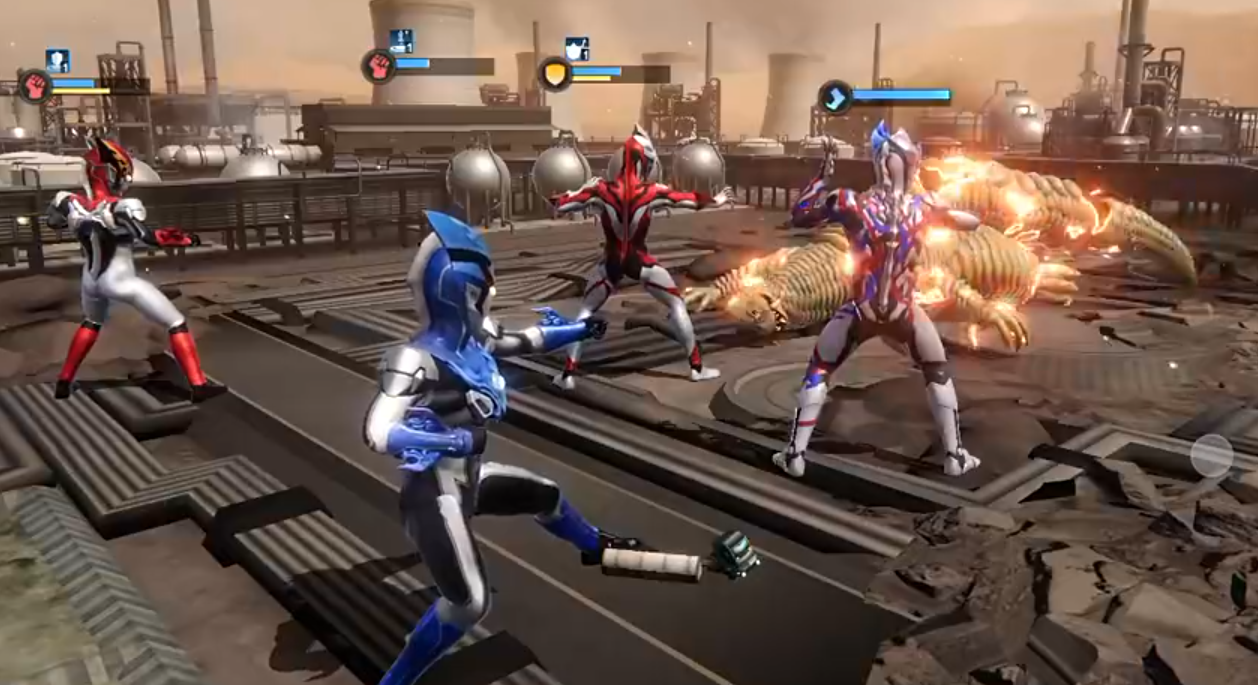
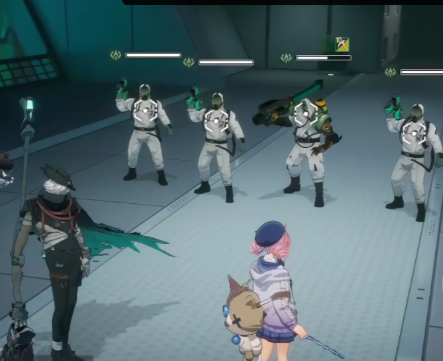
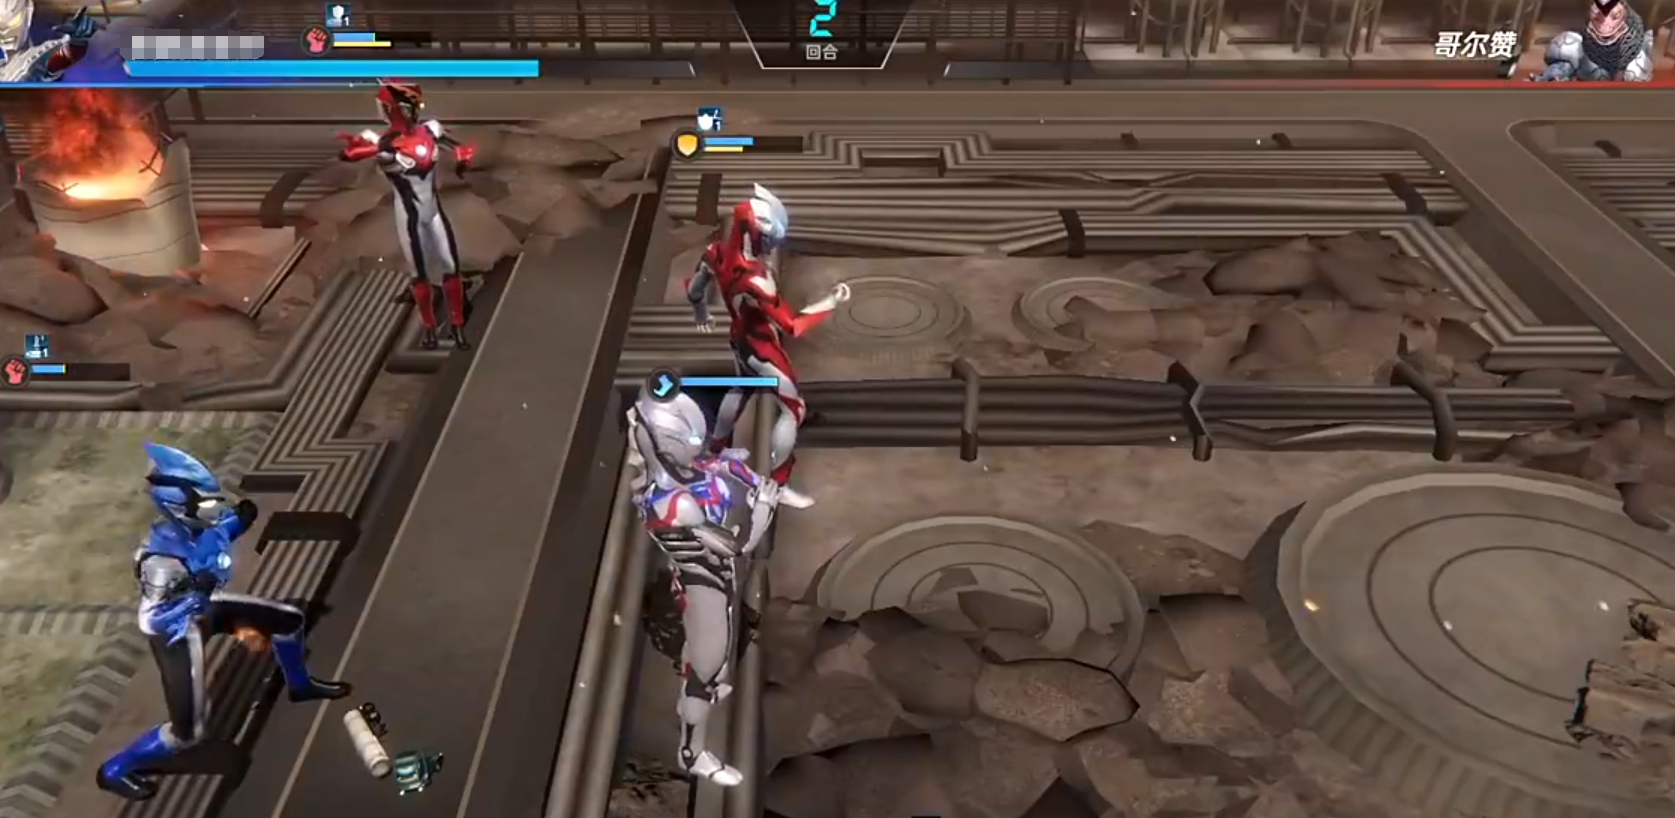
Golza is actually a monster similar to a dinosaur, with several smaller monsters surrounding him. Therefore, it's recommended to deal with the smaller monsters first, as the game uses a turn-based combat system. If attacked by all the monsters at once, it's easy to be overwhelmed. Since the boss has a lot of health, it's basically impossible to take him down first.
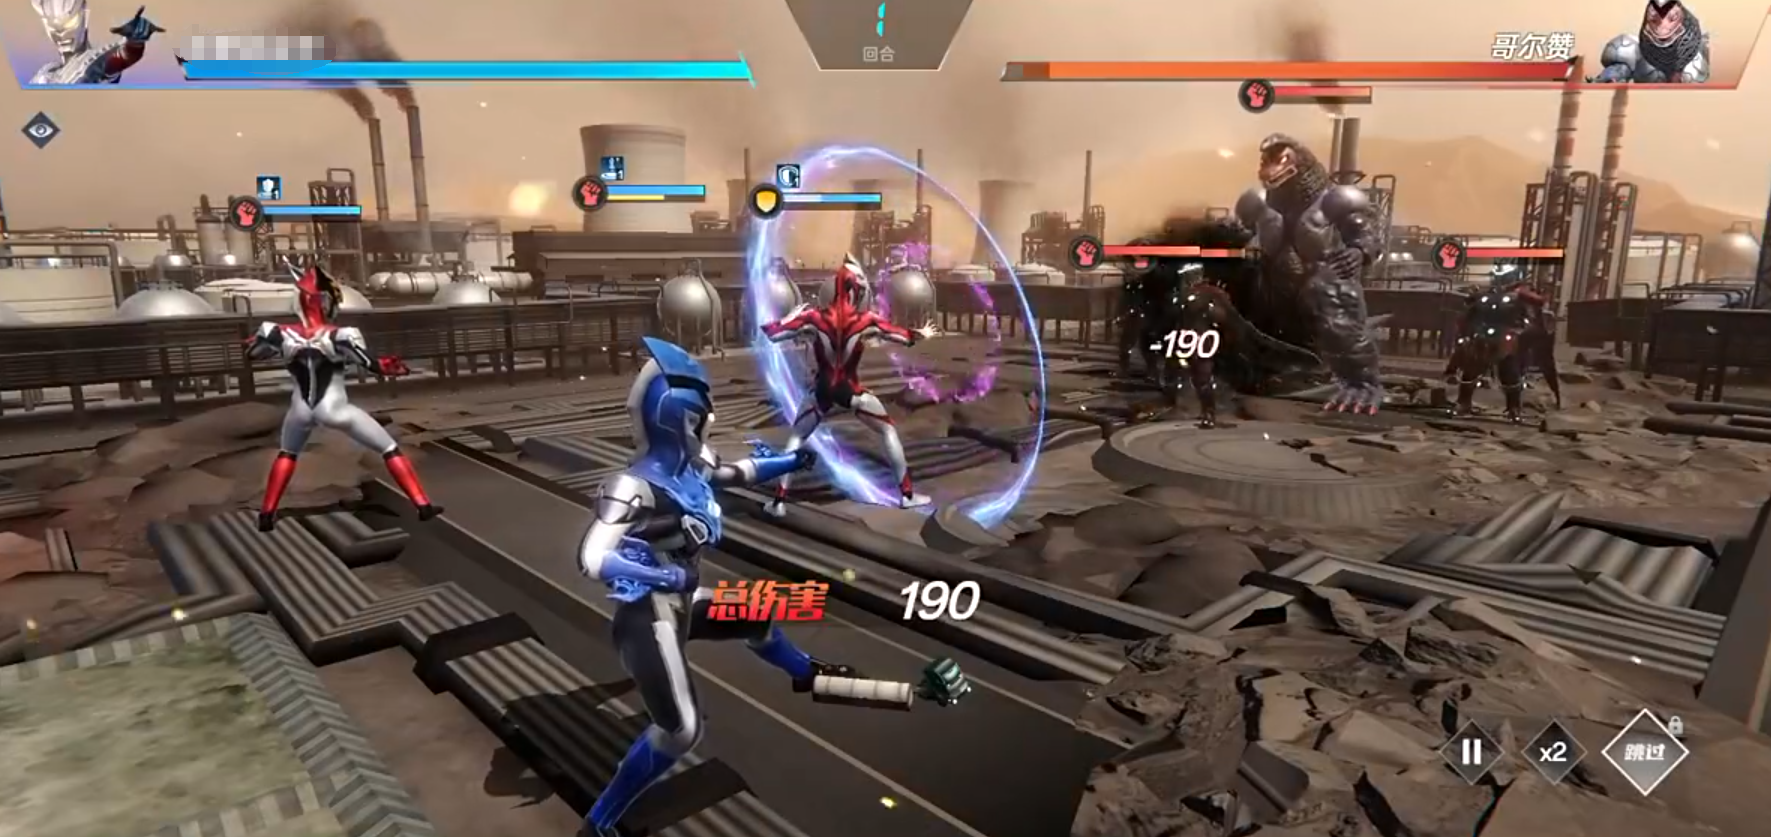
During the battle, you can use combination skills, which can cause large area damage. After a set of attacks, most of the smaller monsters will have lost about half their health, and this will also hit the boss. Then, place Geed in front; he is a defensive character. When attacked, he can recover energy and also absorb damage for the attackers.
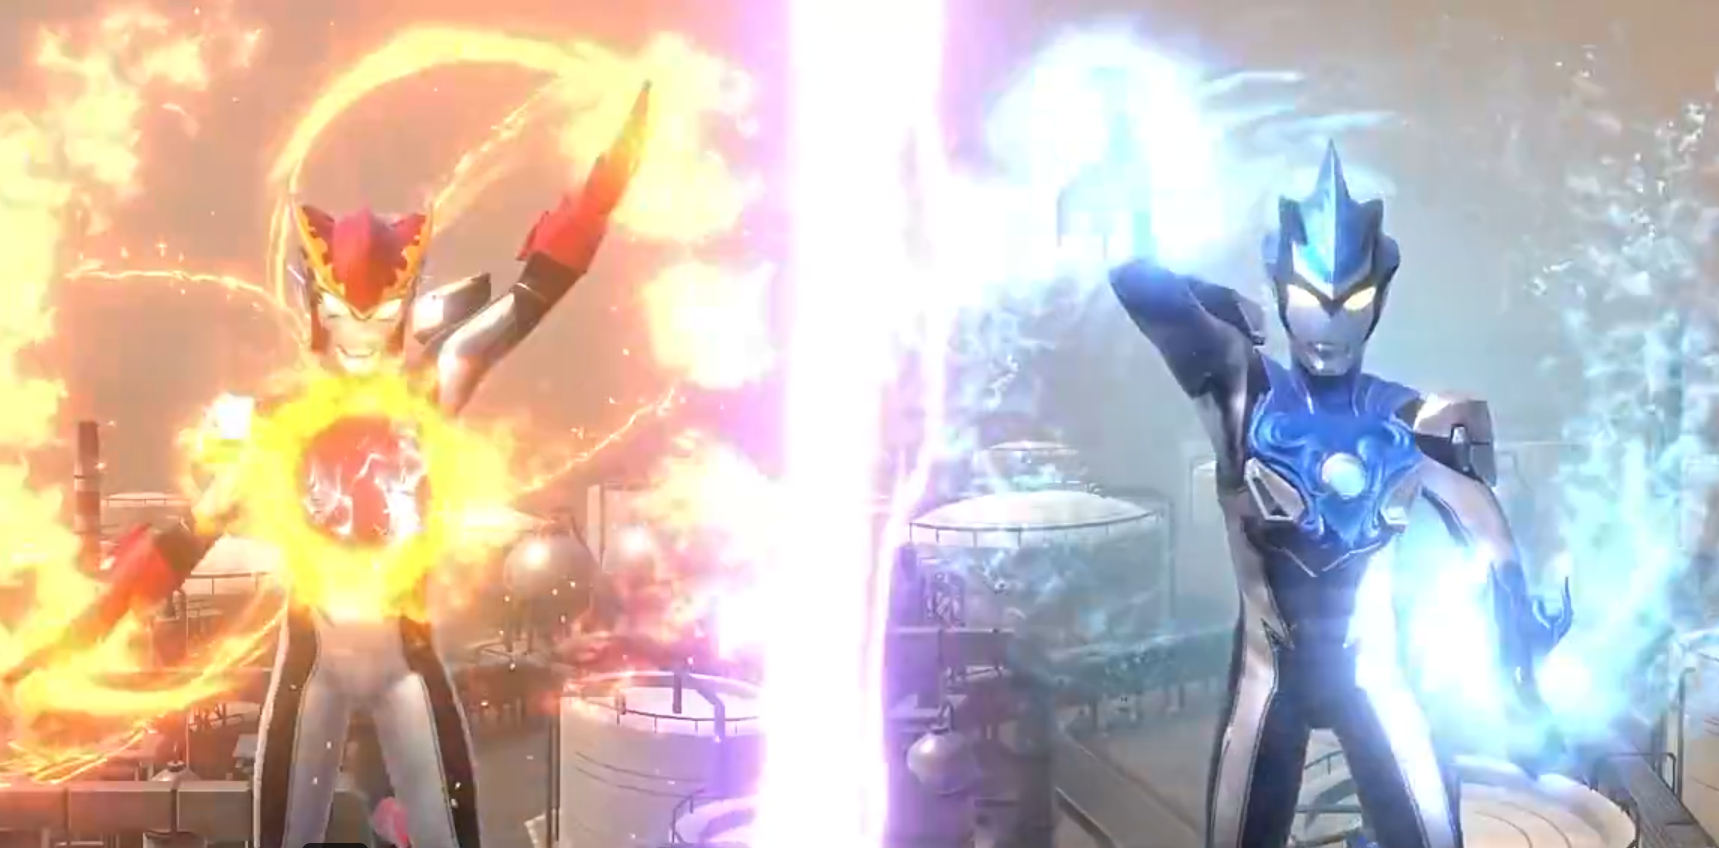
Once the energy is full, you can activate the ultimate move. For example, Leo can release the Destruction Burst, allowing an attack on multiple opponents. If you feel the animation is too long, you can skip it, but this cannot be done during the early main story. After the smaller monsters are defeated, Golza begins to show his true strength, turning completely yellow as if trying to avenge his minions.
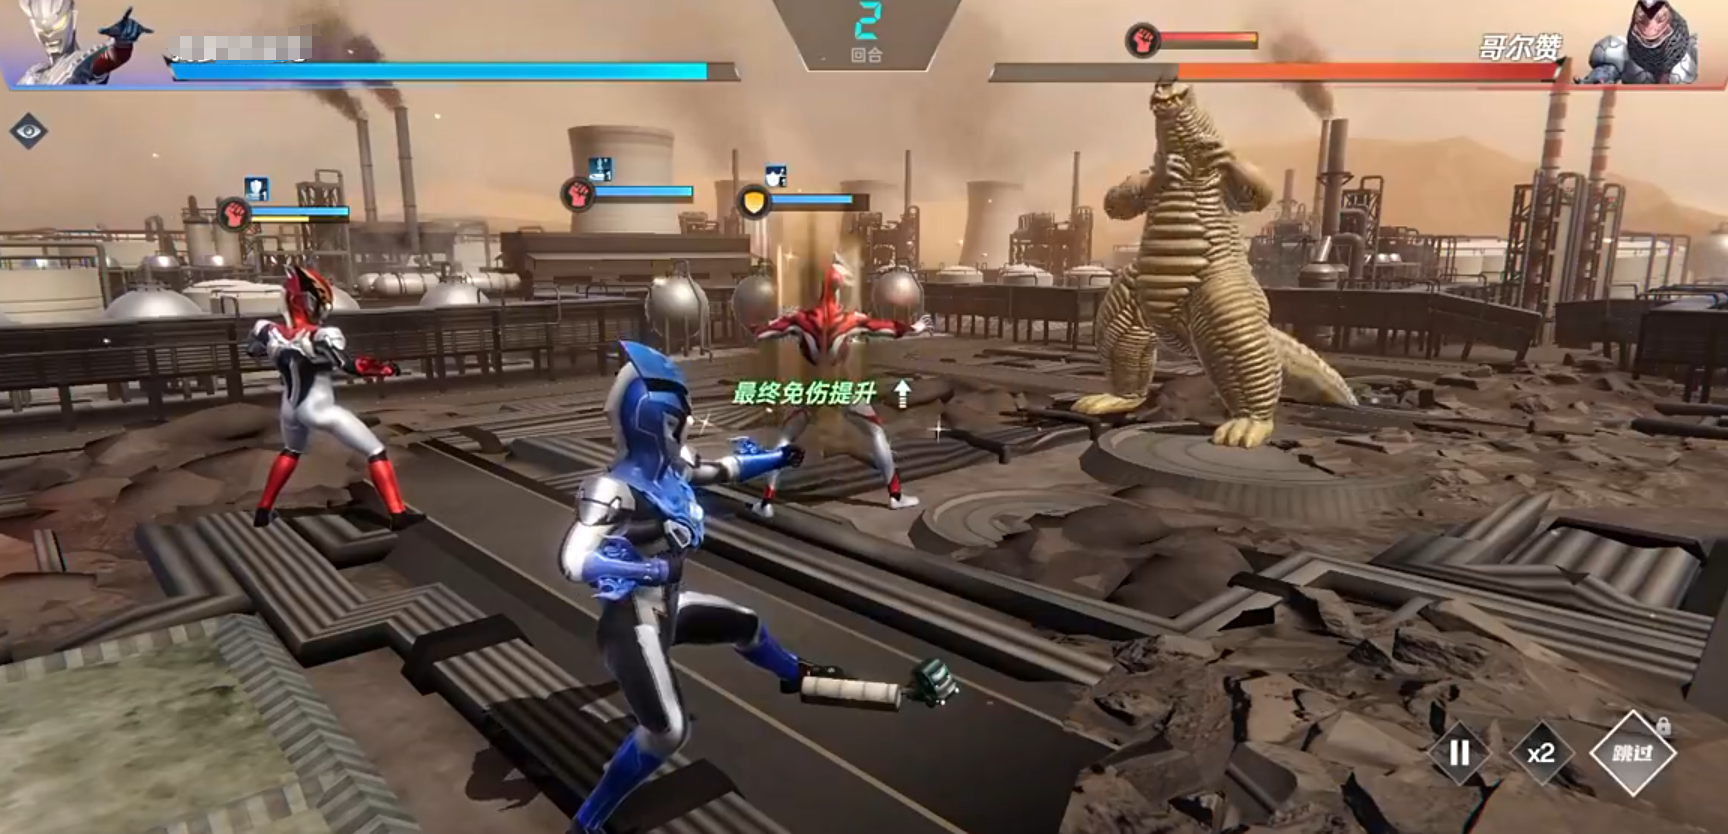
At this point, he will pick up a large rock to attack the Ultraman in front. Due to his thick skin, you can use Blazure. After he releases his attack, it will weaken the boss's defense. Then, other characters can follow up with their skills and attacks, thus quickly depleting his health. Once he falls, victory is naturally within reach.
Facing the powerful Golza, the question on everyone's mind is: how to fight Golza in the Ultraman series? Actually, the strategy isn't as difficult as imagined, though there are certain attack sequences that need to be mastered. As the number of monsters increases, the threat to the front line also grows. Ultimately, after breaking through the defense, victory can be achieved.
Where is the Ancient City of Veil in Stellar Resonance? Introduction to the Location of the Ancient City of Veil
Star Trace Resonance Vier Ancient City is a map in the game, and many players do not know what kinds of gameplay are available in this map and where it is located. Today, we will analyze and introduce these aspects. After reading the following introduction, players will immediately understand. I hope everyone can take a look at the following introduction.
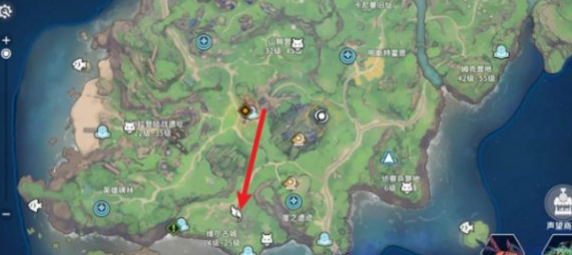
In the game, players can see floating gliding. To obtain it smoothly, players should naturally come to the designated area. The designated area is Vier Ancient City, which is located in the Astraea Plain. Players can find it immediately after coming to this area.
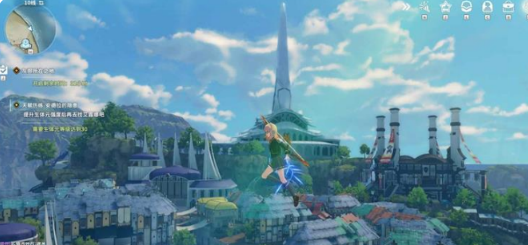
After arriving at the map, players can see corresponding wing icons. After seeing these wing icons, they only need to click the resonance button to immediately see the gliding effect and the floating effect. Interested friends can follow along and check it out. I hope everyone can understand.
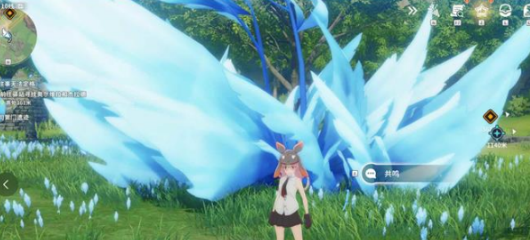
However, when players perform this step, they also need to understand that the gliding resonance effect and the floating effect often have a time limit. This means that players need to obtain them as soon as possible, and it also means that players must pay attention. Only by focusing on the correct operation can they acquire them faster.
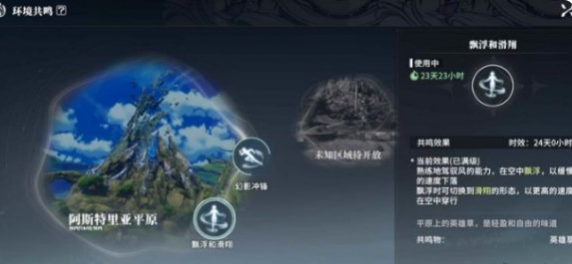
Where is Star Trace Resonance Vier Ancient City? Players only need to read the above introduction to know its location. After reaching the location, players can quickly search for it. However, it is crucial to understand that there is a time limit here, and it needs to be obtained promptly rather than wasting time for no reason. This is something everyone needs to understand.
Valorant Operation Source Energy Skye Gameplay Introduction How is the character Skye in the Valorant mobile game?
In Valorant, although Skye is just a support character, she has unique support abilities. As you will find in the introduction to playing Skye in Valorant, she is actually an often underestimated character. To truly master Skye and fully utilize her potential, it's necessary to deeply analyze her unique and irreplaceable set of skills and apply them accurately in practice.
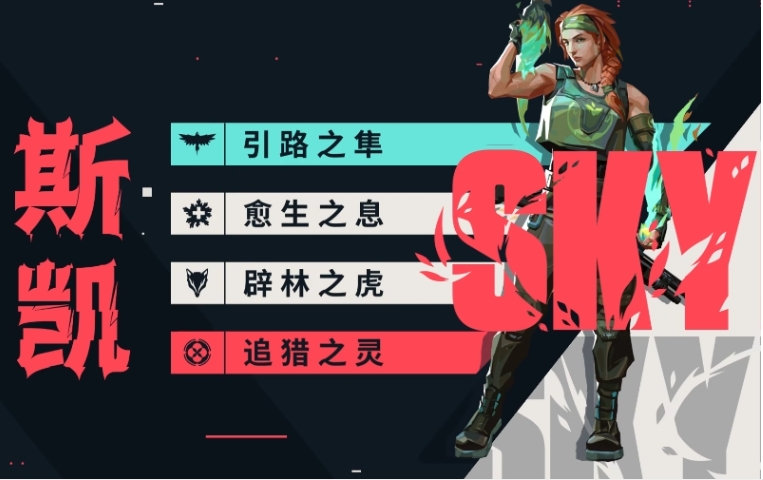
As an initiator, Skye's information gathering ability shows a significant advantage at the beginning of the game, especially with her unique wolf skill. When players activate this skill, by entering the unique perspective of the wolf, they can gain key information early in the game. This information has some reference value for subsequent decision-making on entry points and overall strategy formulation. Once basic information is confirmed, Skye can dispatch a bird for further reconnaissance, which is also a tool she uses to confirm enemy positions.
Skye also has healing skills, but they need to be used cautiously. It's suggested not to use all the energy without restraint right from the start, as this behavior could put Skye in a very dangerous situation later on. The Regrowth ability that Skye possesses grants her a special effect of equipping a healing trinket. In actual combat, this skill allows players to output healing energy by operating the shooting key, providing continuous healing support to teammates within line of sight. As long as the healing pool's energy is not exhausted, this skill can be reused. However, it should be noted that Skye herself cannot benefit from this healing skill.
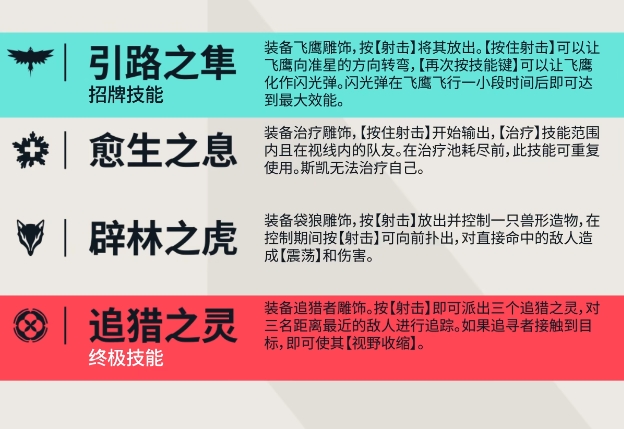
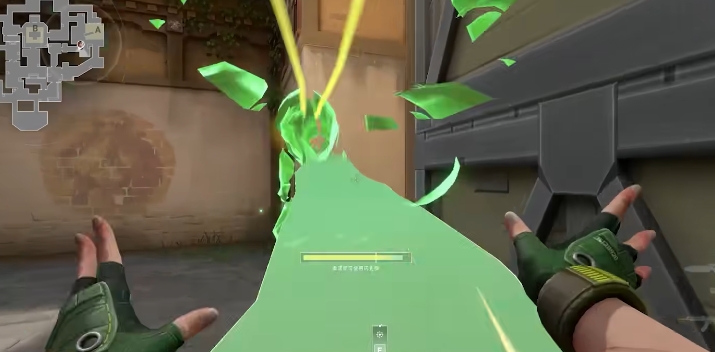
In addition to Regrowth, Skye has another unique skill called Trailblazer. When using this skill, she can equip a Tasmanian tiger trinket, then release and control a beast-shaped creation by pressing the shoot key. This beast can charge forward on the battlefield for Skye. During the control period, pressing the shoot key again will make it lunge forward, causing a concussive effect and some damage to directly hit enemies. This skill can not only disrupt enemy formations during attacks but also block enemies when defending.
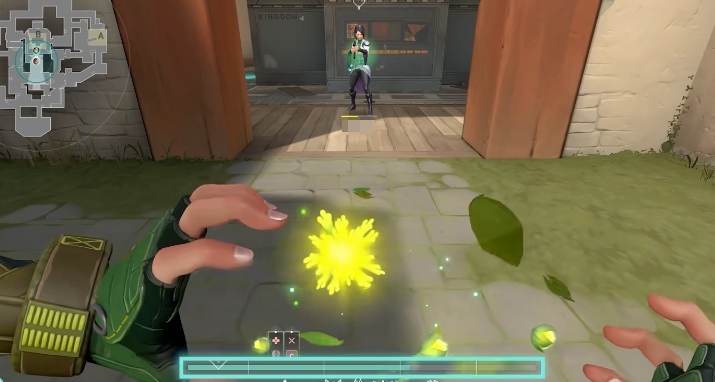
Guiding Light is also one of Skye's indispensable important skills. When using it, she can release a falcon by pressing the shoot key. While the falcon is flying, Skye can control its direction by aiming and pressing the shoot key, allowing the falcon to avoid enemy sight and attacks. At the right moment, pressing the skill key again will instantly turn the falcon into a flashbang, which requires some time to charge before being thrown, blinding enemies for a short duration. During the enemy's blindness, players can quickly launch an attack or adjust their defensive layout.
When her ultimate skill is activated, she can summon three spirit animals, targeting three enemy targets, but instead of attacking, they chase after them. If they catch up and make contact, they can directly affect the target's vision. However, the weakness is that these three spirit animals can be destroyed by enemies, so Skye needs to carefully choose the right timing and position when using this skill, ensuring that the Seeking Spirits can play their maximum role while avoiding being easily destroyed by the enemy.
In actual combat, there are also some small tips that can help players better use Skye's skills. For example, when using the bird, holding down the shoot key and moving with your own viewpoint can effectively prevent accidentally injuring teammates. In previous games, players often inadvertently flashed their friends due to carelessness. Now, with this tip, such incidents can be reduced.
To summarize the introduction to playing Skye in Valorant, everyone should now have a complete understanding. Skye is very suitable for entering points together with teammates. She can leverage her information-gathering advantages to take the initiative in obtaining information, which is the best way for her to demonstrate her value.
Who is the Forgotten Sea Xinpusen? Introduction to the Forgotten Sea Xinpusen
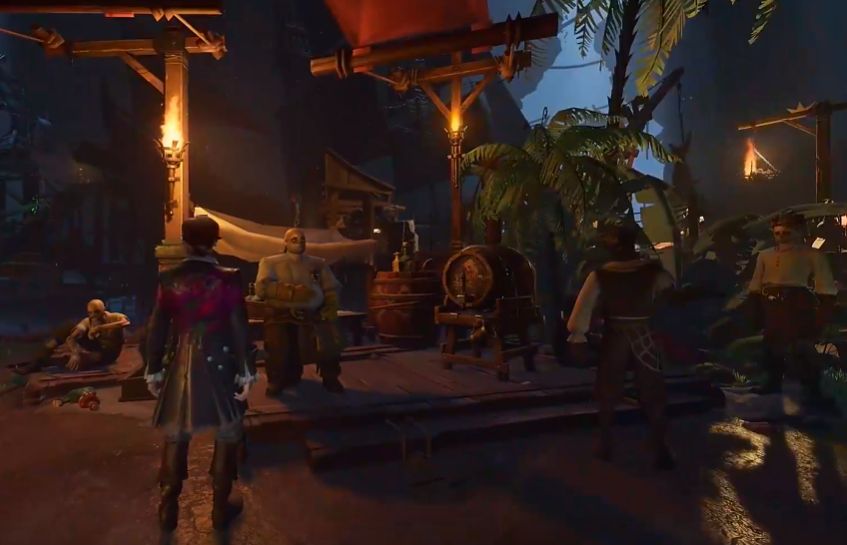
The Sea of Oblivion, as a role-playing game, features many characters who play different roles. Among them, the player becomes an amnesiac sailor, constantly searching for Autopia. However, in the game, players want to know who Xinpucen is in the Sea of Oblivion. Below, we will introduce relevant content to help players quickly find the corresponding character while experiencing the game.
The player has been desperately searching for Autopia and, upon arriving at the city of Autobia, encounters a man. This man is bald with just a tuft of hair, quite plump, and dressed in rough clothing, appearing very simple and honest. This person is actually Xinpucen, a guardian who can repair ships.
In the game, ships are important means of transportation, and he can indeed help repair them, providing the possibility for continued travel. When the player approaches him, there are prompts, and the player can chat with him. After all, the player is desperately searching for Autopia at this point, but during the chat, it turns out that he also has a lot of things he doesn't know.
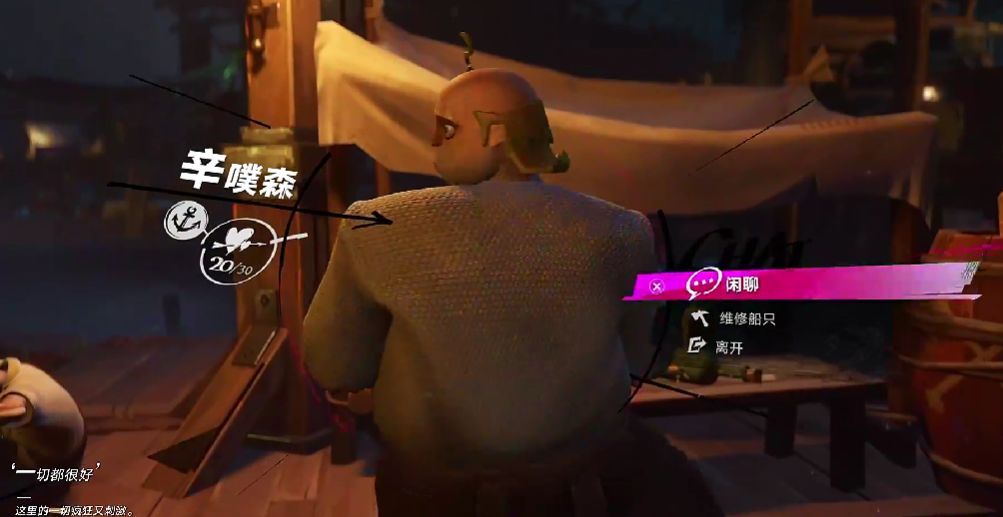
Xinpucen blends in well with his surroundings, and he has a wooden workbench, with a barrel placed next to it, both testifying to his work. In fact, when searching, players will also find other characters, each with their own roles. Players should be careful not to be misled by surface appearances.
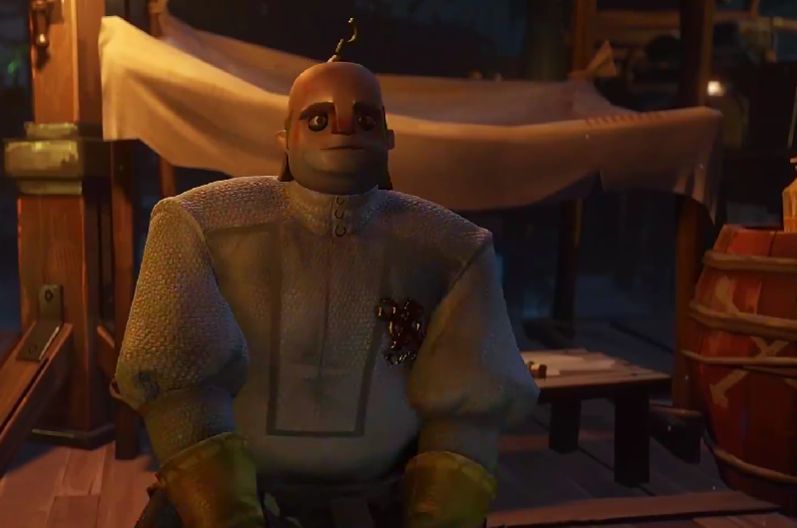
As a mechanic, Xinpucen in the Sea of Oblivion may not be particularly dazzling, but he is especially important because he can repair ships, allowing players to continue advancing in the game. However, he also has his shortcomings, which are not deeply explored in the game.
Recommend


Strategy

A Guide to Zhetian Fanchen Yiyue Sharing Tips for New Players on How to Play Zhetian Fanchen Yiyue
Introduction to the Public Beta Time of Zhetian Fanchen Yeyi When is the public beta for Zhetian Fanchen Yeyi?
How is Zi Yue from Zhetian Fanchen? Introduction to Zi Yue from Zhetian Fanchen
What are the Luhida Origin redemption codes? Sharing of Luhida Origin mobile game gift codes
Lu Xida Origin Team Recommendations Lu Xida Origin Team Guide
Lu Xida Origin Strategy Sharing: Beginner's Guide to Lu Xida Origin
