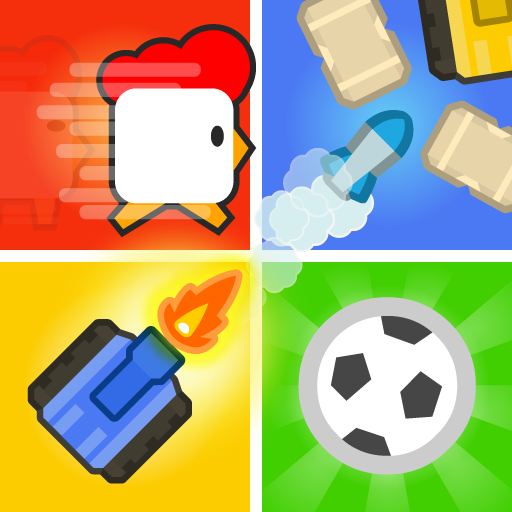
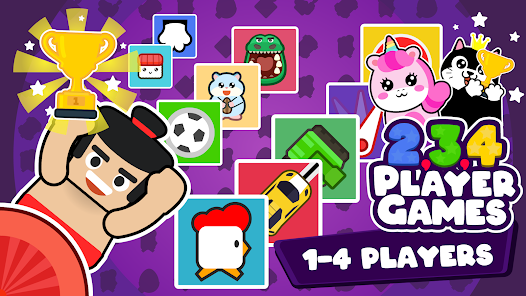
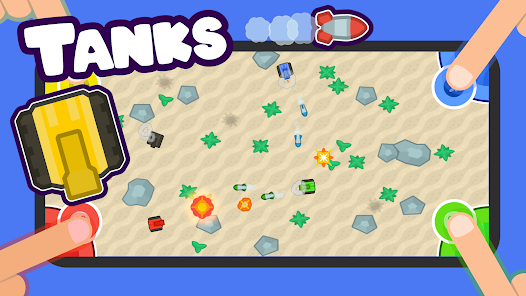
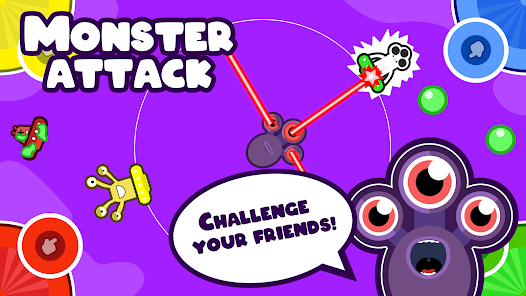
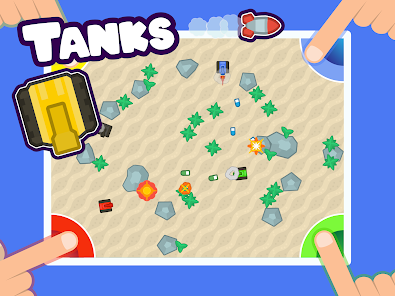
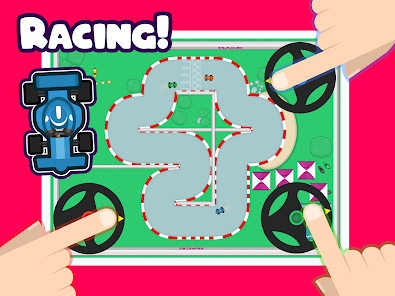
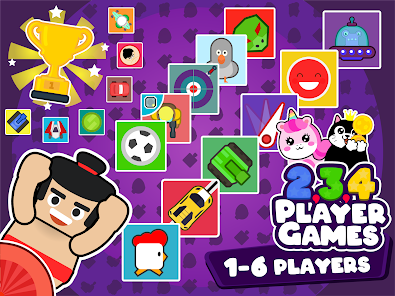
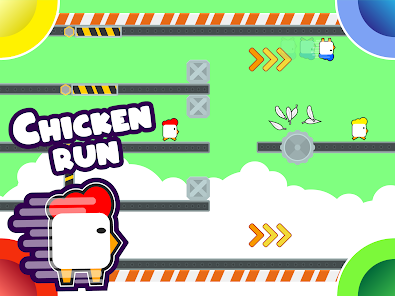
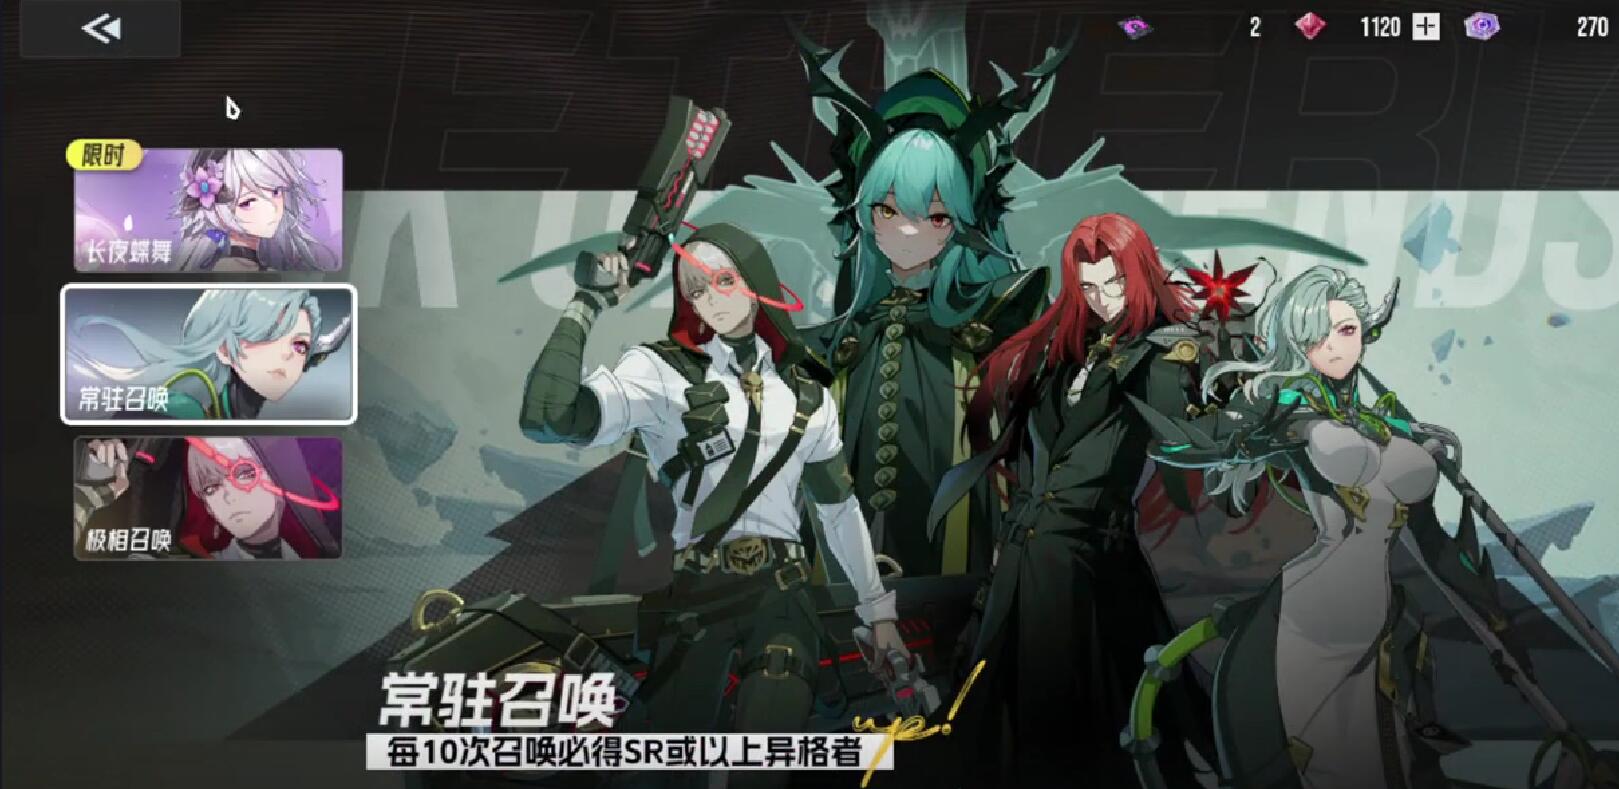
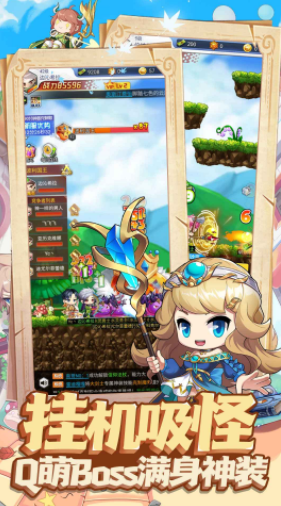
2 3 4 Player Mini Games
Game Introduction


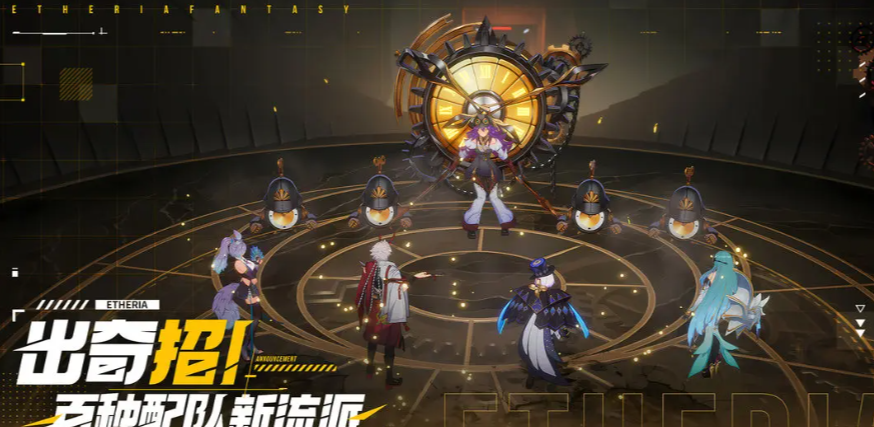
Hot Strategy
How to Play as a Commoner in Yise: A Guide for Commoner Players
Ether is a strategy turn-based game. For players, when choosing to experience the game, they need to adopt the right gameplay. Below, we will guide you on how to play Ether as a casual player. After all, for casual players experiencing this game, if they know the specific gameplay, their operations will be simpler, and of course, they will gain higher enjoyment and a greater sense of accomplishment while playing the game.
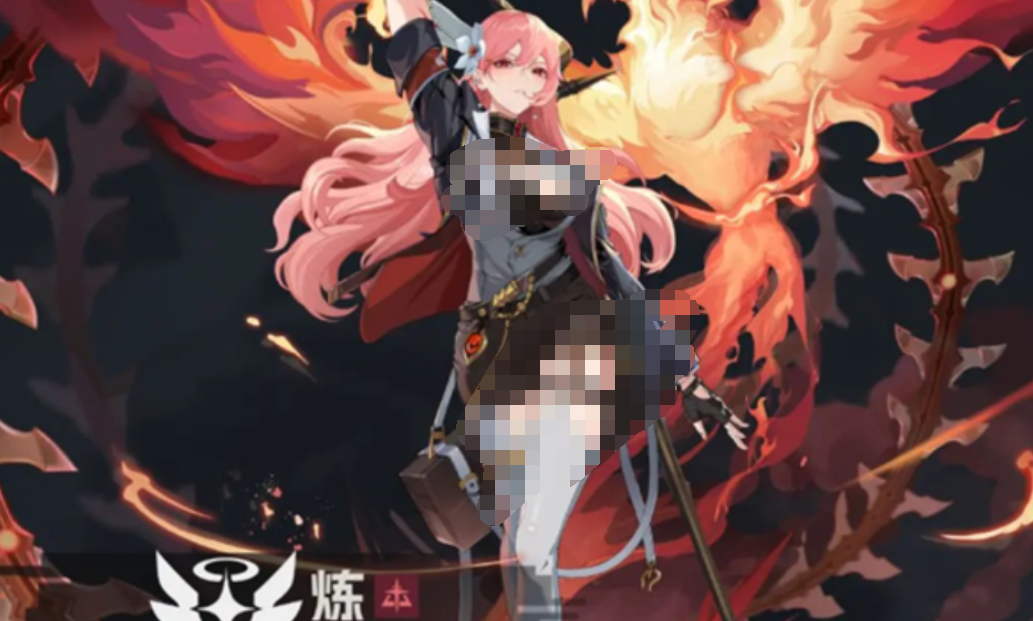
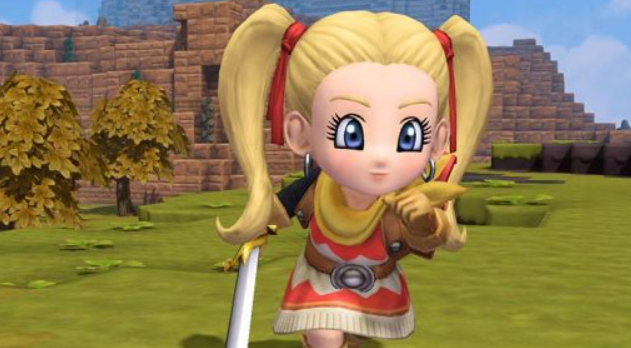
In Ether, at the beginning of the game, casual players should choose suitable characters and allocate resources, so as to quickly build a team for pioneering. New players can choose Rian as the main character, Gray as support, Dorothy as healer, and Kaki as a functional role. The reason for such a choice is mainly that the cost of obtaining these characters is relatively low, making them suitable for casual players. Among them, Rian is a character that new players will get from their first draw when they start playing the game, and he can be quickly developed. However, as the core of overall output, he is also worth developing.
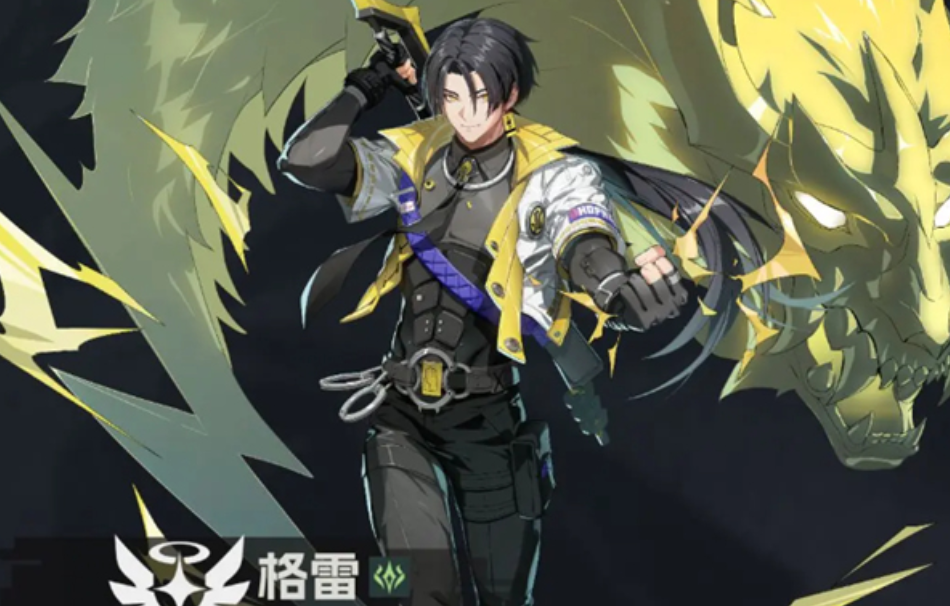
Gray, as a character given to new players, is particularly easy to obtain. When players are experiencing the game, if they get Gray, then they need to reasonably utilize Gray's critical hit rate and defense to weaken the enemy's capabilities. In the entire team, the healer is actually Dorothy, who can heal the whole team and also demonstrate in terms of survival assurance, alleviating survival pressure. Kaki, in this team, is actually for controlling the pace and can also provide additional output. If paired properly, he can disrupt the enemy's rhythm.
After players have chosen the corresponding characters, it is recommended to first develop Rian and Gray, which can effectively enhance the overall team's output capability. At the beginning of the game, the effect of clearing stages is very good, and new players who want to obtain a large amount of resources can complete the 7-day tasks and achievement system, at which point they will receive higher-level characters, or even corresponding resources. New players actually also need to participate in limited-time events to effectively strengthen the characteristics of their characters. Although players can obtain the corresponding characters through drawing cards, it is suggested that players do not blindly draw cards. In the later stages of the game, they can also use dungeon drops to replace already obtained characters, as, in the early stage of the game, some players might choose certain characters as a transition.
How to play Ether as a casual player? Through the above introduction, players have already found out that casual players first need to choose the corresponding characters, then after developing the characters, they need to complete the corresponding tasks, strengthen the characters, and obtain the corresponding resources. If there is an opportunity to get other characters, they can directly replace the ones they have.
How to Unlock Skill Slot 4 in Jianghu Next Stop 2 Guide to Unlocking Skill Slot 4 in the Jianghu Next Stop 2 Mobile Game
How to unlock the 4th skill slot in Jianghu 2? When it comes to the method of unlocking the game's fourth skill slot, many people are asking about this, as this fourth skill slot directly determines the carrying of the fourth skill. So, in order to let everyone know how to unlock the fourth skill slot, the following will tell you the unlocking method, bringing you a guide on unlocking. After reading the guide, you will understand.
Talking about the method of unlocking this fourth skill slot, if you want to unlock the fourth skill, the first step you need to do is to change your identity to a Mohist, which is a necessary condition. After understanding, the next thing you need to do is to improve the level of this identity. You need to raise the level to four and then unlock the skill unlocking task.
Reaching this level four requires a lot of time. You need to complete faction missions, exchange for experience-giving items, etc., to increase the level. Roughly speaking, it cannot be completed without several days, and the "several days" here refers to in-game days, not real-world days.
These few in-game days are probably a few hours. This time is certainly long for a single-player game, so you need to use some special methods to shorten this time. The special method is to use the acceleration function to speed up the flow of time, thus allowing you to do more missions and farm more items.

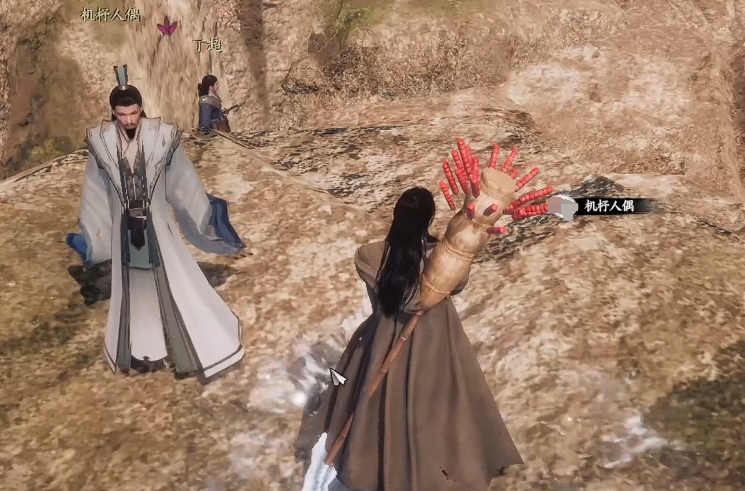
After completing this step and reaching the required level, next, you need to max out the proficiency of Jimei. This proficiency can be obtained by exchanging for items, which are available in the faction store. After completion, you can then trigger the quest to find the puppet. Once triggered, go to the mountaintop near Longshe to complete the task and unlock the fourth skill slot.
The above is all the content about how to unlock the 4th skill slot in Jianghu 2. The method of unlocking this fourth skill slot has already been told to everyone in the text. After reading the above, knowing the unlocking method, you can follow what was said in the text to unlock the fourth skill.
How to Unlock Skill Slot 4 in Jianghu Next Stop 2: Guide to Unlocking the Fourth Skill Slot in the Jianghu Next Stop 2 Mobile Game
The next stop in Jianghu 2 focuses on an open world, featuring a seamless map that covers a wide range of areas, including the northern border and the southern Yangtze River. It provides a rich selection of initial identities to choose from freely, such as being a child of a general or a wealthy person, etc. How to unlock Skill Bar 4 in The Next Stop in Jianghu 2? Many players hope to unlock Skill Bar 4 so they can carry more skills into battle, aiding in successful combat. However, not everyone knows the specific unlocking method. In the following, the editor will provide a detailed introduction.
The core steps are relatively simple. First, players need to upgrade their Moist identity level. In the game, the Moist identity associated with the character is very important and needs to be upgraded to level 4. Secondly, the Wonder attribute requirement must be met; within the identity system, the Wonder attribute must be raised to its maximum value. It's recommended that players prioritize completing main quests to accumulate more attribute points, then increase the Wonder attribute value.
Go to the location at coordinates 1044.1361 and talk to the NPC named Mechanized Puppet. During the conversation with the NPC, you can learn about the specific plot. After the plot ends, enter the Martial Arts interface to easily unlock the 4th skill bar. The overall task is relatively simple. After thoroughly understanding these corresponding strategies, ensure the process goes more smoothly. This skill bar has a significant role, enhancing the character's combat strategy and increasing individual combat power.
Different character roles have varying skill choices. For damage-dealing types, high-damage and frequently attacking special skills can be directly matched, such as Return Sword and Supporting Wind Sword, seamlessly connecting with the main skill. This way, during exploration, it can comprehensively enhance super burst power, showcasing a unique burst mode. Defensive and support types can choose simple and shield skills, or control skills, which can fully enhance team survival and cooperation. The choice for control flow is also very critical, focusing on strong control skills to limit enemy movement and create better output opportunities for the team. After unlocking the 4th skill bar, specific skill combinations should consider cooldown times, the corresponding situation of the profession, and release conditions to avoid vacuum periods.
The introduction to how to unlock Skill Bar 4 in The Next Stop in Jianghu 2 ends here. The recommendations provided are all about the specific strategies for unlocking the skill bar. Not only can you understand the specific unlocking methods, but also get specific skill selection advice. After thoroughly understanding, participate in the game to achieve higher combat power.
Adventure Big Player Public Test Time When will Adventure Big Player be released?
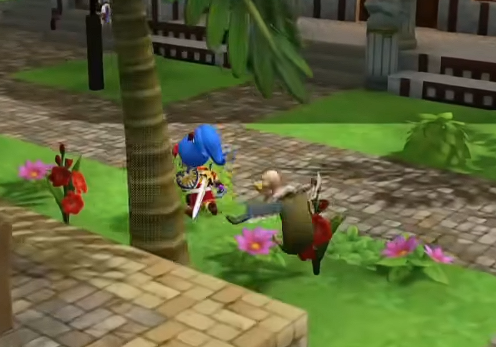
Adventure-type games generally have a strong sense of fun. By participating in these games, players can continuously prove their abilities and there are many randomized settings in the game, which allows players to experience a variety of different joys. Next, I will share the public test time for "Great Adventure Player". Players who enjoy adventure settings can join in, becoming an adventurer, and continuously embark on exploration and battles in this 2D world.
The latest reservation download address for "Great Adventure Player"
》》》》》#Great Adventure Player#《《《《《
In the game "Great Adventure Player", a vast vertical 2D world is set up. Players can control characters to explore continuously in the game. After encountering monsters, they need to launch attacks promptly. Each battle requires the use of various flexible movements to dodge the opponent's attacks while using their own skills to counterattack. There are numerous bosses in each level, each with different attack methods and skills. Players need to choose the most suitable skills to fight against them.
In this 2D island, players can engage in a chaotic battle with other members. Each character can fully unleash their skills, making the captain role more interesting. It's not just about fighting bosses but also engaging in flexible combat with other opponents. In addition to a wide variety of characters and professions to choose from, there are also numerous mounts in the game. Each player can randomly select from these mounts, using their help to enhance their capabilities.
To make the gaming experience more relaxed, besides the classic battles, there is also an idle monster-fighting mode. Even when players are offline, the system will automatically control the character to engage in battles, allowing players to continuously earn rewards. These rewards can then be used to improve the character's basic abilities. Quickly enter the game, explore this mysterious continent, and relive the joy of childhood together.
The official public test time for "Great Adventure Player" has not been announced yet, but the gameplay of the game has been introduced above. Players who enjoy this type of adventure mobile game can join in, choosing different characters to join the battle, and continuously embarking on adventures in this cute and charming world, with numerous bosses waiting for players to challenge.
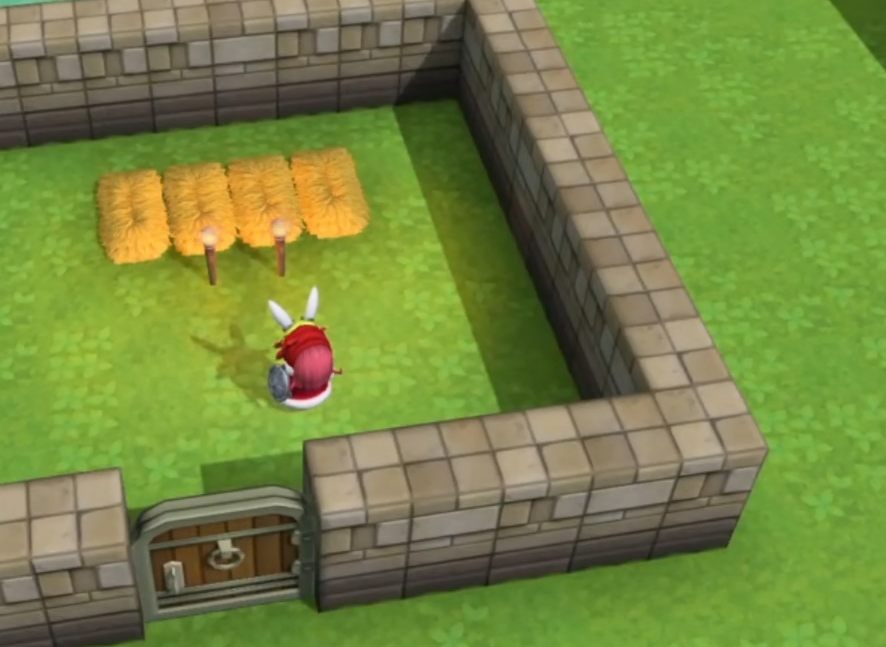
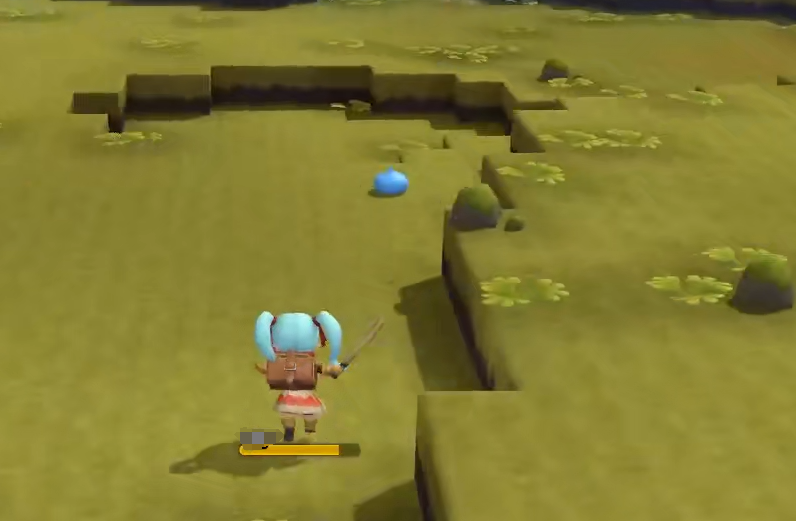
Where to Find Cotton in Little Creators 2: A Guide to Obtaining Cotton in Little Creators 2
In the game, cotton is a very important material. Not only is it needed for making beds, but many accessories that determine room attributes also require it. Many players have searched far and wide without finding it, wondering where to find cotton in Little Creator 2. To help everyone obtain cotton and create the desired items, below we share the methods of acquiring this material. Don't miss out if you need it.
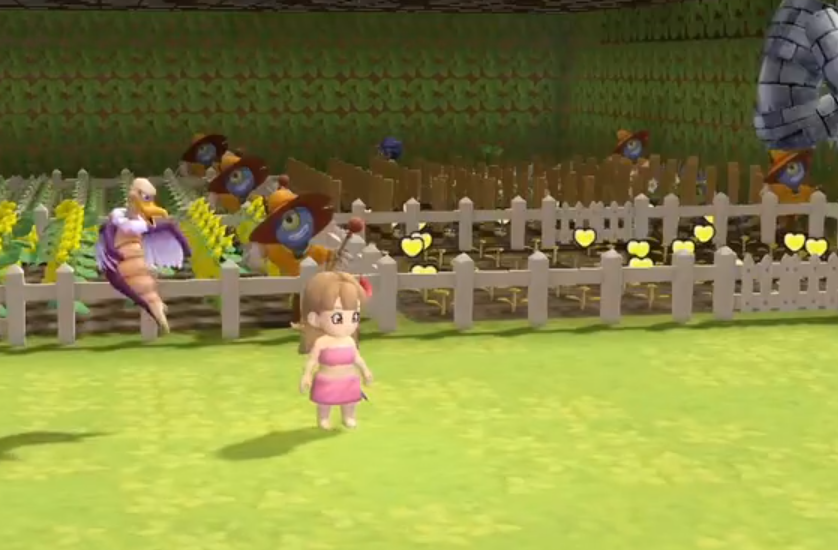
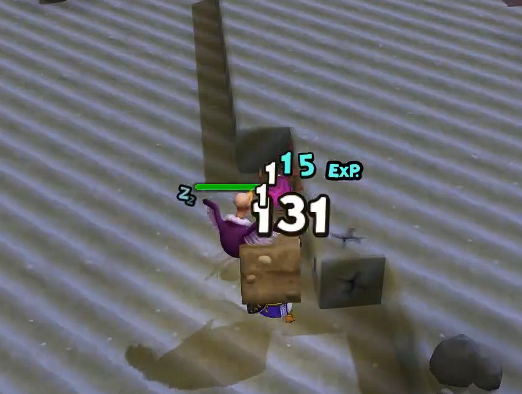
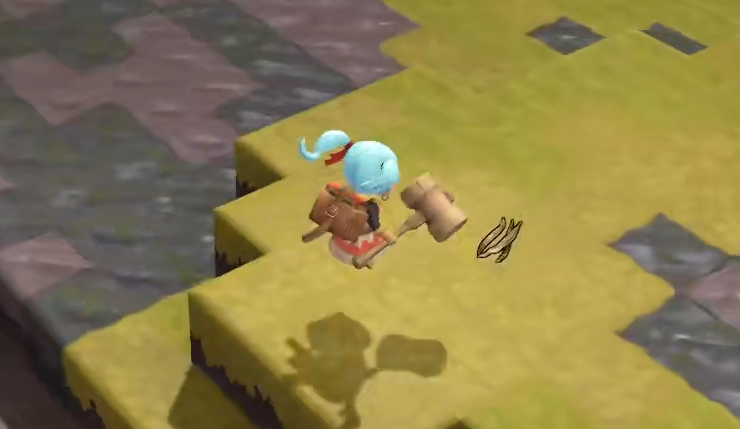
Firstly, you can go to the underground lake on the upper level of the Okamur Cavern. After arriving, glide to the ground on the opposite side. In the upper layer of the mine where there is water, the long grass is cotton. You can see its specific appearance in the image below. Finally, destroy the plant with a weapon to obtain the cotton.
Apart from manually collecting it from specific locations, there are two other ways to get cotton. The first is to go to Bright Island and defeat fire-breathing silkworms or rabbits. This method might take a lot of time. Players with the means can first produce a large amount of iron ingots and then create about 2000 spikes.
After finding an area with rabbits, place the 2000 spikes. They don't need to be placed too densely. Then, wait a day to harvest cotton and raw meat. Additionally, if you place flaming floors, they work similarly to spikes and can be used to farm resources by waiting.
The last method is to raise sheep. For raising sheep, you need to build a breeding hut in the transformed pasture. Then, use traps to capture sheep and put them all inside. Regular feeding is required, and like chickens, sheep will regularly produce wool.
Now, everyone should know where to find cotton in Little Creator 2. The above not only introduced the location for gathering cotton but also shared two different methods of obtaining it. If you need this material, go ahead and get it in the game to make the items and equipment you want.
Creation Little Player 2 Material Island Collection Guide Creation Little Player 2 Material Collection Guide
In Little Genesis 2, there is a material island filled with various types of ores. These ores need to be obtained as they can unlock the encyclopedia. Speaking of unlocking the ore materials on the material island, in order to help everyone unlock the collection encyclopedia of the material island in Little Genesis 2, today we will bring you a guide on material collection. After reading the guide, you can start collecting.
Speaking of the materials on this material island, once you arrive at the island, you need to ride an airship and then open the mini-map to look at the colors on the map. You will find that the material island has blocks of various colors, and these blocks are actually the ore materials you need to collect.
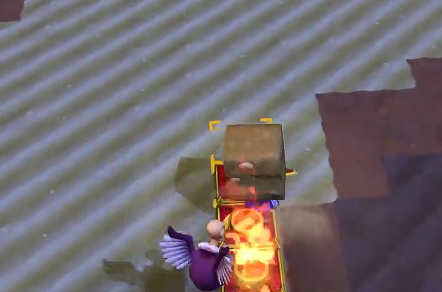
In the game, each color of the block represents a type of ore. For example, the gray block represents Orichalcum Rock in the game. Therefore, all you need to do is collect all the colored ores. This collection requires an explosive hammer, which you need to make first.
After completing the crafting, you can start collecting. You need to find the location of the blocks to be collected, then use the explosive hammer to hit the blocks. As you hit them, the blocks will pop out from the ground, and then you just need to collect them to get the corresponding ore material for that color of the block.
Once you have collected all the ore materials, you can unlock the island's ore encyclopedia. After unlocking, you will complete the full collection of all ore materials, achieving a full encyclopedia. This is how to fully collect the encyclopedia of the material island in the game.
The above is the complete guide on how to collect the encyclopedia of the material island in Little Genesis 2. After reading the introduction, I believe everyone should now know how to collect the ores on the island. Once you understand how to collect them, you can go and collect these ores to complete the full encyclopedia.
What to Do If You Can't Use the Special Moves in Creation Little Player 2: A Guide to Using Special Moves in Creation Little Player 2
Presumably, any player who plays Little Creator 2 will encounter a problem, which is that the special move cannot be executed. When it comes to issues related to releasing special moves, as a problem that troubles many players, it's definitely necessary to help everyone solve it. Regarding the solution for when the special move in Little Creator 2 cannot be used, this will be explained in the following text. After reading the following, you will know how to solve it.
There are many reasons why special moves cannot be released in the game. The first reason is that the cooldown has not yet been reached. In the game, all skills have a cooldown period, especially for powerful special moves. The cooldown time for these skills is very long. Therefore, if you want to use them, you need to check the cooldown.
Usually, it's because the cooldown hasn't been reached that the skill can't be used. The second reason is related to the skill mechanisms of some characters. In the game, there are some special moves that are hidden types. These special moves cannot be directly activated and need to be used according to specific requirements.
This leads to some players being unable to release their special moves, which is the second reason. This reason is relatively uncommon. The third reason, also the last one for not being able to use special moves, is related to the keys. While playing the game, do not adjust the key settings randomly.
Once adjusted, key conflicts may occur. If there is a conflict, there is a chance that the special move cannot be used. Therefore, if the special move cannot be used, and it's confirmed that it's not due to the above two reasons, then you can check the key settings. You can check whether there is a conflict through the key settings.
The above is the complete introduction on what to do if the special move in Little Creator 2 cannot be used. After reading the introduction in the article, I believe everyone now understands how to deal with the situation when the special move cannot be used. Once you understand what to do, you can solve the problem when you encounter it in the future.
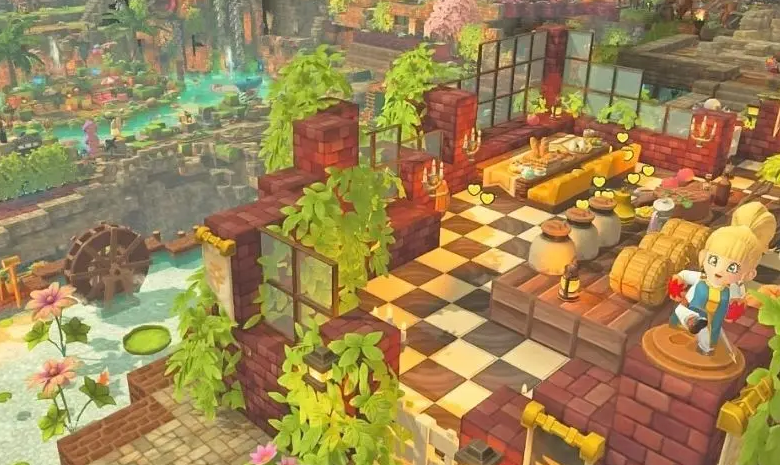
Introduction to Room Recipes in Creation Little Player 2 What are the room recipes in Creation Little Player 2?
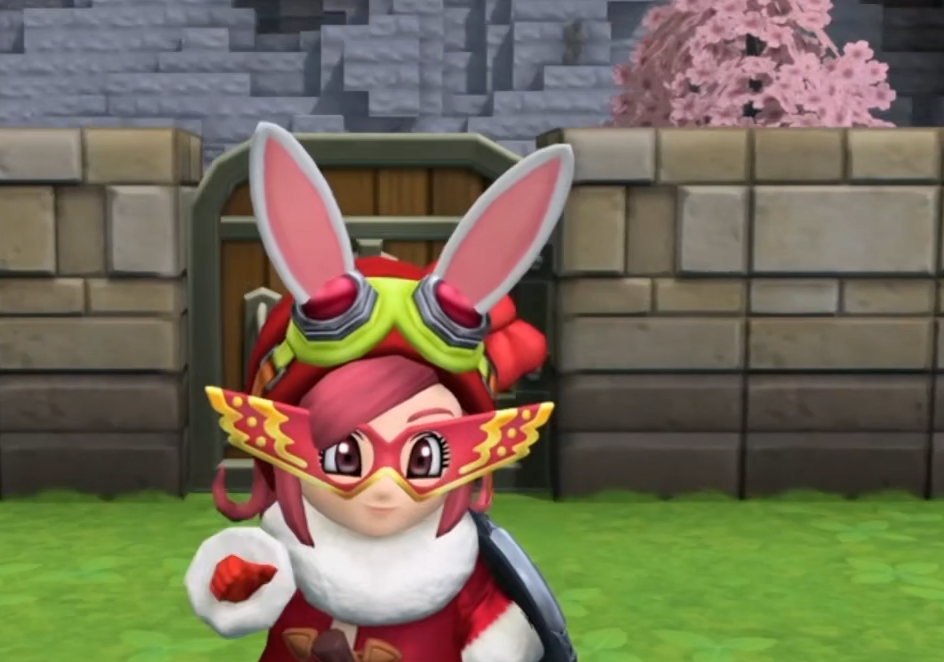
For construction-type games, many players have a great interest. And "Little Player of Creation 2" is one of the works that players often mention. This game is a spin-off of the DQ series, and its art style is basically consistent with DQ. Below will bring an introduction to the room recipes in Little Player of Creation 2. Many players are not very clear about the room recipes in this game, which is why they ask.
In the game, there are various devices and buildings. When players combine certain devices and buildings, it can produce a series, which is what players call a recipe. Regarding rooms, the bedroom series recipes have always been asked about a lot by players. Next, I will bring some introductions to this type of recipe, so that players understand which devices are needed to successfully combine them.

The first one introduced is the basic bedroom. Players can successfully combine it if they have 2 beds and 2 lighting fixtures. Next is the communal dormitory, which allows companions to live together. Players need to have 4 beds and 2 lighting devices to unlock this recipe.
The third is the lively dormitory, which can be achieved by increasing the number of beds and lights. The required number of beds is 8, and 4 lighting devices are needed. Then comes the tidy dormitory, which requires one bed, one light, one potted plant, and one standing clock.
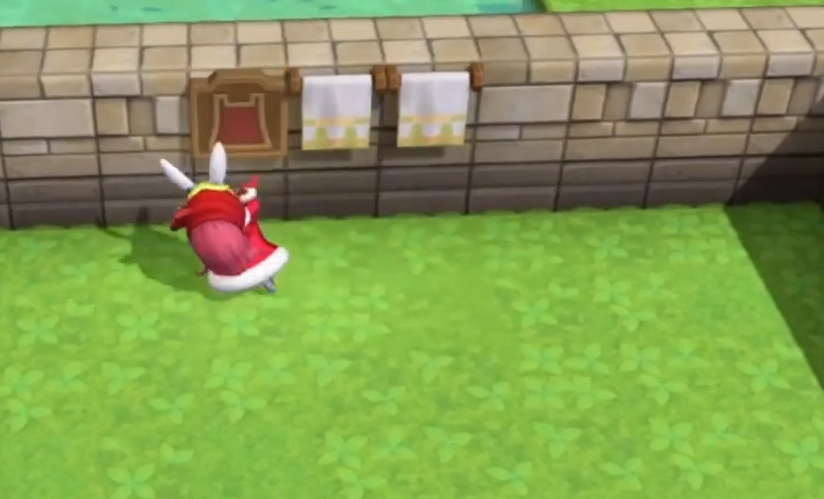
Next, let's introduce the bathroom, which is generally divided into male and female bathrooms. The basic equipment required for these two bathrooms is 2 wooden tubs and 2 towels each. The difference is that males need male wall decorations, while females need female wall decorations.
The above are the introductions to the room recipes in Little Player of Creation 2. There are still quite a few such recipes in the game, and the combinations of these recipes need to be confirmed by the players themselves. Players should try various combinations based on the devices.
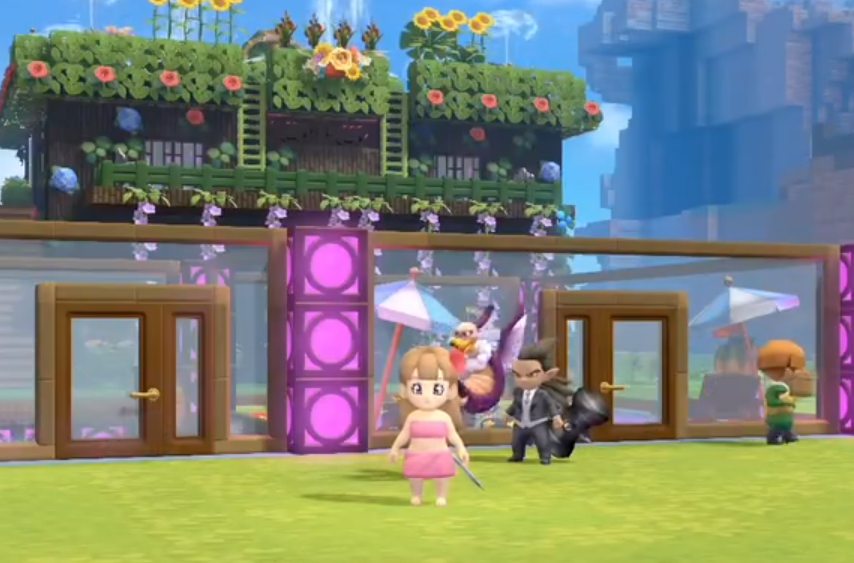
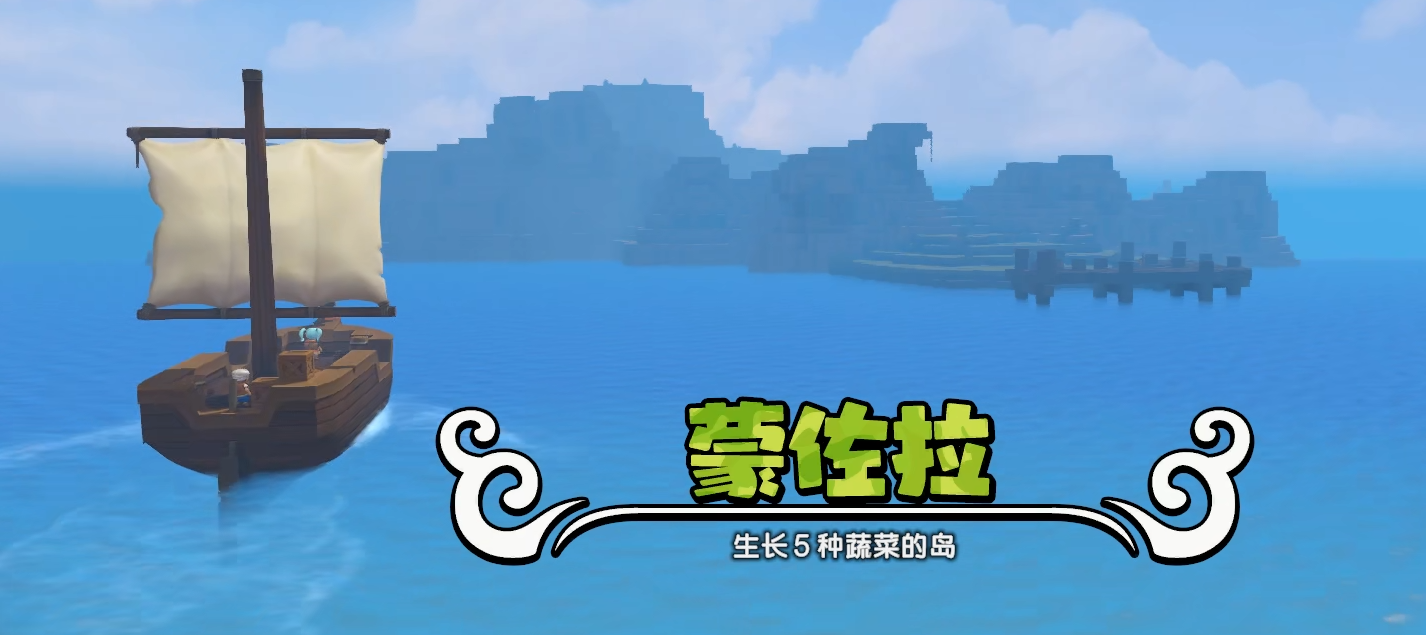
Introduction to Montola Island in GenesisCraft 2 Guide to Montola Island in GenesisCraft 2
When it comes to construction-type games, many people would mention Little Player of Creation 2. This game has a very cute graphic style, and although the gameplay isn't simple to pick up, due to its excellent tutorials, players can quickly master the basic operations. Below is an introduction to Monzola Island in Little Player of Creation 2. Many players are not very clear about Monzola Island, which is why they ask about it online.
After the prologue, our ship is damaged, and the player is washed up on Empty Island. This island is mainly designed to let players further familiarize themselves with material collection, combat, various cooking, and equipment crafting in the game. After completing the main quest to a certain stage, the plot where a cruise ship arrives at Empty Island will be triggered. After the dialogue, players can then use the ship to head to Monzola Island.
Upon entering the island, we can learn from the introduction that this island has 5 types of vegetables. After landing, you can first find various devices nearby for dismantling to obtain basic materials. As you dismantle, move forward.
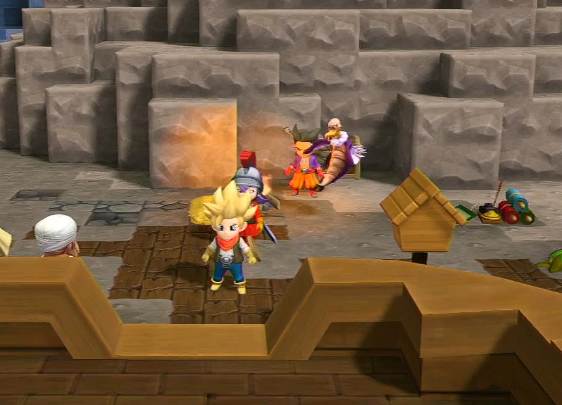
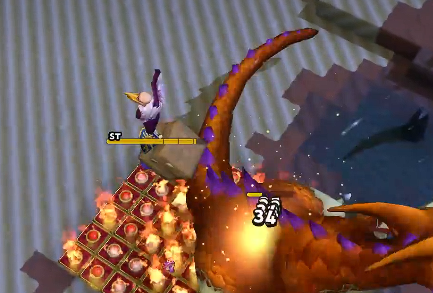
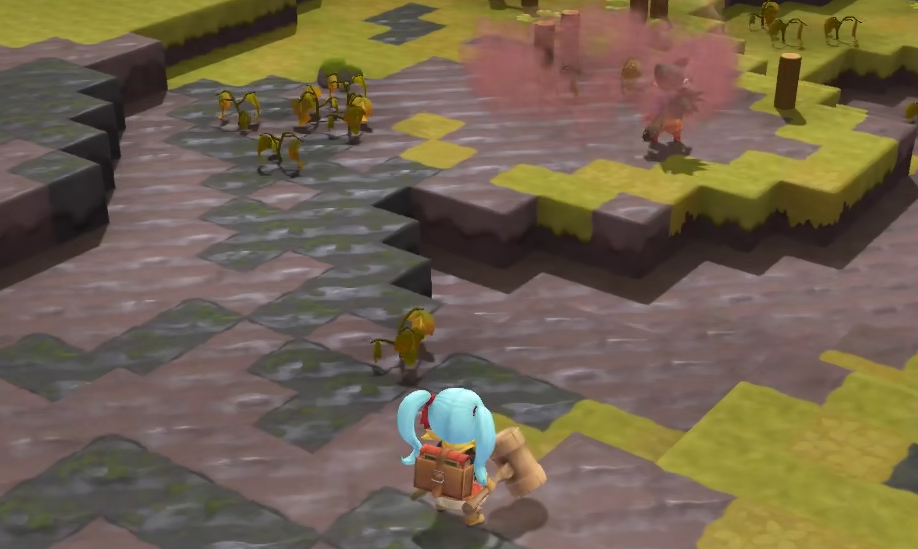
As you go uphill, you'll see a pink fruit that explodes upon contact, affecting the land. Then, you hear someone shouting for help nearby. In this area, you can gather a lot of supplies, so collect all the materials before heading to where the sound is coming from.
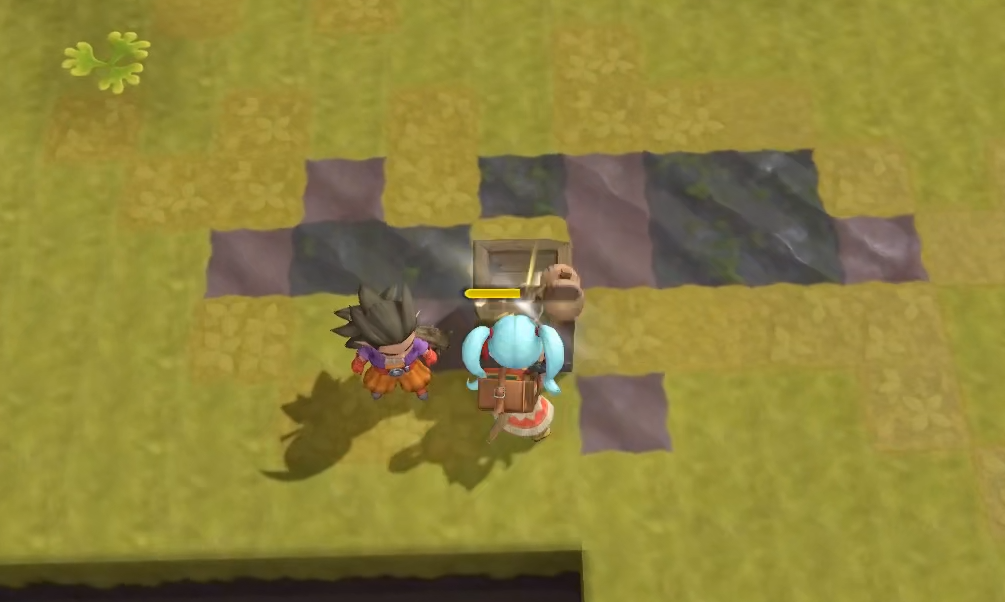
On the way, you'll encounter some monsters, which aren't very strong, and you can defeat them. You'll also see a girl with glasses surrounded by monsters. First, you need to eliminate all the monsters below, then talk to her to trigger the story.
The above is an introduction to Monzola Island in Little Player of Creation 2. This island is a key farming location for players in the early to mid-game. The plants that can be grown here will be useful later on, but players should pay attention to the planning of the planting areas; if not well-planned, they may need to demolish and rebuild them later.
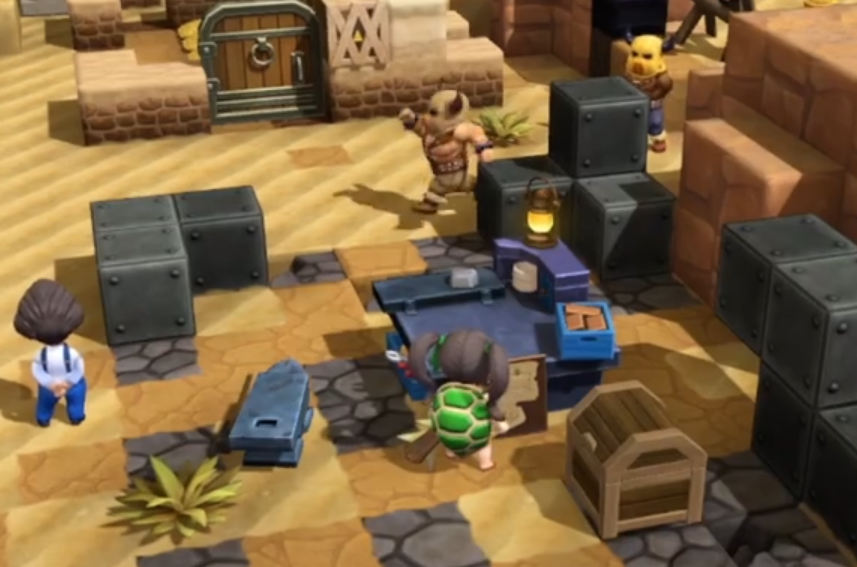
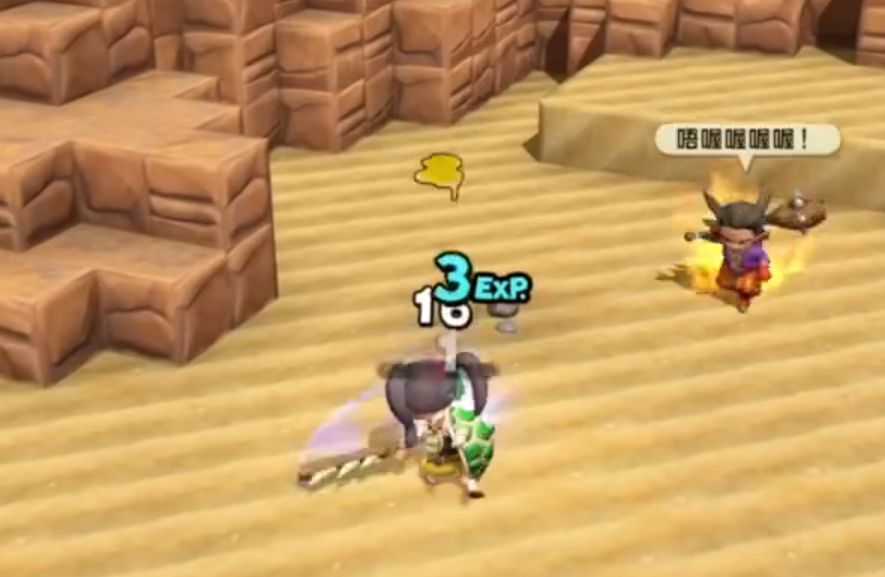
How to Complete the Exploration Missions in Genesis World 2: A Guide to the Exploration Missions in Genesis World 2
The Creation Little Player 2 development tasks involve completing a series of small missions such as building and collecting in the development area. Although the difficulty is not very high, the number of tasks is large and can be quite tedious, leaving many players unsure how to proceed. The following guide will explain the completion methods for each small task to help everyone successfully develop their area. If you haven't completed them yet, take a look at the details below.

1. Building Tasks
This task requires us to carry out a series of constructions in the development area. For simpler ones like grasslands and forests, just follow the process. When it comes to building a hot spring bath, remember the recipe: 3 bath chairs, 3 water basins, 1 water outlet, and 1 hot spring. The hot spring requires 10 units of hot spring water, which can be found on Cold Island's Hundred Scenery. Also, remember to place petals or lion head decorations in the water. Next door, you can build a music hall, with the recipe being 3 musical instruments, 1 chair, and 2 curtains.
2. Acquisition Tasks
There are also many acquisition tasks, and I'll focus on sweet strawberries and raw meat here. To get a large amount of sweet strawberries at once, go to Lush Island to find strawberries, then use a hammer to smash them to get seeds. It's recommended to obtain more than 24 seeds, then place scarecrows in the green development area to let earthworms and farmers till the soil. Place empty boxes next to the area and plant the strawberries on dry land. Check the number of strawberries and sweet strawberries in the boxes regularly;

To obtain a large amount of raw meat, you need to produce a lot of iron ingots and about 2000 spikes. Go to the main desert island, Okamur, from the right side of the village to where the unicorns are, and set up the spikes. After one day, you can collect a large amount of raw meat.
3. Selling Tasks
This task requires us to help the merchant sell 200 items. You can go to Bright Island to find the merchant and bring them back to the Empty Island. It's recommended to bring two at once and place them in the development area. Build a shop there using a table, two boxes, shop decorations, and price tags. Remember to place the price tag on the table and leave some space behind the table. Place items like bricks on the price tag to start selling.
The above is the guide for the Creation Little Player 2 development tasks. The essence of this task is to help develop the area, so it involves many small tasks. You need to be patient and complete each one step by step to successfully create a beautiful development area.
Recommend


Strategy

A Guide to Zhetian Fanchen Yiyue Sharing Tips for New Players on How to Play Zhetian Fanchen Yiyue
Introduction to the Public Beta Time of Zhetian Fanchen Yeyi When is the public beta for Zhetian Fanchen Yeyi?
How is Zi Yue from Zhetian Fanchen? Introduction to Zi Yue from Zhetian Fanchen
What are the Luhida Origin redemption codes? Sharing of Luhida Origin mobile game gift codes
Lu Xida Origin Team Recommendations Lu Xida Origin Team Guide
Lu Xida Origin Strategy Sharing: Beginner's Guide to Lu Xida Origin
