Modern Ops - Gun Games Shooter
Game Introduction


Hot Strategy
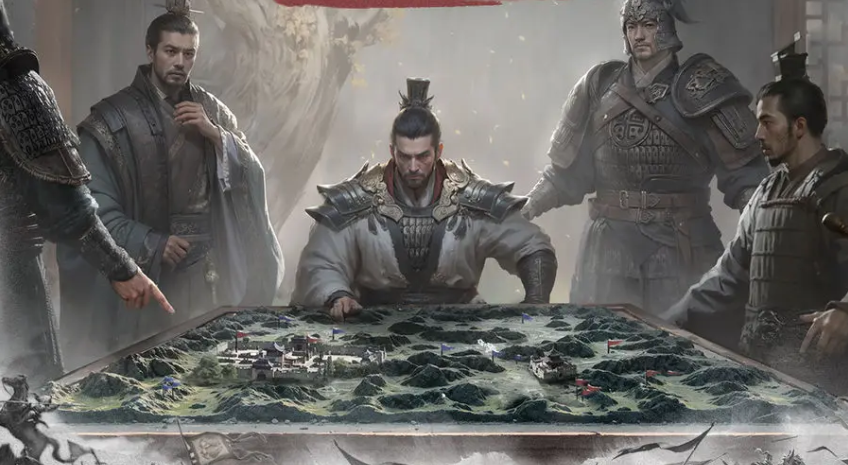
Three Kingdoms Unification Operation Sharing and Tips for Beginners
What are the operations in Three Kingdoms World Conquest? The game is about to launch a "Brotherhood Test". Whether or not you have the test qualification, player friends are probably quite curious about how to get started with the game, what operational skills there are, or related suggestions for the game. Next, I will share some key operational points for beginners. These small details and usage tips should help everyone smoothly pass through the early stages.
In the early stage, provisions are relatively scarce. When encountering high-difficulty enemies, do not engage in a head-on confrontation; try to challenge them again after enhancing your strength. You can upgrade heroes, reasonably match troops, adjust formation positions, and change equipment skills, etc., to improve strength. Silver coins are a basic currency, which are basically needed in various developments. They are very important and consume a lot. Reasonably allocating the use of silver coins can better improve the team's level.
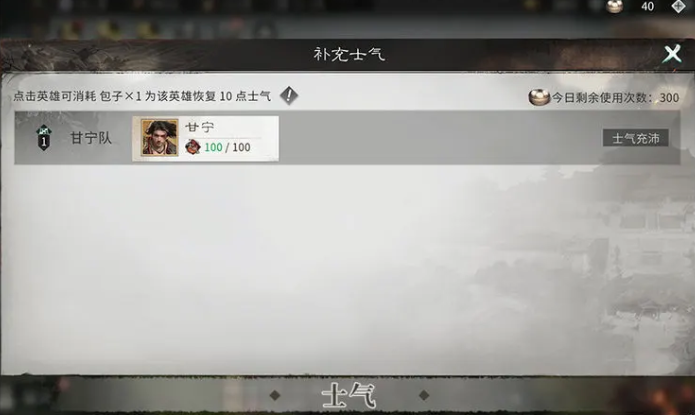
After each battle, each hero in the team will lose a certain amount of morale. During team battles, the team's morale is determined by the hero with the lowest morale in the team. Morale can naturally recover over time or be quickly restored using buns. If morale falls below 60 points, the team's combat power will decrease.

There's no need to worry about making mistakes in hero cultivation. Both heroes and skills can be reset for free an unlimited number of times. The teaching function is quite important as it allows learning the basic gameplay content, which is friendly to newcomers. If there are any parts that are unclear, you can learn more about them through this function.
The people's hearts (public support) are an important resource in the early stage. By winning over more cities and occupying more villages, you can achieve higher efficiency in obtaining public support. As the level of public support increases, more functions and playstyles can be unlocked, thereby enhancing the strength of all lords. In the early stage, if you can obtain hero fragments or self-selection boxes, you can choose your favorite heroes or skills.

This post shares these key operations for new players in Three Kingdoms World Conquest. These are some of the most important operational skills for beginners. Mastering these small details will make the initial stage of exploration smoother, which is also a key point in helping everyone quickly enhance their strength in the early stages.
Three Kingdoms Unity Operation Guide Three Kingdoms Unity Formation Operation
There are tens of millions of combinations for the lineup, and the choices are not the same. When players first start playing the game, they may have some confusion in their minds, not knowing how to match the lineup, which sometimes leads to missed opportunities. This is the content that I, the author, will introduce today about the Operation Guide for the Unification of the Three Kingdoms. Friends who are interested can follow along to learn more.
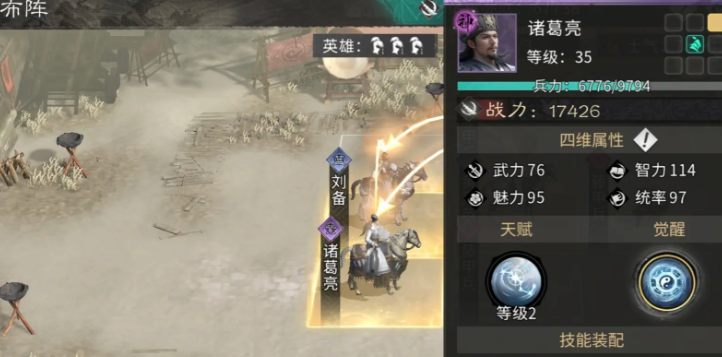
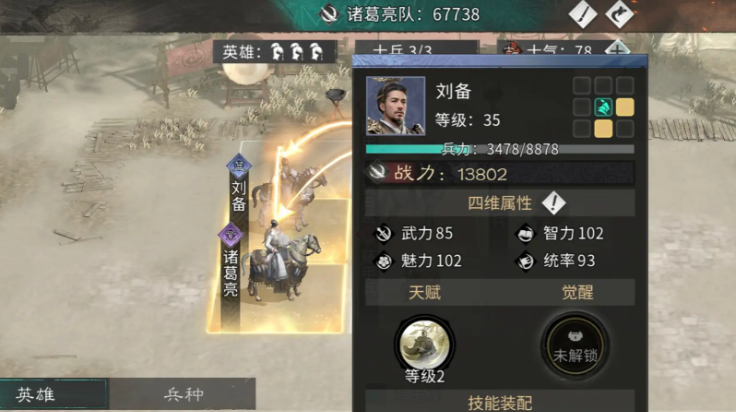
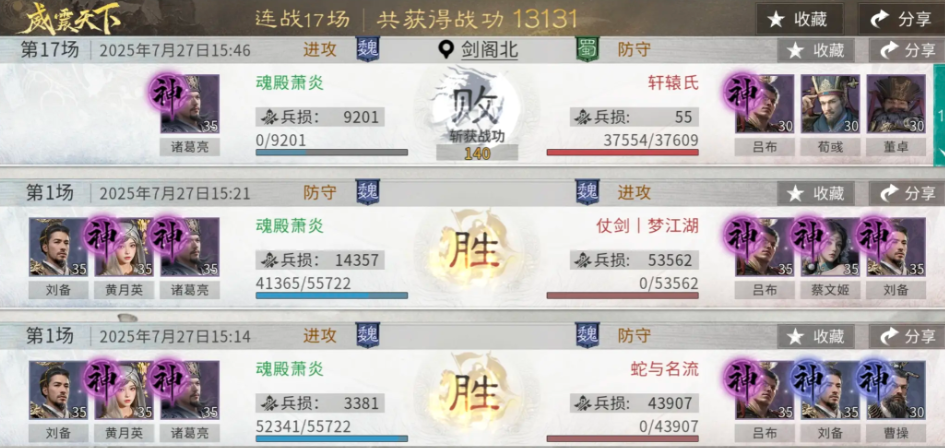
When matching the lineup, you can choose Zhuge Liang + Huang Yueying + Liu Bei. Zhuge Liang is the core support in the back row, capable of providing a damage boost effect, and also has a survival buff. Huang Yueying is a mid-row supporter, effectively reducing damage and also able to form a damage avoidance role. Liu Bei can be placed in the front row, serving a supportive role, mainly focusing on healing and team enhancement effects. Generally, Zhuge Liang needs to be paired with藤甲兵 (Vine Armor Troops), using high damage reduction to effectively resist physical attacks. Huang Yueying also needs to be paired with Vine Armor Troops, strengthening the team's defensive system and enhancing the auxiliary effect.
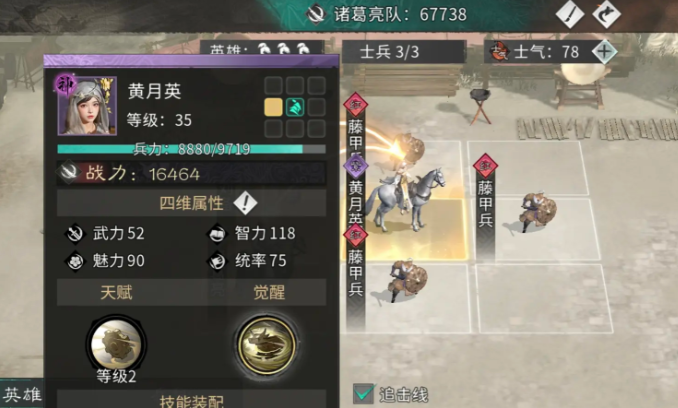
When allocating points, prioritize life and damage reduction attributes, to strengthen the entire team's survivability. For awakenings, first choose Huang Yueying and Zhuge Liang, and don't forget to unlock some core auxiliary skills. The treatment intensity of Liu Bei and the intelligence attribute of Zhuge Liang become a key cultivation method. It is also an important direction. In actual combat, through Huang Yueying's evasion mechanism and Liu Bei's group healing, it can effectively achieve long-lasting endurance. In the actual battle process, 17 victories were achieved, accumulating 13,131 war merits. When facing mainstream lineups such as Cao Cao or Lü Bu, the winning probability is relatively high.
Why choose this lineup? Mainly because the cultivation threshold is relatively low, without the need for Three Emperors generals. It is very suitable for those common players, and for physical output type lineups, it can also play a significant suppression effect, especially in countering those that rely on burst single targets. In terms of optimization, if Liu Bei needs to be replaced, one should choose items with some group damage reduction capabilities, for example, Sima Yan. The skills possessed by Huang Yueying can be effectively replaced according to the situation, swapping out for some more targeted control skills. When facing high-burst generals, one can also choose to enhance Zhuge Liang's skills to improve counterattack capability.
The above is the Operation Guide for the Unification of the Three Kingdoms shared with everyone. When operating this game, the combination of the lineup is a very important aspect. With so many characters, if there is no proper selection and pairing, it is just a waste of time, and when facing enemies, it won't yield better results. Therefore, I hope everyone understands this.
Introduction to Techniques and Gameplay of Persons Below Explaining the gameplay and controls of the mobile game Persons Below
Today, I'm going to introduce the gameplay and techniques of "The Outliers," "The Outliers" has built a combat system that integrates operational skills with strategic planning. From basic control operations to complex skill counter relationships, from character selection and development to the utilization of environment and mechanisms in battles, every step influences the direction and outcome of the battle. This helps players better and more efficiently showcase their strength in the world of The Outliers, facing challenges in different scenarios. Let's take a closer look together.
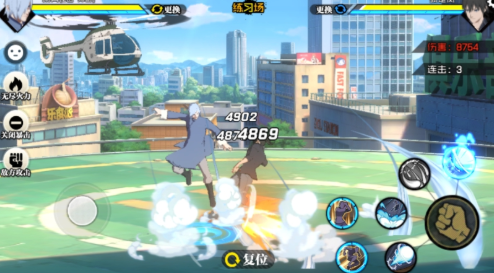
The design of the operation layout takes into account both convenience and the implementation of combat strategies. A virtual joystick controls the movement direction of the character, allowing for precise navigation whether moving through narrow terrains or positioning on open battlefields. Regular attacks can be launched with a simple tap, and each character's regular attack has its unique rhythm and impact. Some characters' regular attacks can even form multi-hit combos. For example, Feng Baobao's regular attack is fast and fierce, capable of dealing multiple hits in a short time. The existence of the defense button is crucial; when facing an enemy's attack, pressing the defense button in time will put the character into a defensive stance, effectively blocking most damage.
Skill buttons correspond to a variety of special abilities for each character, with each skill having its unique effect. Skills have varying cooldown times, so players need to pay close attention to the cooldown bars, plan the order of skill releases reasonably, to achieve the best combat results. The game has constructed a rigorous and interesting skill counter system: regular attacks counter defensive states in combat. When an enemy is defending, a precisely landed regular attack can trigger a break-defense effect, causing the enemy to enter a brief state of stun where they cannot defend or counterattack effectively. At this moment, players can take the opportunity to link other attacks, such as skills or follow-up regular attacks, thus delivering a series of continuous damage.

Equipment enhancement plays a key role in boosting a character's combat power. When enhancing equipment, it is necessary to perform targeted operations based on the character's role. For offensive characters, the enhancement of weapons and accessories is critical. Weapon enhancement directly improves the character's attack attributes, significantly increasing the base damage dealt in combat, providing core support for sustained output. Accessory enhancement focuses on optimizing critical hit-related attributes, by increasing the probability of triggering critical hits and the multiplier of critical hit damage, making it easier for offensive characters to deal high burst damage during attacks, further amplifying the upper limit of output.
The introduction to the gameplay and techniques of "The Outliers" is now complete, the fun of the game's combat not only lies in the satisfying experience of releasing skills but also in optimizing combat strategies and improving combat effectiveness through understanding the game mechanics and mastering techniques. Players can use the content presented in this guide, combined with their own gaming experiences, to gradually explore and refine their own combat styles.
Introduction to Bao Jie's Playstyle in Underneath the Strange, and How to Operate Feng Baobao
Today, I will be introducing the gameplay of Baojie in The Outlier. In the fantastical world of The Outlier mobile game, numerous outlier characters attract players to delve deeper with their unique abilities and charming personalities. Among them, Feng Baobao, affectionately known as Baojie, stands out as an extremely popular character. With her adorable appearance, mysterious background, and formidable combat power, she has become a favorite for many players to control. In the game's battle scenes, every move made by Baojie is executed with precision and decisiveness. Let's take a closer look together.
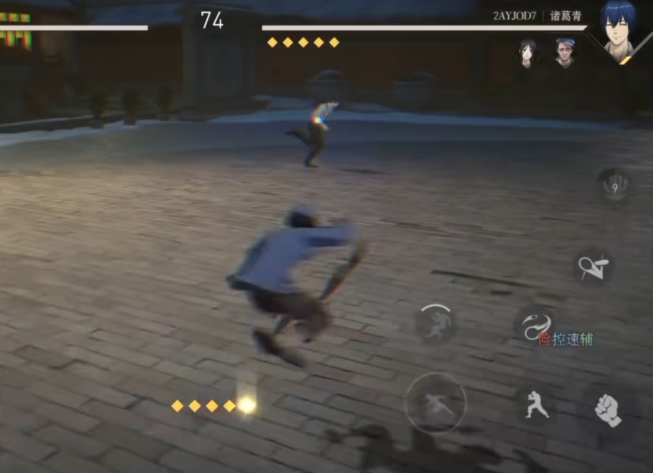
Feng Baobao's normal attack consists of a five-hit combo, which is extremely practical when initiating close combat. The quick pace of her attacks allows for rapid consecutive strikes against enemies. The final hit of this combo sends the enemy flying, creating opportunities for subsequent skill combinations. When engaging in close combat, players can start with a normal attack, launching a series of hits until the enemy is airborne, then smoothly transition into other skills, thus setting the offensive rhythm. One of Baojie's distinctive skills is the "Mighty Dragon Crossing the River." When used, she quickly darts forward, impacting all enemies in her path. This skill not only serves to swiftly approach enemies but also, if the player presses the skill button again after the initial strike, it can trigger a follow-up effect that has a chance to knock the enemy airborne.
The "Invincible Fire Wheel" is a two-part step-and-slash skill. After completing the two-step slashes, if the player quickly taps the skill button, Baojie will leap into the air, throwing her sword in a spinning motion before descending upon the enemy from above. This skill deals significant damage but demands precise timing from the player to maximize its potential. In terms of practical combos, players have a variety of strategies at their disposal. They can initiate with the "Qi Blade Slash," which launches a long-range blade energy, causing the enemy to enter a brief stun state upon impact. At this point, the player can quickly move Baojie closer to the enemy, following up with normal attacks, taking advantage of the knockback effect, and then releasing the "Lotus Seat Kick." The Lotus Seat Kick performs two rapid leg strikes directly ahead; if they connect, it transitions into a new round of attacks while sitting cross-legged, continuously striking the enemy and simultaneously creating distance, allowing for a readjustment of the battle rhythm.
For combo recommendations, starting with the "Thrusting Qi Slash" is advised. After a brief charge, this skill allows for a high-speed dash forward, catching the enemy off guard. Upon hitting the target, the enemy often finds themselves unable to retaliate, providing an opportunity to link normal attacks, followed by the "Qi Blade Slash." If during the fight, the player notices that the enemy's health is low and their special skill gauge is full, they can release the ultimate skill, "One Shot Kill," dealing massive damage and securing victory.
Feng Baobao also possesses a ranged attack option, the "Flying Knife Toss," which, although less frequently used, can prove highly effective in specific situations. When facing off at a distance or needing to initiate an attack, players can have Baojie throw a flying knife. Upon hitting the target, Baojie can quickly rush in for a combo attack. Moreover, if the enemy chooses to defend against the flying knife, Baojie can use a throw technique to break through their defense. However, this requires a high level of precision from the player, who must accurately time and angle the flying knife toss to effectively utilize this ranged attack method.
The introduction to playing Baojie in The Outlier ends here. To effectively play Feng Baobao in The Outlier, players need to thoroughly understand her various skill characteristics, flexibly apply basic skills, cleverly chain combos, and reasonably use ranged attack methods. Only then can Baojie demonstrate her formidable strength in battles.
Valorant Mobile Phoenix Character Gameplay Operation Valorant Operation Energy Phoenix Skill Operation Tips
Today, I'm bringing you the content about playing the Phoenix character in Valorant Mobile. In the tactical shooting competitive world built by Valorant Mobile, the differentiated use of character skills and team cooperation constitute the core strategy of battles. As a duelist, Phoenix possesses fire manipulation abilities and a resurrection mechanism, providing unique tactical value in both offensive and defensive scenarios. The skill system not only grants players strong firepower suppression but also offers the possibility to turn the tide in endgame situations and key point contests. Let's take a closer look.
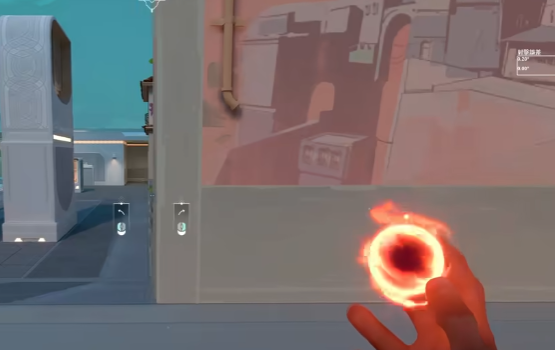
Phoenix, as a highly distinctive duelist, plays a crucial role on the battlefield with his powerful fire skills and unique resurrection mechanism. The Blaze ability, when used, equips Phoenix with a flash orb that, after being thrown, travels through the air in a unique arc. After a brief flight, it suddenly detonates, making this skill an exquisite tactical tool for disrupting the enemy's vision. Players simply need to press the shoot button, and the fireball will be launched like an arrow, exploding upon impact or at a specific time, instantly creating a burning area. Enemies entering this area will suffer damage. When the fireball explodes and forms a burning area, the scorching flames not only deal continuous damage to those who step into it but also serve as Phoenix's exclusive life replenishment station.
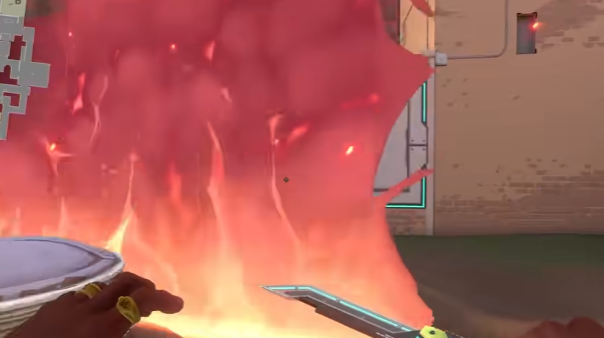
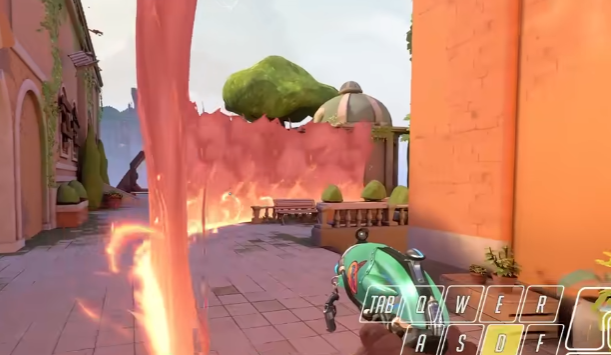
The Hot Hands ability equips Phoenix with a flame barrier. When the skill is activated, he immediately becomes a mobile fire element controller on the battlefield. By simply pressing the shoot button, a blazing wall of fire rises in front of him, instantly scorching any enemy who tries to pass through. If the shoot button is held down, the fire wall can extend and curl towards the direction of the crosshair, flexibly changing its shape according to the battlefield situation, forming a unique tactical barrier. Teammates can use the fire wall for safe advancement, and Phoenix himself, standing within the fire wall, can continuously restore his health, enhancing his survivability.
RUN IT BACK is the ultimate ability of the character. Upon activation, Phoenix marks his current position. During the duration of the skill, even if he is overwhelmed by enemy fire, he can instantly return to the marked location, fully restoring his health and repairing any damaged armor. In offensive scenarios, activating the ultimate before advancing allows Phoenix to boldly explore enemy territory. Even if he is killed, he can resurrect with full health and continue fighting, gathering critical information for the team and disrupting the enemy's defensive setup.
In actual combat, there is a tight connection between Phoenix's skills. In offensive situations, one can first use the C skill, Hot Hands, to create a fire wall blocking the enemy's view, then quickly throw the Q skill, Blaze, to blind the enemies through the fire wall. Finally, teammates can take advantage of the opportunity to break through, greatly increasing the success rate of the offense. The fire areas created by Phoenix's E and C skills are not only points of damage output but also excellent positions for engaging in a tug-of-war. During gunfights, if Phoenix's health is low, he can cleverly retreat into the fire area, using the healing effect to recover while observing the enemy's movements.
The content about playing the Phoenix character in Valorant Mobile has been introduced. Phoenix's playstyle provides more tactical options for battlefield strategies. In actual combat, players can fully leverage Phoenix's character traits through precise skill combinations, clever timing, and close teamwork.
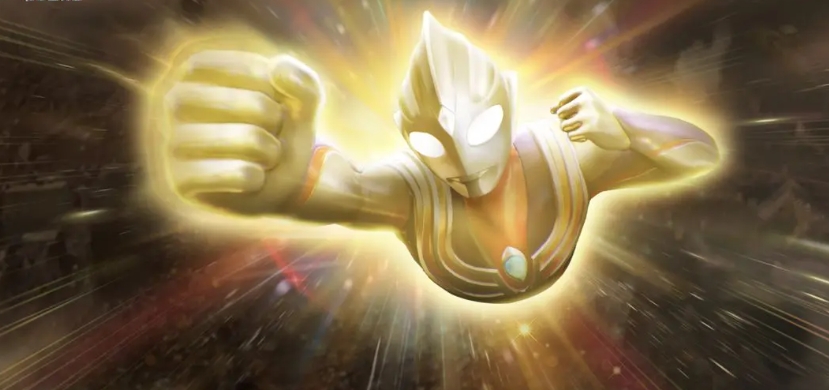
Ultraman Transcendent Hero Operation Techniques How do beginners operate Ultraman Transcendent Hero
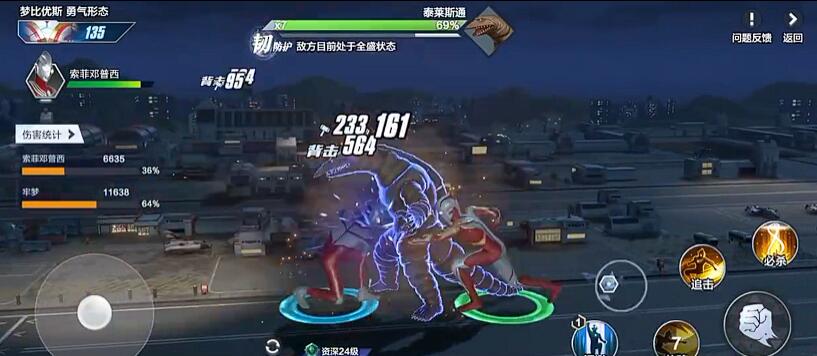
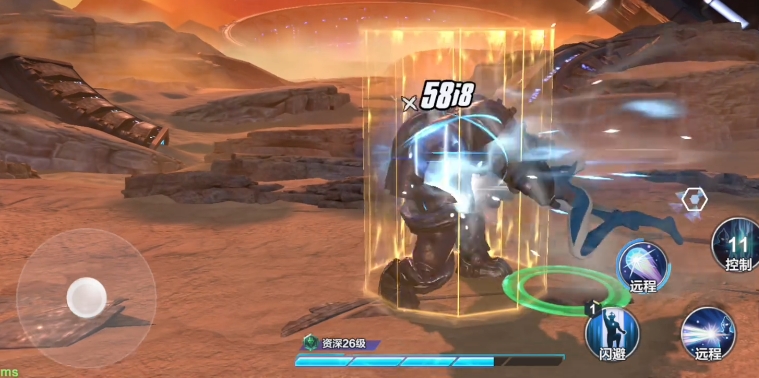
Ultraman Hyper Space Hero, as a side-scrolling action mobile game, its combat depth relies heavily on the precise control of monster state mechanisms, skill combinations, and dodge timing. Today, the editor will bring a guide on Ultraman Hyper Space Hero operation techniques for new players. Mastering the core operational logic can significantly improve the efficiency of dungeon clearance and the win rate in the arena. The following are five key technical details verified through practical combat.

Monsters exist in a four-stage cycle: Resilience → Armor Break → Exhaustion → Vulnerability. In the resilience state, monsters have additional protection, and heavy attacks are needed to reduce armor (for example, three consecutive hits with Zero's "Suppression Thrust" can reduce resilience by 15%). When the armor is depleted and enters the armor break state, immediately trigger the character's armor break skill (such as Shining Tiga's "Shining Kick" causing dizziness), at which point the monster kneels down exhausted and cannot act for 5 seconds. After getting up, it enters a 10-second vulnerability state, where damage taken increases by 40%, and reserve ultimate skills until the vulnerability phase to release, such as Zero's "Wide Beam" dealing extra true damage during the vulnerability period.
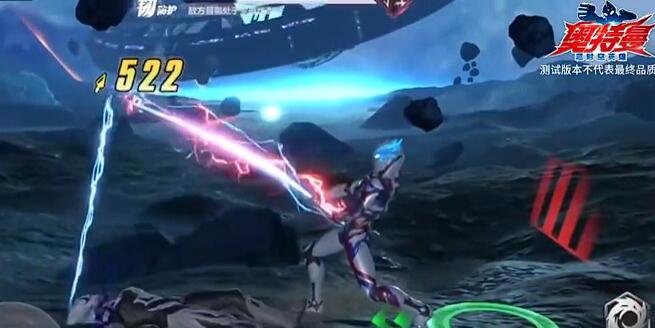
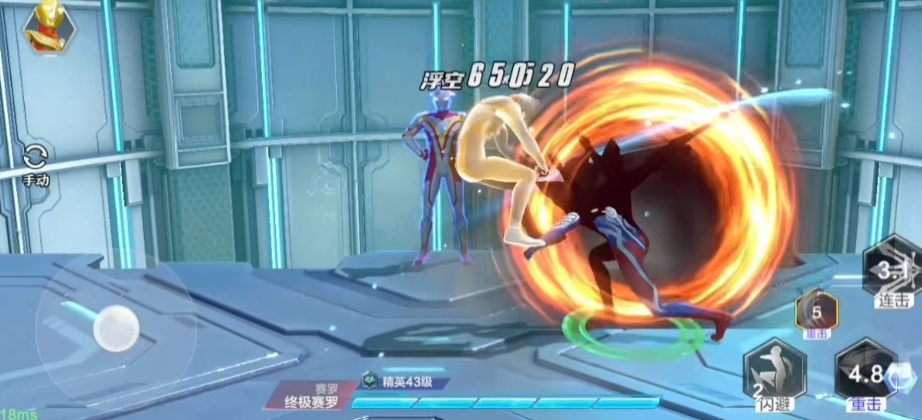
Skill combos need to focus on canceling post-attack delay to increase output efficiency. Taking Shining Tiga as an example: start with a long press on the basic attack to perform a charged punch (with super armor to resist interruptions), then link the first skill "Shining Burst" within 0.3 seconds after knocking down the target. The first segment rush punch followed by the second segment tracking kick must be quickly pressed (with less than 0.5 seconds interval). When the enemy is airborne, immediately release the second skill "Shining Kick", and press the ultimate skill "Shining Timer Flash" instantly upon hitting, which forcibly cancels the post-kick delay, making the light blade damage and ultimate animation take effect simultaneously.
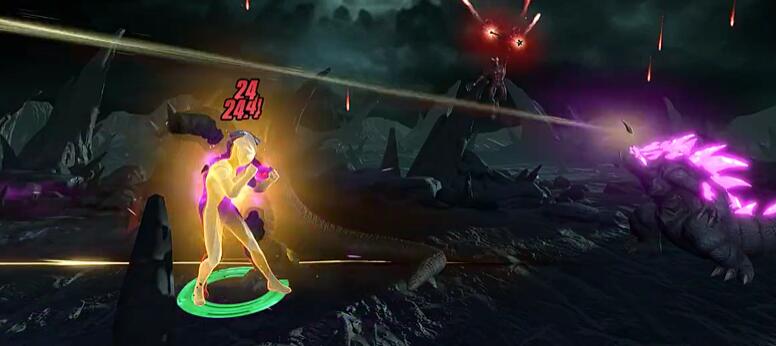
Each dodge not only grants immunity to damage but also resets the number of basic attack segments and accumulates back-hit judgment. Facing Belial's "Dark Energy Impact," observe the 0.5-second charging motion of his right arm, dodge sideways to his back to trigger the critical hit bonus from a back hit (critical hit rate increased by 30%). For example, when Gatanothor's tentacle attack shows a red circle warning, dodge diagonally backward to the gap between its carapaces, at this time, Zero's "Plasma Spark Slash" can deal double critical damage. When the character is airborne or knocked down, a forced dodge can instantly escape the control state, avoiding subsequent combo suppression.
Refining operations requires continuous practice, mainly to feel the stiffness, seamless skill connections, etc. After mastering these techniques, you can not only clear the Dark Universe dungeons without taking damage but also steadily advance to higher ranks in the arena.
How to Perform Refinement in Douluo Continent: Evil Extermination Legend Guide to Refinement Operations in Douluo Continent: Evil Extermination Legend
In the game, equipment forging, which is what people commonly refer to as refining, can rapidly increase combat power if done correctly. This is also a core gameplay feature. Many people have a strong interest in this and want to know the correct method of operation. How does one perform refining in "Douluo Continent: Extermination of Evil"? Today, we will provide a detailed introduction to see what kind of operational methods there are.
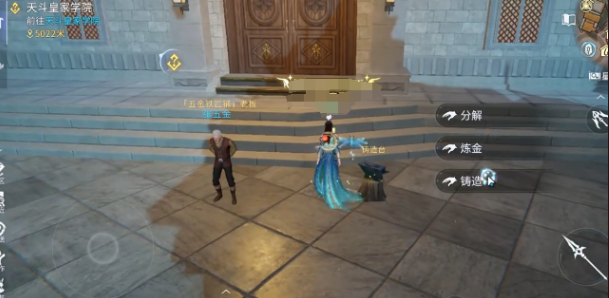
The method for players to operate is quite simple. First, they need to go to the Royal Academy of Heaven's Spirit and find the owner of the Hardware Blacksmith Shop. Then, by clicking on the casting interaction, they can enter the forging interface. Here, a series of advanced operations can be carried out, step by step transforming ordinary equipment into divine artifacts.
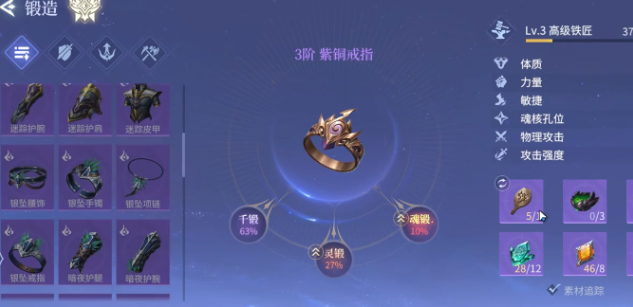
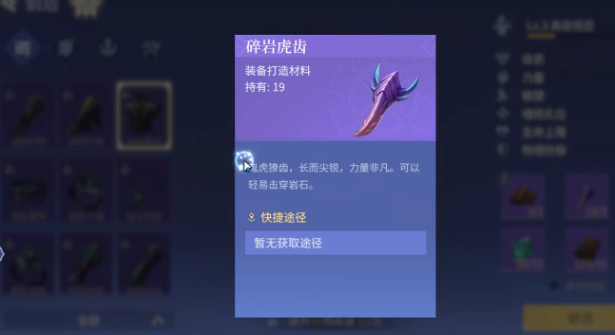
Thousand Forging: It consumes some basic materials, such as Crushed Rock Tiger Teeth, which can effectively enhance the base attributes of the equipment, including strength and attack speed. After significantly improving the equipment's attributes, these become key materials for early enhancement, obtainable through gathering or dungeons.
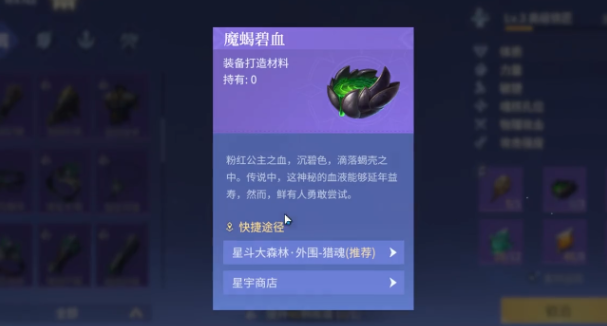
Soul Forging: This requires specific materials, such as Demon Scorpion Azure Blood, which players can acquire from the store or the Star Dou Great Forest through soul hunting. Once embedded, it grants an additional skill, also bringing higher damage. This makes the equipment possess excellent combat characteristics, quickly enhancing combat power.
How does one perform refining in "Douluo Continent: Extermination of Evil"? Players can consider the above aspects, further exploring the potential of their equipment, which can effectively increase hidden attribute bonuses. During battles, this can directly trigger critical hits or evasion efficiency, quickly widening the gap in combat power, making it a crucial factor.
Guide to Sharing and Operating in the Extra Ring How to Operate When Snatching Cars in the Extra Ring
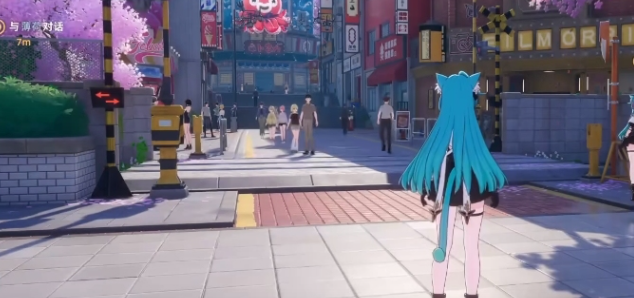
Many players will find that the game offers a rich variety of gameplay, as well as different visual effects and city scenes. However, many players are not familiar with the correct operation methods. Today, we will share with you the Alien Ring Operation Guide, mainly focusing on car snatching as the core, to see how one can successfully achieve it.
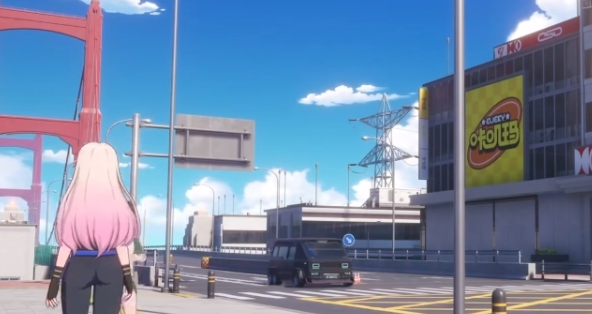
From the current situation, players will find that it is not possible to directly snatch vehicles in the game. Whether it's snatching other players' vehicles or NPC vehicles, this is not allowed. This setting is relatively reassuring for players, as it effectively creates a reasonable environment where they don't have to worry about encountering competitors.

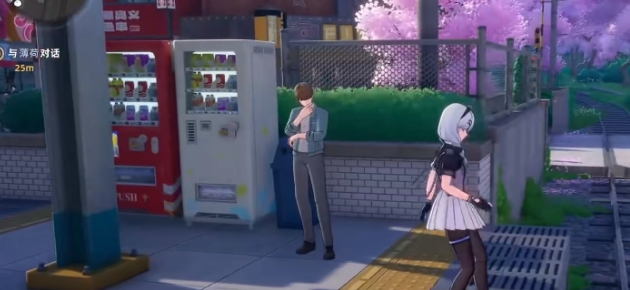
However, players can choose to purchase vehicles, with multiple vehicle options available. In addition to purchasing, vehicles can also be rented. Once a player has a vehicle, they can freely operate it to meet everyone's driving needs. From this perspective, the game is quite interesting.
The development team is continuously working hard within the game, hoping to bring more fun experiences to players through optimization. Although there is currently no feature to snatch cars, it is believed that such features will be introduced in subsequent updates. At that time, players can pay attention and experience it.
The above is the Alien Ring Operation Guide. For all players, although it is not possible to directly snatch vehicles in the game, there are many ways to obtain vehicles and then drive them. Don't forget that you can also choose to buy vehicles; those who are interested can give it a try.
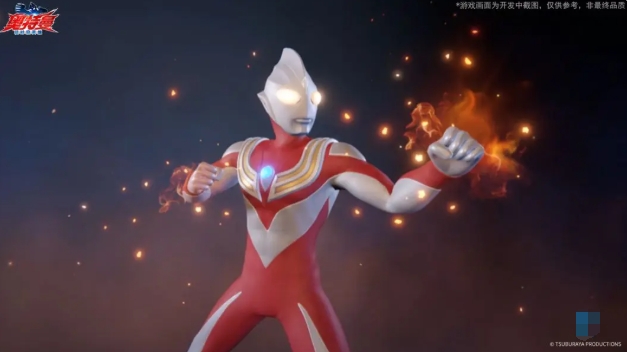
Ultraman Transcendent Hero Fighting Techniques Overview Sharing of Operation Tips for Ultraman Transcendent Hero Beginners
In Ultraman Super Space-Time Heroes, a grand cosmic adventure awaits all brave warriors to embark upon. Here, collecting and nurturing various Ultraman warrior cards and carefully assembling an incredibly powerful lineup is key to facing the ever-escalating cosmic challenges. In the overview of combat skills in Ultraman Super Space-Time Heroes, you can see these uniquely characterized Ultramen, which are not just simple cards; they actually represent the Ultraman warriors that you can control.
First, let's talk about the types of Ultramen. This is akin to different role positions within a team. Offensive Ultramen are the main source of damage for the entire team. They excel at delivering rapid single-target bursts or powerful area-of-effect attacks to deal blows to enemies. For example, Ultraman Zero, with his incredibly powerful Wide Shot, can cause massive damage to enemies instantly once released. Defensive Ultramen, on the other hand, safeguard the team's safety. They possess extremely high health points and formidable defense, always rushing to the front lines in battle, using their bodies to shield teammates from harm.

Some defensive Ultramen also have taunt or damage reduction skills, not only attracting enemy fire but also mitigating the damage taken by teammates. Supportive Ultramen, through providing healing, buffs (like increasing teammates' attack power, enhancing defensive attributes), and control effects (such as stunning, slowing down enemies, or dispelling debuffs from teammates), influence the course of battles. A crucial point to remember is that in this world, no Ultraman is omnipotent. Each type of Ultraman has its irreplaceable unique role within the team. For new players, it's important to try and gather three different types of roles in the early stages of the game to build a relatively balanced and strong lineup. To achieve victory in battles, merely having powerful Ultramen is not enough. It's also necessary to spend time thoroughly understanding the skill effects, release conditions, including required energy, cooldown duration, and special mechanisms like combos, charging, and form switching, of each Ultraman card you own.
For instance, everyone knows that Ultraman Zero's Wide Shot is a high-burst damage skill, but it has a relatively long cooldown. For support-type cards, players need to clearly know when to use healing skills to save critically injured teammates or under what circumstances to use critical control skills to disrupt the enemy's rhythm. During battles, one must also consider the connection between skills. For example, a support-type card could first use a control skill to immobilize the enemy or apply a defense-reducing debuff. At this moment, the core offensive card should quickly follow up with a high-damage skill.
When facing highly defensive enemies, never blindly engage in a hard fight. At such times, the control skills of support-type cards play a significant role. Players can prioritize using the support's control skills, such as stunning or freezing the enemy, to interrupt their actions, or using weakening skills to reduce the enemy's defense or attack capabilities. Then, the core offensive unit can seize this opportunity for a burst of damage. Just like how Ultraman Zero can start with a suppressive thrust, followed by a normal attack, then Phantom Sword, and finally the Wide Shot. Such a seamless sequence of skill releases can deal substantial damage to the enemy.
Another example is Glitter Tiga, who can first charge a normal attack, then follow with Skill 1, and then Skill 2 to launch the enemy into the air, immediately followed by the ultimate move. Through such skill combinations, one can maximize their damage output. Defensive roles must withstand key damage. When facing multiple enemies, players can consider using offensive Ultramen with area-of-effect skills to strike a large area, or use the support's crowd-gathering skills to group scattered enemies together before attacking with AOE skills.
In battle, players must always pay attention to the pre-movement of the opponent's skill release, observing and predicting to discern the enemy's intentions. Evasion skills are essential for dodging critical damage and control, and they usually have a short cooldown. Therefore, players should not mindlessly stand and attack but instead look for the right moment to dodge flexibly. After successfully controlling or interrupting the opponent, quickly follow up with your high-damage combo, giving the enemy no room to breathe. Additionally, some Ultraman cards have form-switching functions, such as Tiga, who can switch between different forms. Players need to deeply understand the advantages and disadvantages of different forms and switch at the appropriate time. For example, when needing to deliver high burst damage, switch to the Power Type, and when needing to dodge enemy attacks flexibly, the Sky Type can leverage its strengths. Finally, choosing the right equipment based on the character's characteristics is also a critical factor in enhancing combat power. For instance, for Ultraman Zero, who prioritizes attack and crit attributes, one might choose gear like the Aurora Arm Guards and Energy Shield, which can further amplify his damage output.
And for Glitter Tiga, one could opt for items like the Light Stick and Glitter Tornado Cloak. Meanwhile, players should also formulate corresponding tactics based on the enemy's characteristics. For example, when facing boss-level enemies, do not directly attack head-on; instead, try flanking. When clearing out ranged minions, continuously attack to stack passive effects. In PvP battles, focus more on dodging and rolling to avoid skills, and counterattack by exploiting the opponent's weaknesses.
The above is a related introduction to the combat techniques in Ultraman Super Space-Time Heroes. These are the skills that everyone can master in the various confrontations in the game. Of course, if you want more advanced operational techniques, you can gradually understand the individual usage effects of Ultramen later on.
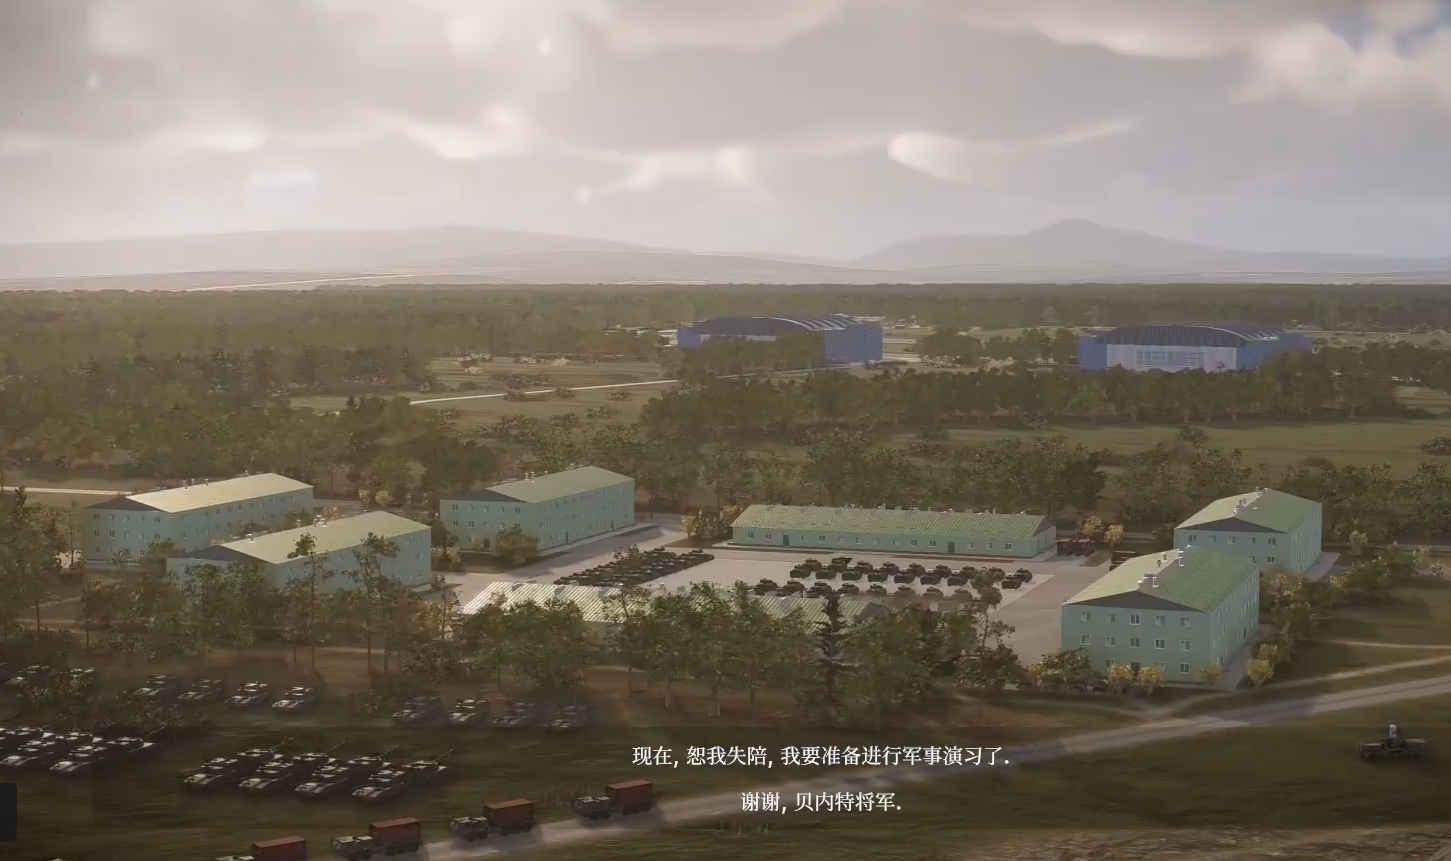
Basic operations of Broken Arrow include which ones; brokenarrow basic operation tutorial explanation
This game features over 300 units, all customizable, allowing for more than 1,500 combinations. Players can modify the weapons, armor, and countermeasure systems of the units, making each battle highly flexible and variable. However, many new players are not yet familiar with the basic operations of Broken Arrow. This article provides a detailed guide, so let's learn together, new players.
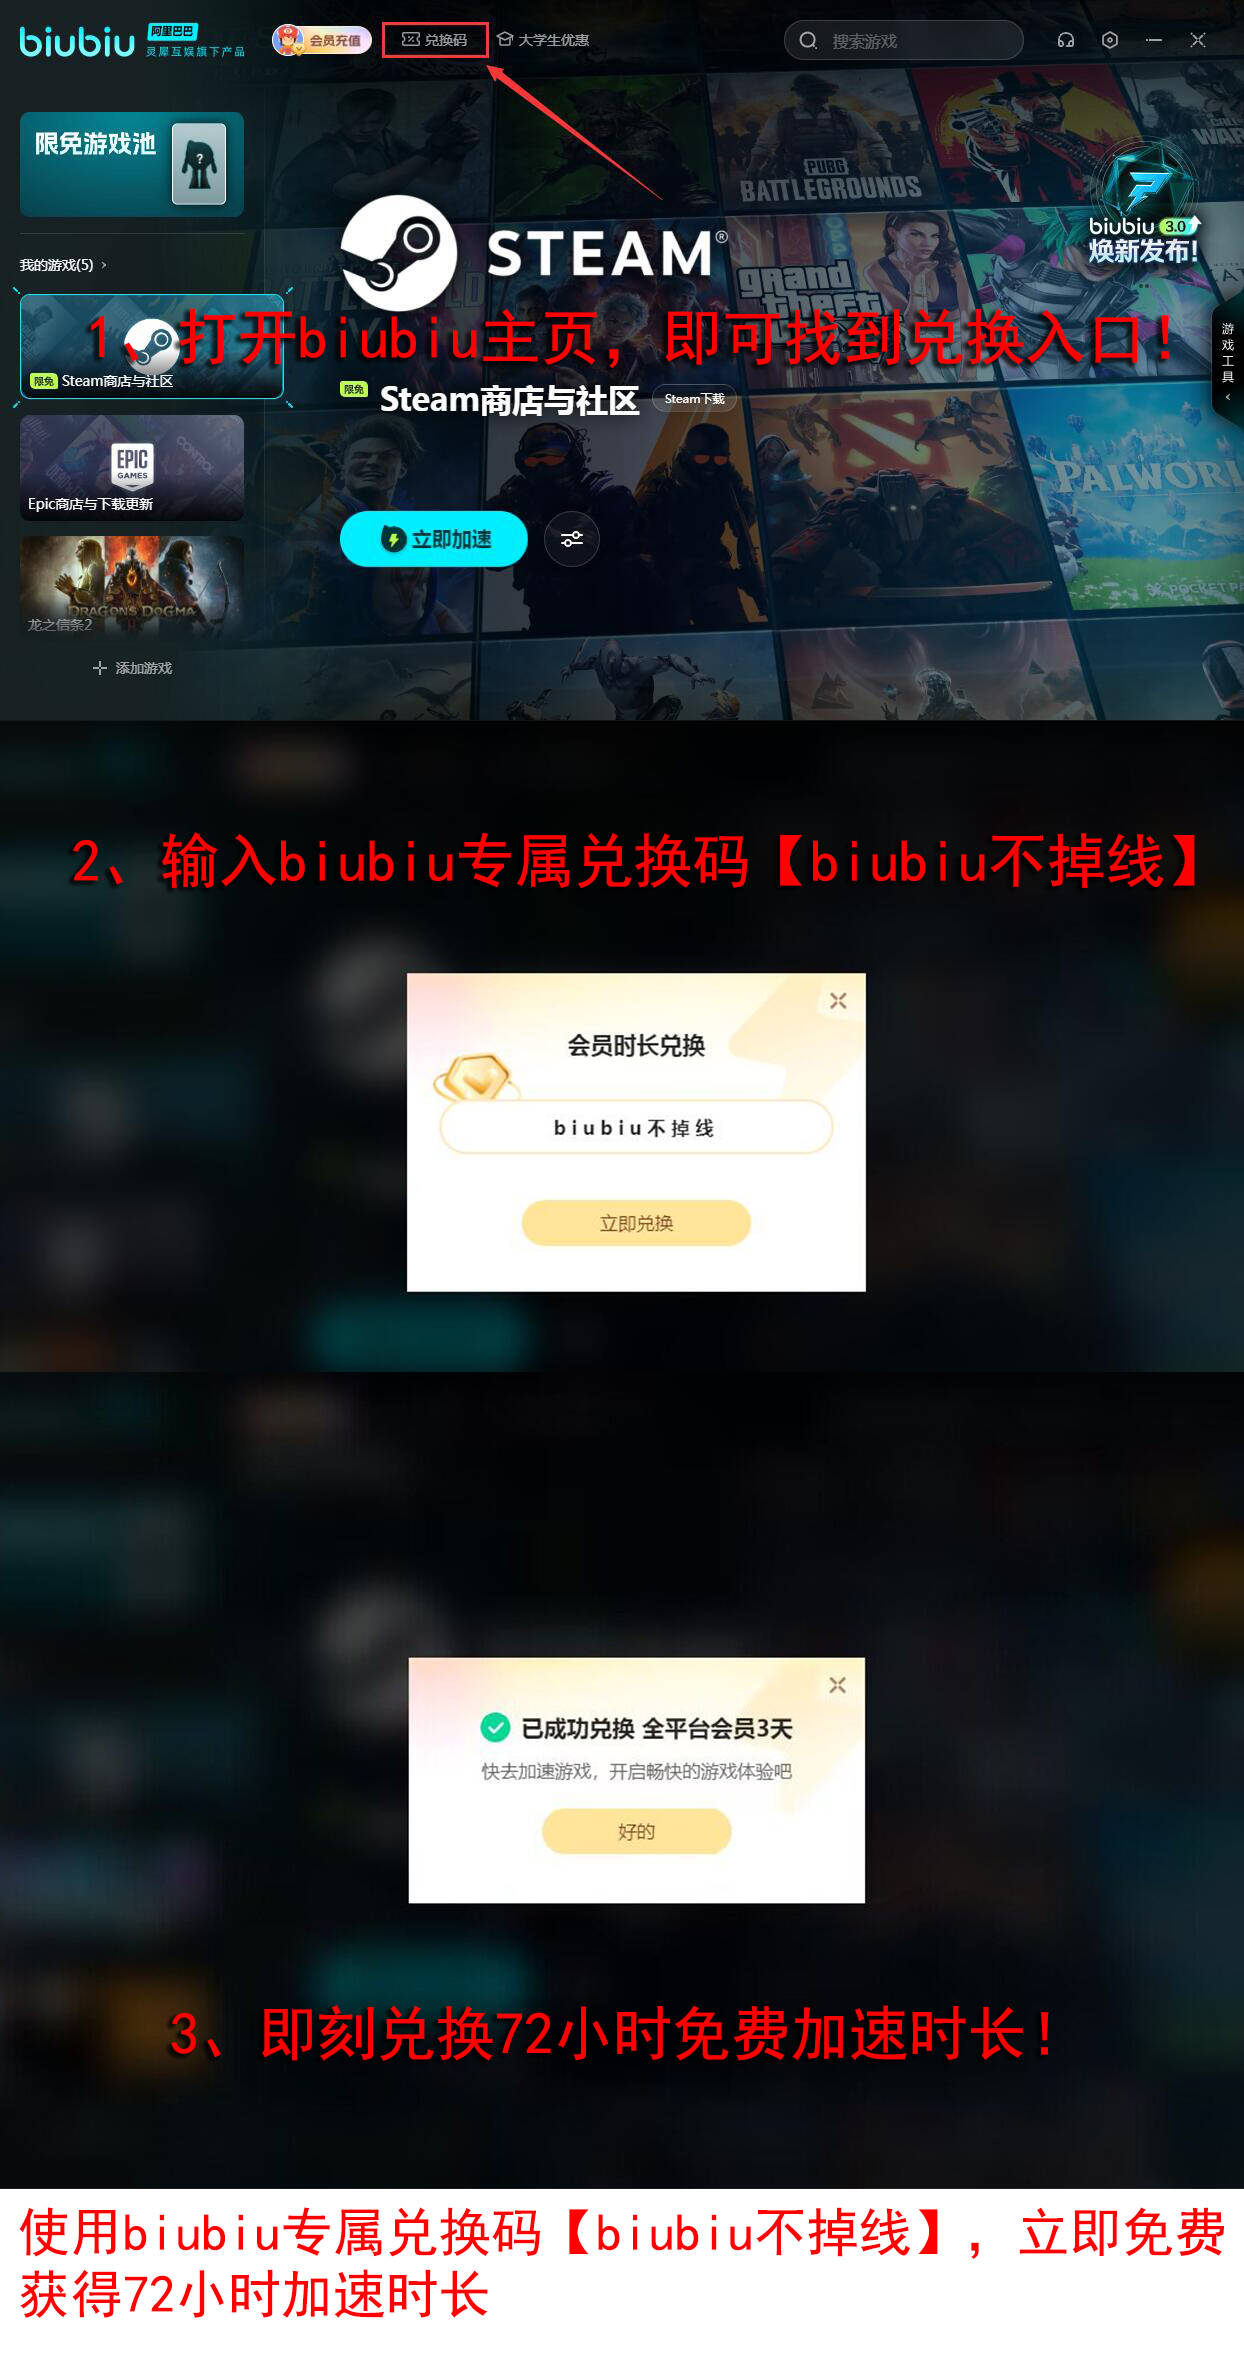
[biubiu Accelerator] Download the latest version
>>>>>#biubiu Accelerator#<<<<<
Basic Controls and Interface Understanding:
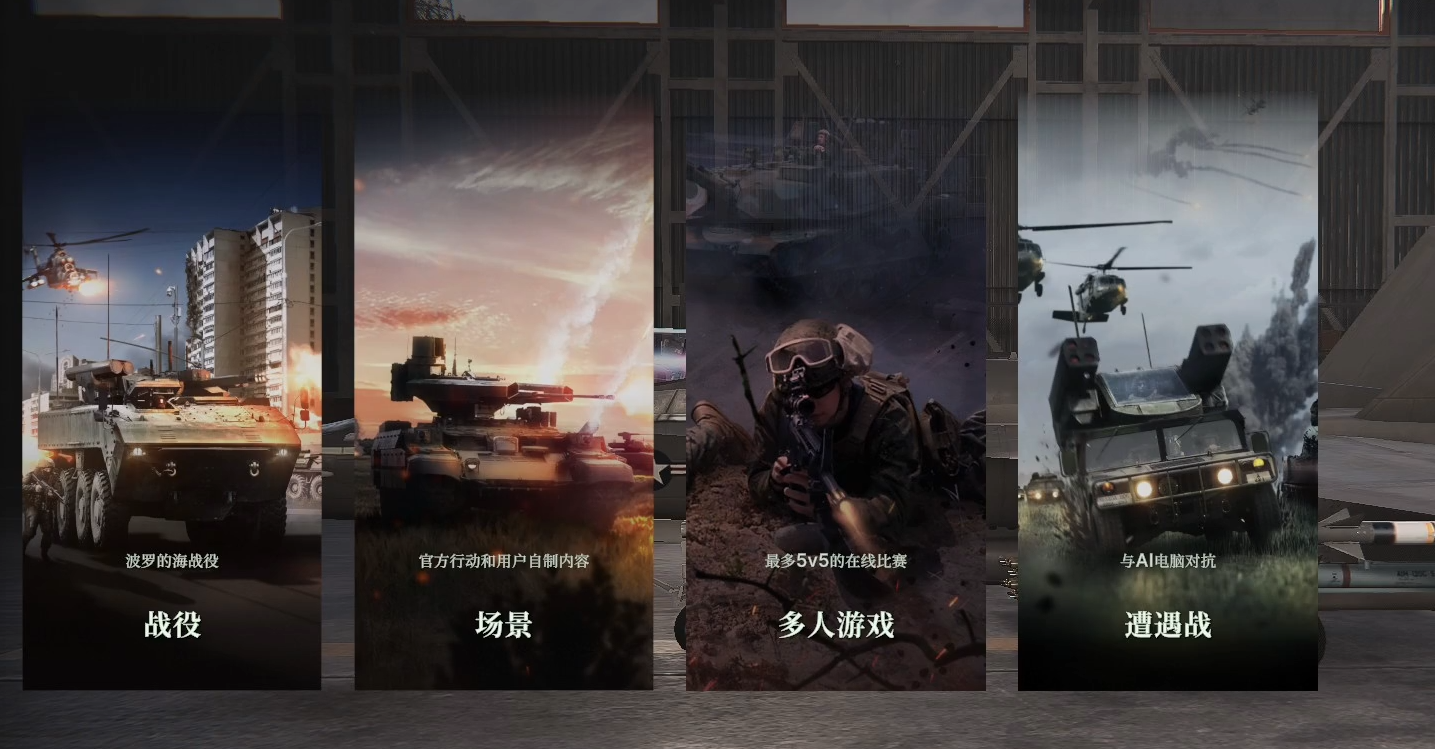
The game offers three modes: campaign, multiplayer, and skirmish. The skirmish mode requires two players to be matched online to play against AI. Core operations include: left-click to select units, right-click to issue move commands, double right-click to move along the road, and press F to trigger road acceleration. Camera control supports WASD/arrow keys for panning, hold the middle mouse button to rotate the view, and use the scroll wheel to zoom in and out. When hovering over a unit, the zoom will automatically track the target. The question mark in the upper right corner of the interface provides mission hints. The color rules for distinguishing forces are: player (blue), allies (green), enemies (red), and neutral (gray), and these can be customized.
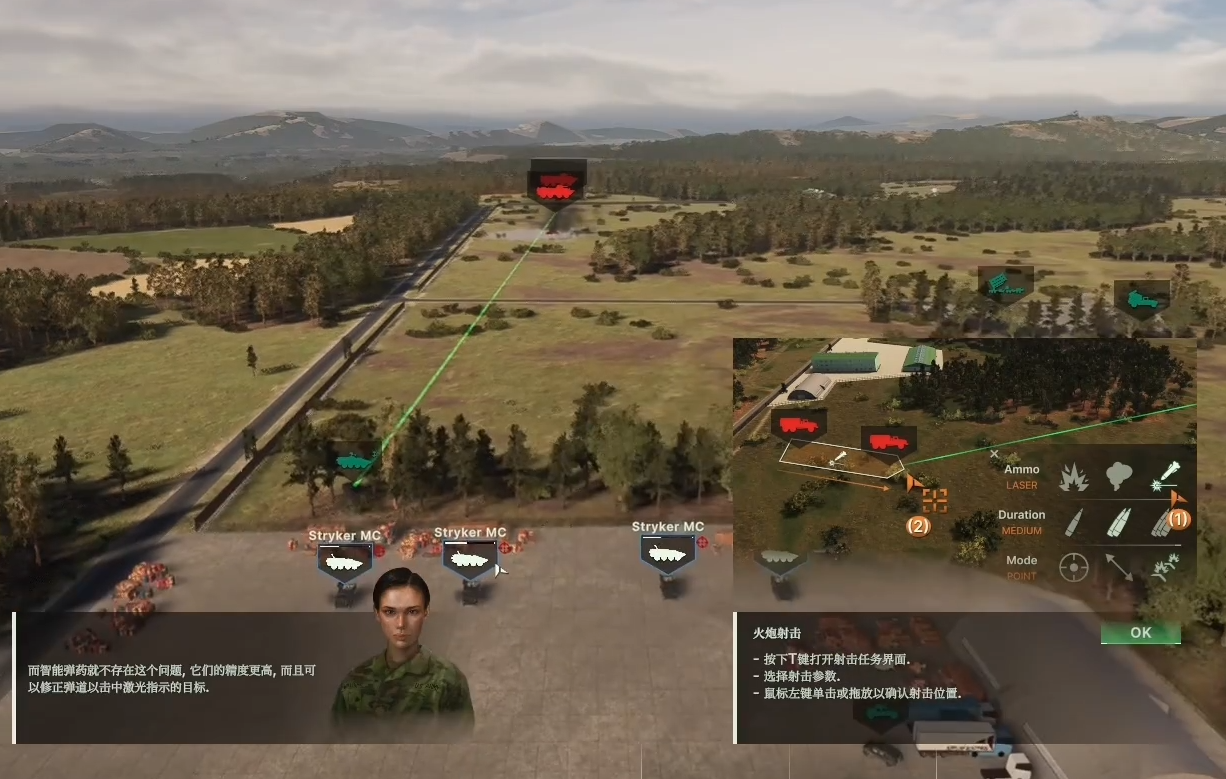
Artillery and Anti-Air System Operations:
Artillery must be manually targeted: right-click on the target, then press T to open the firing panel. The first column selects smart ammunition (relying on laser guidance), the second column sets the type of shell, and the third column plans the landing pattern (such as linear area). Anti-air units default to radar off to avoid anti-radiation strikes; press Z to manually turn on the radar, with range increasing with the target's altitude (doubled for fixed-wing aircraft). Note that long-range anti-air should be paired with short-range defense (e.g., "Patriot + short-range anti-air"), and when the radar is on, be cautious of helicopters attacking at close range.
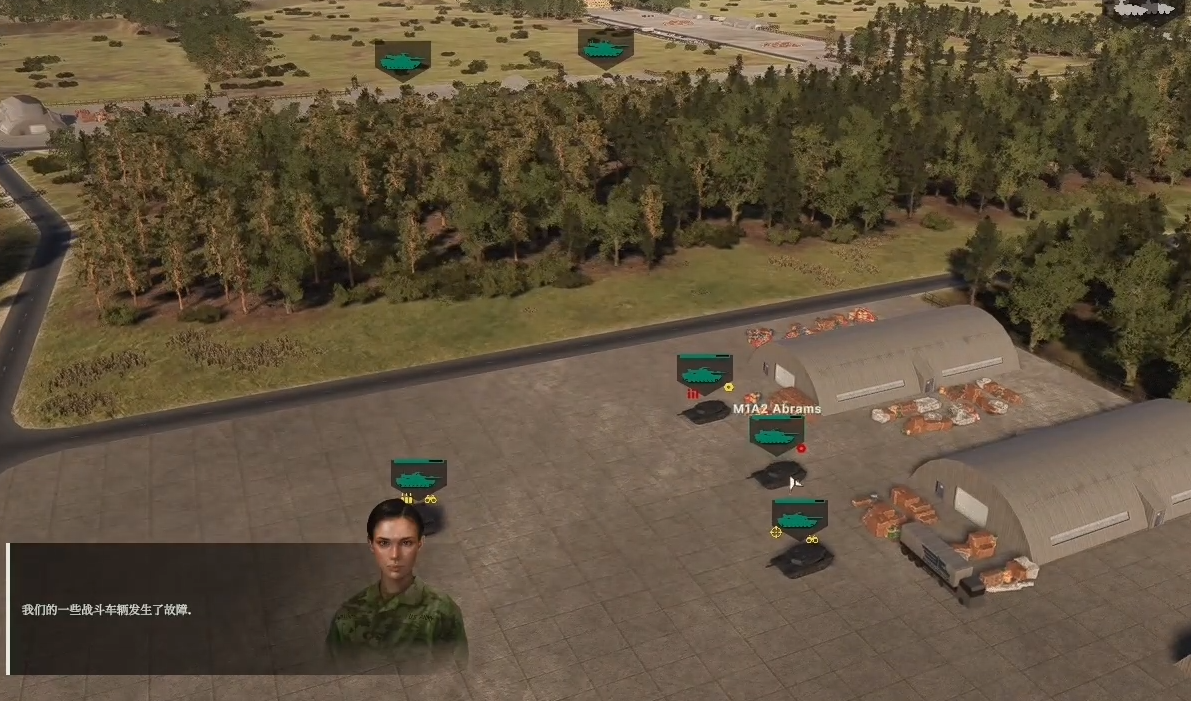
Logistics and Vehicle Repair:
Supply trucks load 4,000 kg by pressing Ctrl+left click or fully load by Shift+left click. Upon reaching the front line, click the supply button next to the truck icon to unload, creating a supply circle that automatically repairs vehicles within its range. Vehicle damage is divided into two levels: yellow icon (decreased performance) and red icon (severe failure), both requiring full repair within the supply circle. Repairing also replenishes ammunition, ensuring sustained combat capability.
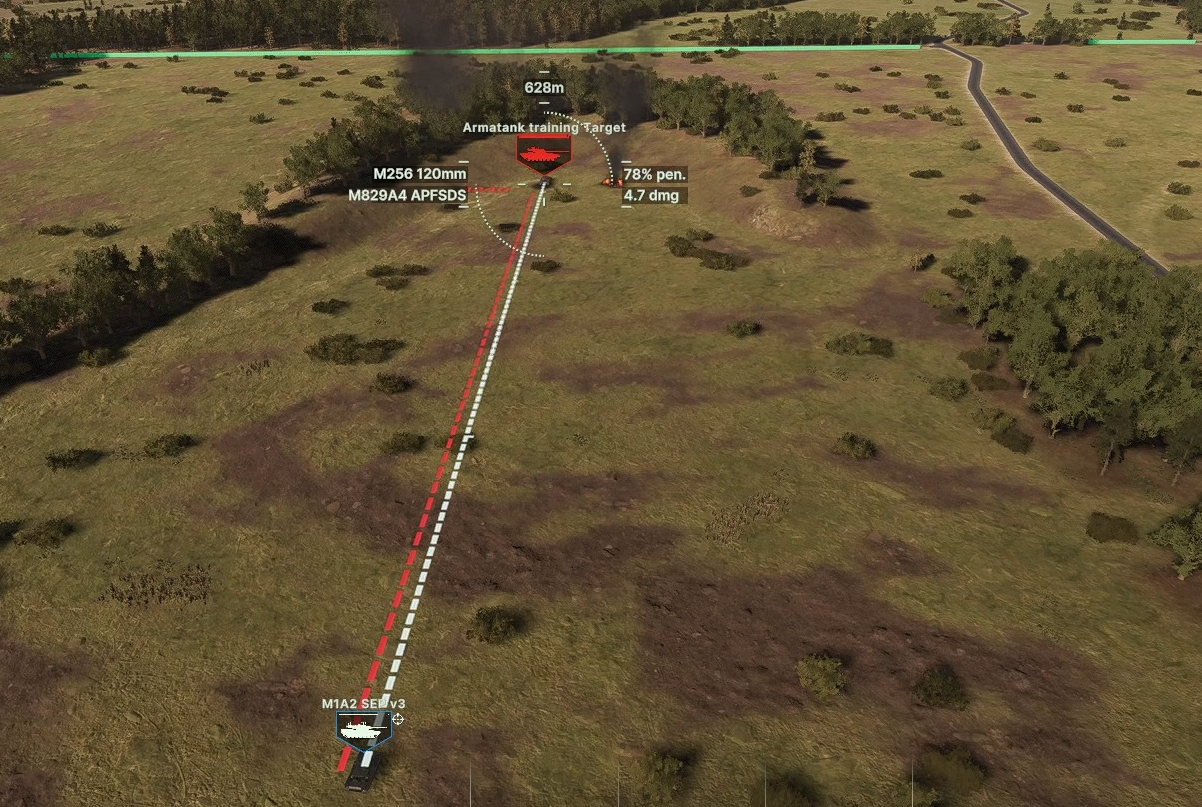
Tank Warfare and Anti-Armor Strategies:
Tanks follow the principle of facing the enemy head-on, as side armor is easily penetrated. Ammunition is divided into two types: kinetic (AP) rounds, which lose effectiveness with distance, and chemical (HE/missiles), which maintain their power regardless of distance. The panel displays real-time penetration rates (e.g., 78% at 628 meters). US tanks have an advantage in reverse speed (press R to retreat), while Russian tanks do not. Anti-tank missiles have a longer range than vehicle sights, requiring coordination with reconnaissance units to find targets, and pressing ALT to visualize unit vision improves hit rates.
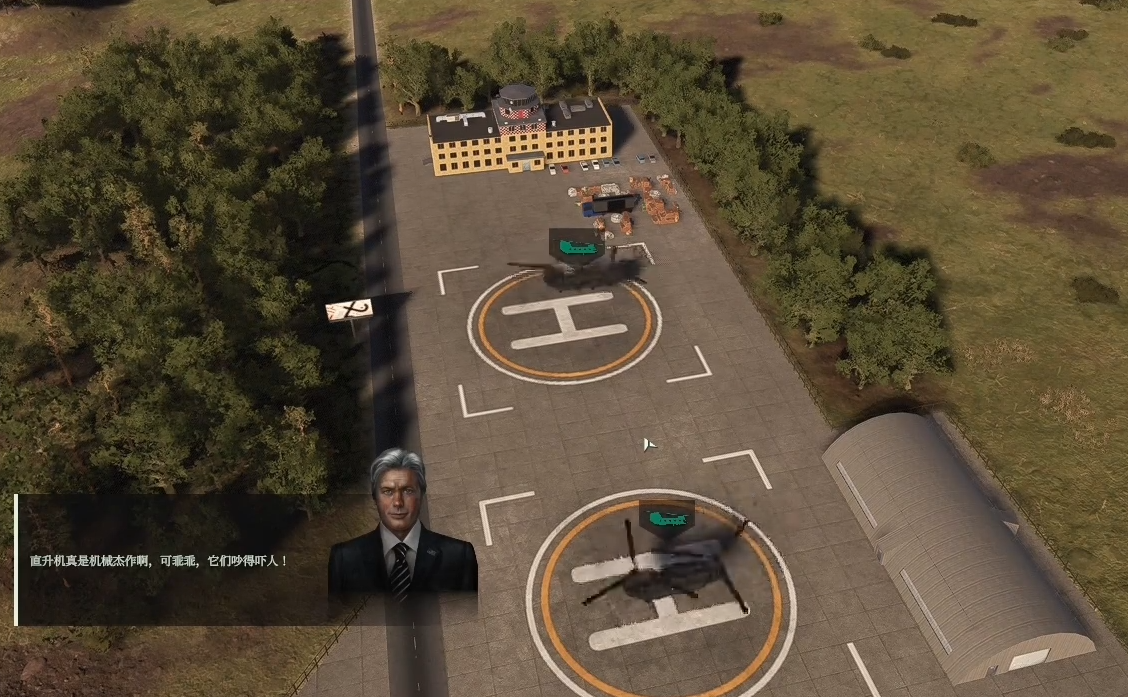
Air Units and Infantry Coordination:
Transport helicopters can carry troops and light vehicles (e.g., "Rugan" with a 12.5-ton capacity). Right-click on the vehicle to load it, being mindful of weight limits. Infantry can sprint for a short time by pressing Z to cross open areas, and forests provide concealment bonuses. When calling for reinforcements, the point system in the upper left corner follows the "more units, less income" rule. Infantry weapons are divided into two types: long-range weapons require standing still to use, while assault weapons can fire while moving. Armored vehicles provide fire support but should stay out of anti-tank range, and pressured units (flashing orange/red icons) should retreat to the base for rest.
Precision Strikes and Special Mechanics:
Laser guidance requires a recon unit (like a sniper) to illuminate the target by pressing N, after which rear units launch guided munitions that automatically track. Anti-air missiles can intercept "Intangible" cruise and ballistic missiles. The economic system for aircraft recovery: undamaged return results in a full refund, only deducting the cost of ammunition used, while severely damaged returns result in a significant reduction in benefits. Pilots surviving can recover high costs, so prioritize their safety.

For the core pain points of real-time multiplayer games, we recommend trying the biubiu Accelerator, which provides three solutions:
1. Intelligent node matching technology ensures latency ≤ 50ms, ensuring precise response to operations;
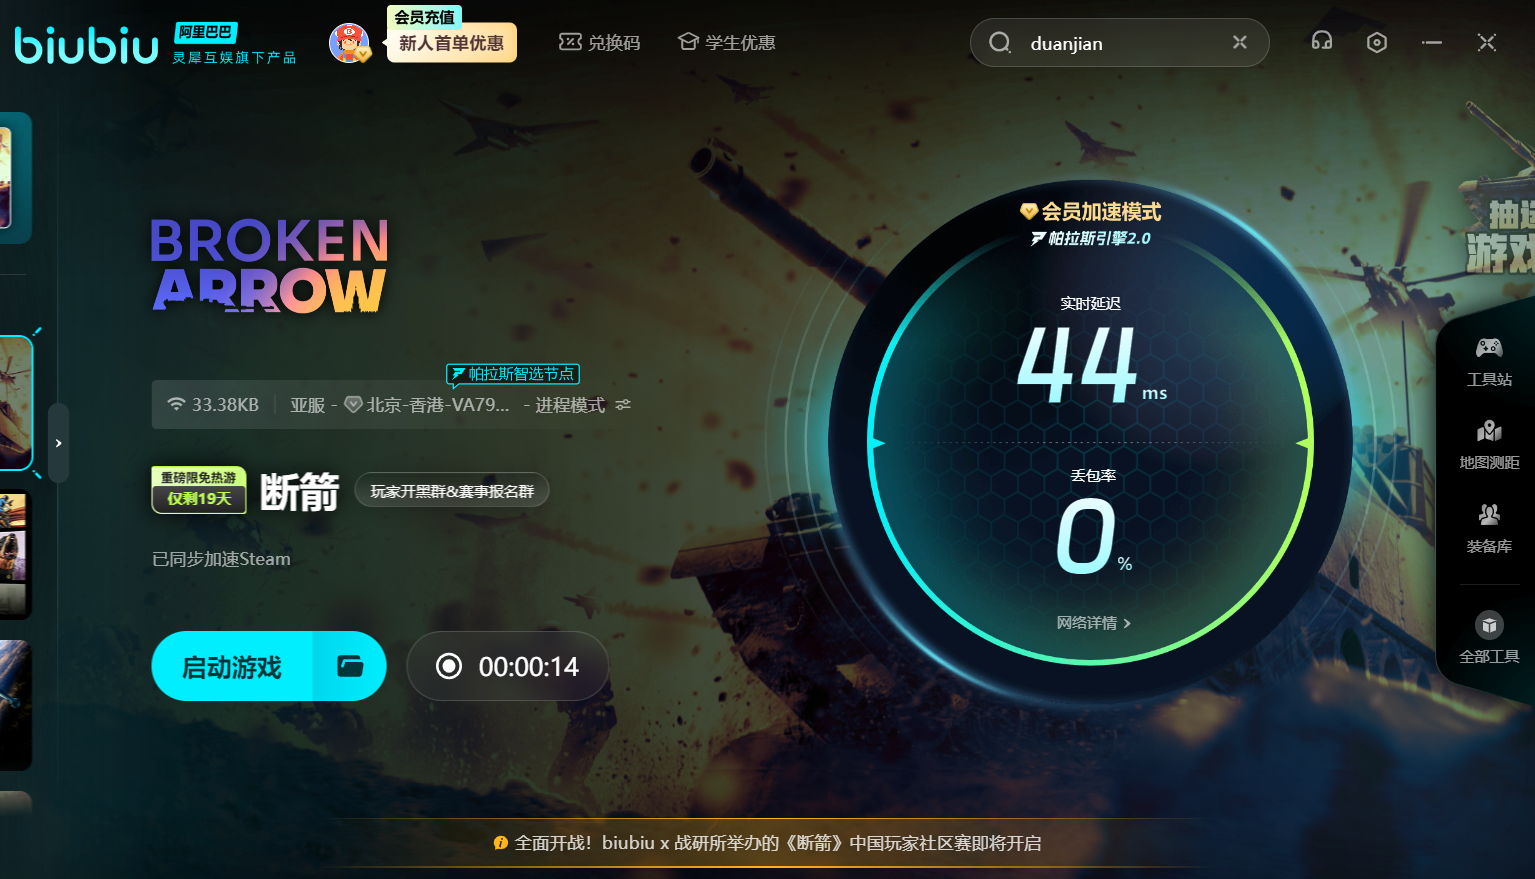
2. During the event period from June 17 - July 4, activating the accelerator grants: ① Free acceleration for Broken Arrow ② Daily draws for physical/virtual prizes (100% win rate), with grand prizes including the game itself;
3. Entering the redemption code [biubiu no disconnection] allows for stacking: new users get 24 hours upon first registration + 72 hours from the code = 96 hours VIP; existing users also get 72 hours of experience. All benefits are cross-platform and automatically renew, providing a stable acceleration experience without complex operations.
In summary, the basic operation guide for Broken Arrow is covered above. This guide includes four major operational dimensions: movement, attack, logistics, and coordination, with a focus on utilizing unit characteristics (such as tank frontal engagement and timing of anti-air radar) and economic management (rules for aircraft recovery). In practice, combine ALT key vision prediction and terrain cover to optimize tactical execution.
Recommend


Strategy

A Guide to Zhetian Fanchen Yiyue Sharing Tips for New Players on How to Play Zhetian Fanchen Yiyue
Introduction to the Public Beta Time of Zhetian Fanchen Yeyi When is the public beta for Zhetian Fanchen Yeyi?
How is Zi Yue from Zhetian Fanchen? Introduction to Zi Yue from Zhetian Fanchen
What are the Luhida Origin redemption codes? Sharing of Luhida Origin mobile game gift codes
Lu Xida Origin Team Recommendations Lu Xida Origin Team Guide
Lu Xida Origin Strategy Sharing: Beginner's Guide to Lu Xida Origin
