
The Lord of the Rings: War
Game Introduction


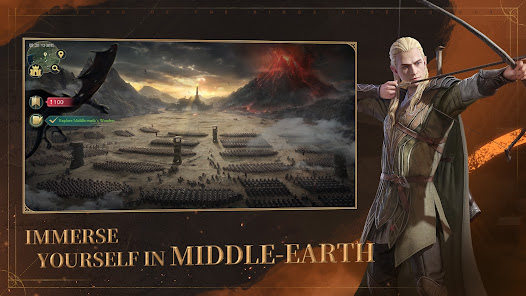
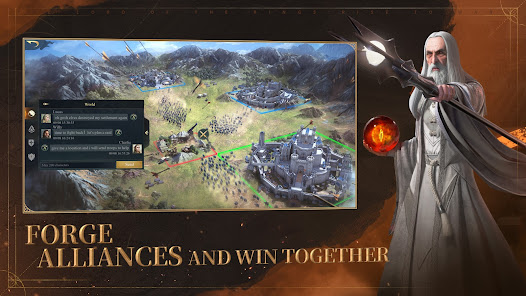
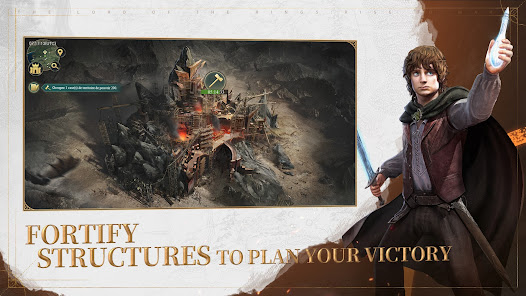


Hot Strategy
Lord of the Rings Return to Moria New DLC Release Date Leak First All-New Paid DLC Release Date Leak
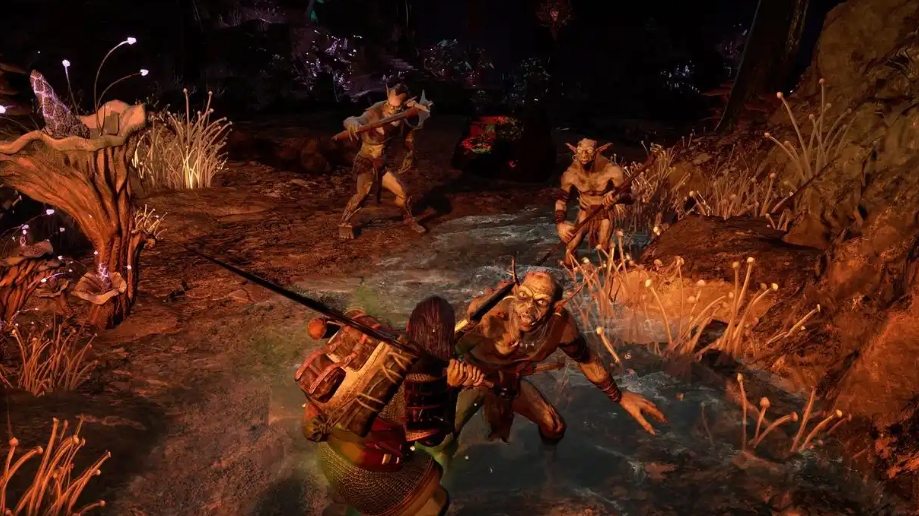
The Lord of the Rings: Return to Moria game, with its exquisite graphics, rich plot, and immersive experience, has attracted a large number of loyal players. As subsequent game updates are released, many players are very curious about when the release date for the new DLC of The Lord of the Rings: Return to Moria will be leaked? Next, I will detail the specific release date; interested players can quickly get to know it!
【biubiu Accelerator】Latest Version Download
》》》》》#biubiu Accelerator#《《《《《
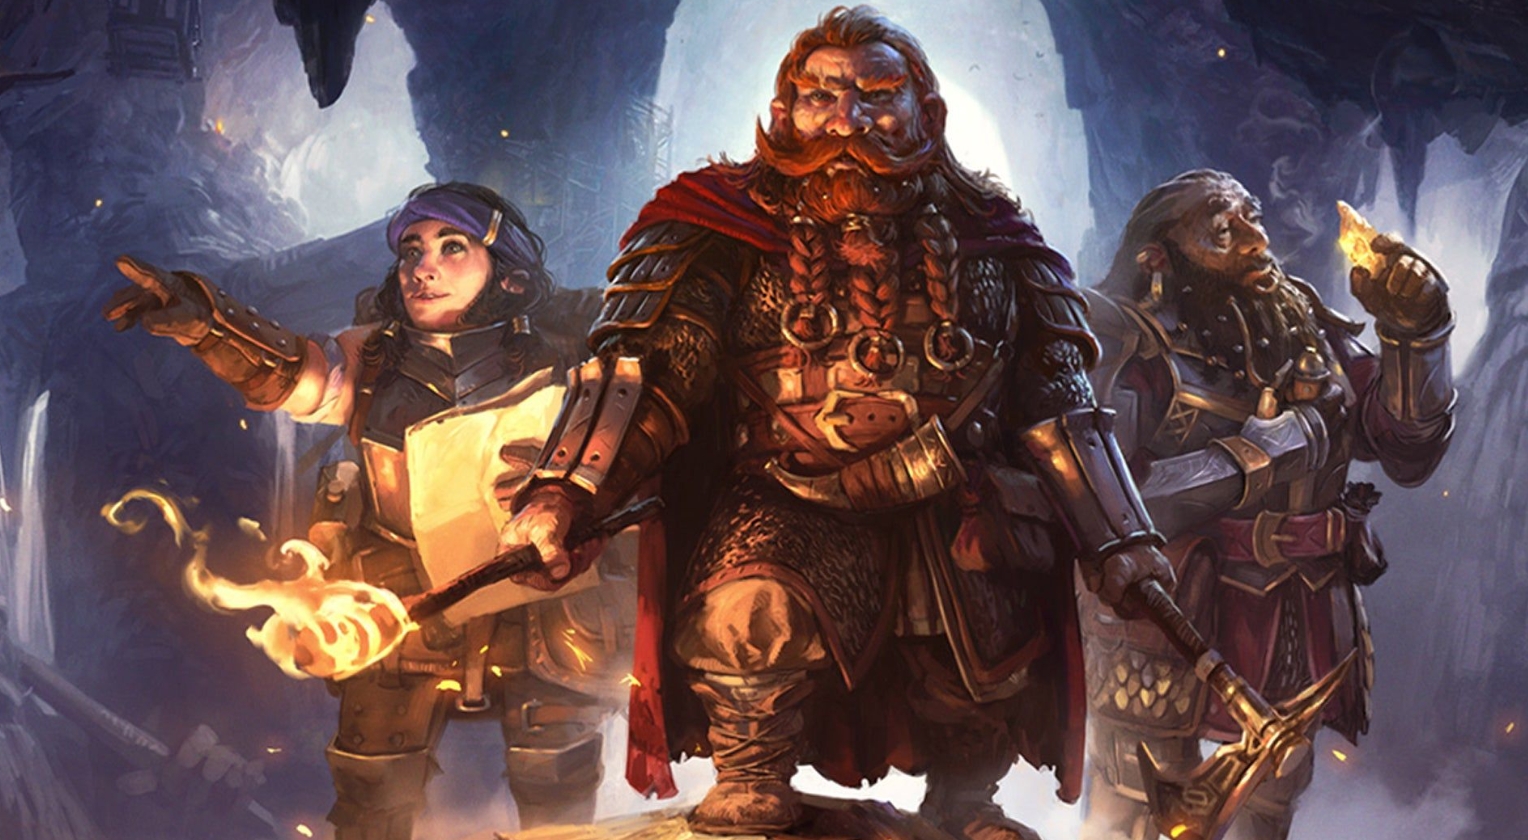
Recently, at the San Diego International Comic-Con, it was announced that the first paid expansion content of The Lord of the Rings: Return to Moria, the Dwarven Clan of Durin, is expected to be released in the fourth quarter of 2025. Although the main game was delayed due to development issues, the latest DLC development work is still proceeding as planned.
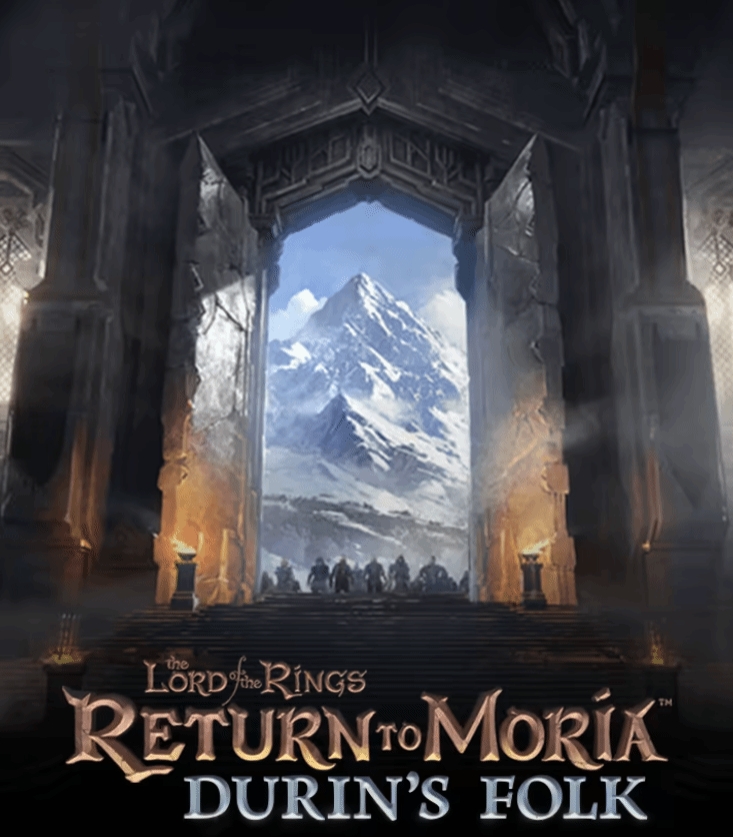
The Dwarven Clan of Durin DLC will bring players an entirely new storyline and quest line, centered around the Dwarven Clan of Durin. Players will have the opportunity to learn more about the stories of the Seven Fathers of the Dwarves and explore uncharted areas of the Moria Mines. The newly added map scenes will be more complex and diverse, requiring players to use wisdom and skills to solve puzzles and defeat powerful enemies. In addition, the DLC will introduce new equipment, skills, and characters, enriching the player's gaming experience.
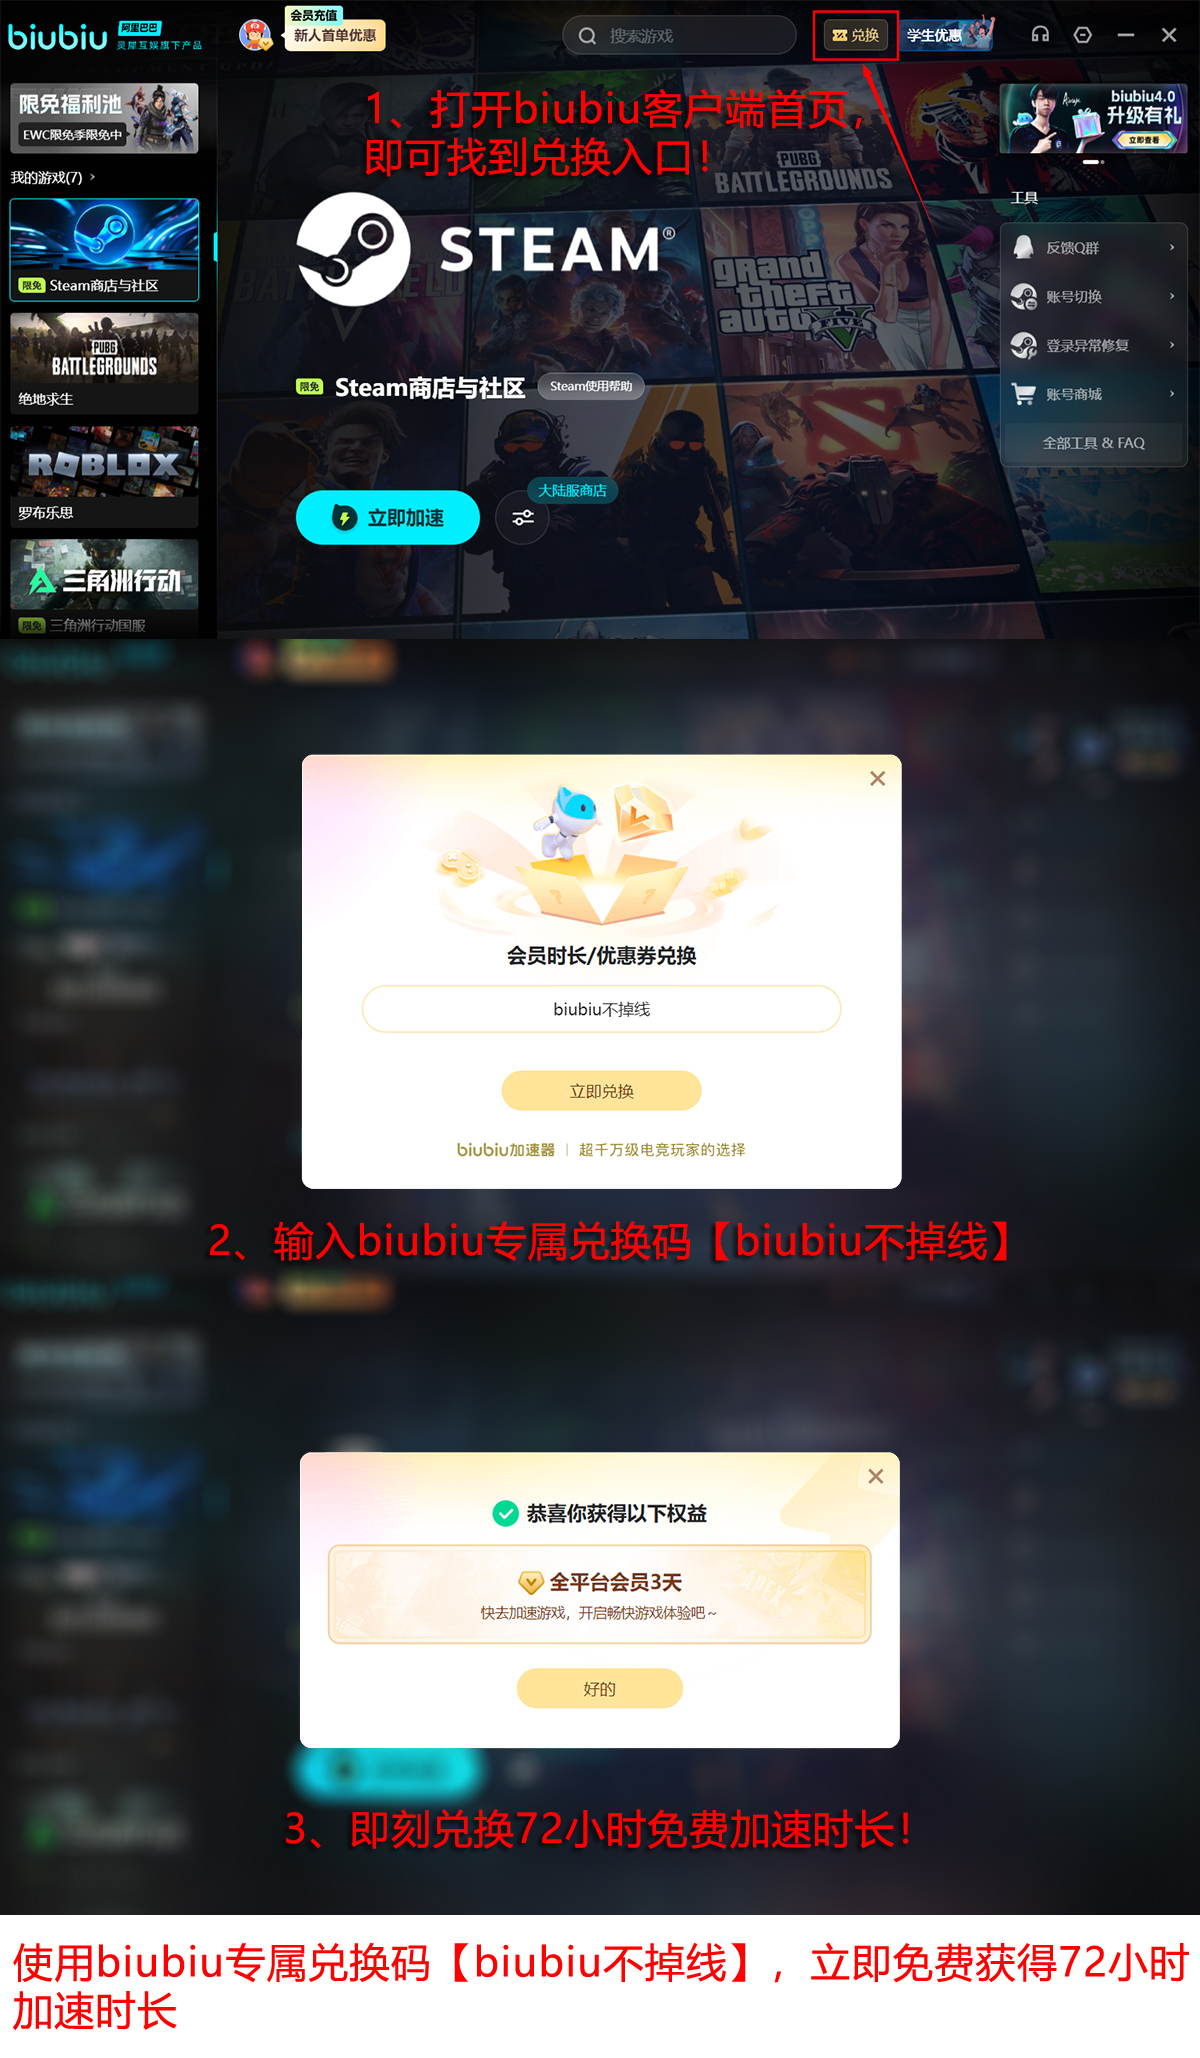
In response to player feedback on lag, high latency, and even disconnection issues, biubiu Accelerator, in collaboration with world champion Aixleft, has completed a major upgrade with the official launch of Pallas Engine 3.0. This dynamic acceleration platform, specifically developed for massively multiplayer online games, achieves intelligent management and optimization of underlying data transmission protocols, accurately identifying the transmission priority of different game data packets.
Want to start your adventure as soon as the Dwarven Clan of Durin is released? Network preparation must come first. New players only need to click on the official entry to complete registration and immediately enjoy 24 hours of free acceleration time. In addition, by entering 【biubiu no disconnection】, you can receive another 3 days of playtime benefits, totaling 96 hours of free acceleration support, which is enough to accompany you deep into the core of the ancient Dwarven ruins.
The above is the leak on the release date of the new DLC for The Lord of the Rings: Return to Moria. This expansion content will bring players even more exciting storylines and new gameplay, making it worth looking forward to. At the same time, the upgrade of the biubiu Accelerator also provides players with a smoother gaming experience, ensuring that every player can fully enjoy the fun of the game. Let's look forward to the arrival of the Dwarven Clan of Durin and continue to write our own legends in the adventure journey of Moria.
Recommend


Strategy

A Guide to Zhetian Fanchen Yiyue Sharing Tips for New Players on How to Play Zhetian Fanchen Yiyue
Introduction to the Public Beta Time of Zhetian Fanchen Yeyi When is the public beta for Zhetian Fanchen Yeyi?
How is Zi Yue from Zhetian Fanchen? Introduction to Zi Yue from Zhetian Fanchen
What are the Luhida Origin redemption codes? Sharing of Luhida Origin mobile game gift codes
Lu Xida Origin Team Recommendations Lu Xida Origin Team Guide
Lu Xida Origin Strategy Sharing: Beginner's Guide to Lu Xida Origin
