
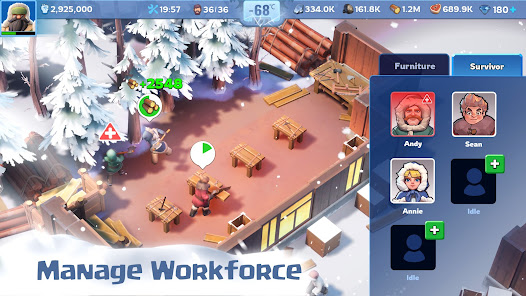
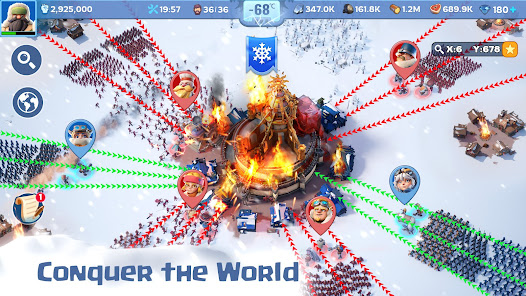
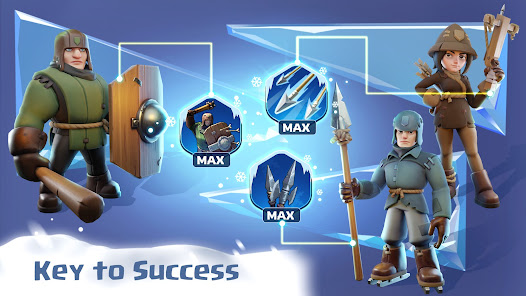
Whiteout Survival
Game Introduction


Hot Strategy
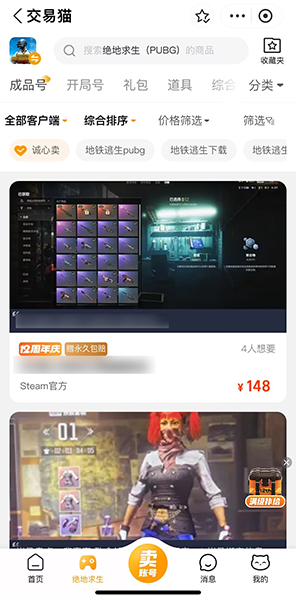
PUBG item trading market, where to trade PUBG items well
As a globally popular battle royale game, PlayerUnknown's Battlegrounds (PUBG) has attracted countless players with its thrilling and competitive experience. In this virtual battlefield, collecting rare skins, weapon appearances, and other accessories allows friends to freely mix and match, leading to the rise of the PUBG accessory trading market. Among numerous game account trading platforms, Transaction Cat has become a trusted choice for players due to its many advantages.

[Transaction Cat] Latest Version Download
>>>>>#Transaction Cat#<<<<<<
Android users can download it from the app store, and iOS users can also use the features of Transaction Cat through the official website. The PUBG accessory resources on Transaction Cat are rich and diverse, whether it's cool gun skins or rare vehicle skins, you can find them on the Transaction Cat platform, almost covering all popular accessories. Friends can choose based on their desired accessories, and the platform offers both comprehensive accounts containing multiple accessories and individual popular accessory transactions, meeting the needs of different users.

Transaction Cat also takes very strict measures regarding transaction security. The Transaction Cat platform implements strict real-name verification, requiring both buyers and sellers to submit genuine identity information, thereby reducing the risk of fraud. For accounts posted by sellers, Transaction Cat will conduct an official verification. Before listing accessories, a professional system comprehensively checks the condition of the accessories, verifying their authenticity and integrity to avoid false information. Buyers can also request manual verification before placing an order, obtaining detailed screenshots, making the transaction transparent and enhancing mutual trust. Additionally, Transaction Cat's after-sales service is thoughtful and considerate. If buyers encounter issues such as account recovery or discrepancies in information after purchasing, there's no need to worry too much. The platform will effectively protect the buyer's rights, and Transaction Cat also provides one-on-one professional customer service, ensuring timely assistance for any account inquiries, payment questions, or post-sale disputes during the transaction process.

Transaction Cat always focuses on player needs, continuously optimizing services. In terms of pricing, the prices of accessories on the platform are set by the sellers themselves, allowing buyers to compare and find high-value products. Moreover, the platform regularly launches promotional activities, enabling players to acquire their desired accessories at more affordable prices. For sellers, Transaction Cat provides a convenient listing channel; just follow the process to submit relevant information, and accessories or accounts can be quickly displayed to a large number of buyers, increasing the success rate of transactions.

Therefore, whether it's new players looking to quickly own cool accessories or veteran players planning to sell idle accessories to recoup costs, Transaction Cat can provide suitable solutions for everyone. As a reliable assistant for accessory trading, it makes PUBG accessory trading simpler, safer, and more efficient, allowing players to focus more on the fun of the game itself and fully display their style on the battlefield.
How to buy a PUBG account Recommendations for safe PUBG account trading platforms
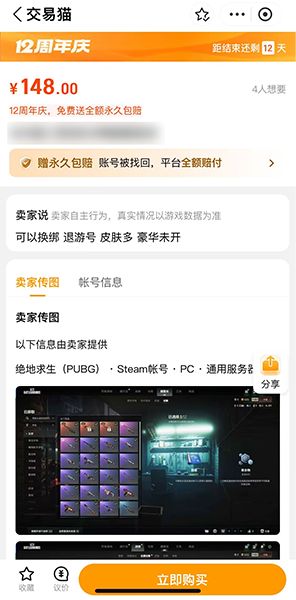
The globally popular shooting game, PlayerUnknown's Battlegrounds (PUBG), presents a realistic environment where players gather resources and engage in fast-paced confrontations. Many players plan to buy accounts, not wanting to collect skins and equipment bit by bit. In this article, the author shares how to purchase a PUBG account. The reason for choosing Transaction Cat for buying PUBG accounts is mainly due to its secure transactions, abundant account resources, convenient transaction process, and high-quality customer service.

[Transaction Cat] Download the latest version
》》》》》#TransactionCat#《《《《《
Android users can log in through the app, while iOS users can search for the official Transaction Cat website via a browser to conduct transactions on the site.
Why choose Transaction Cat for buying PUBG accounts?
First, official account verification service: Before the buyer pays, Transaction Cat verifies the account, checking the status, items, level, and other information to ensure it matches the seller’s description, preventing false information from leading to failed transactions.
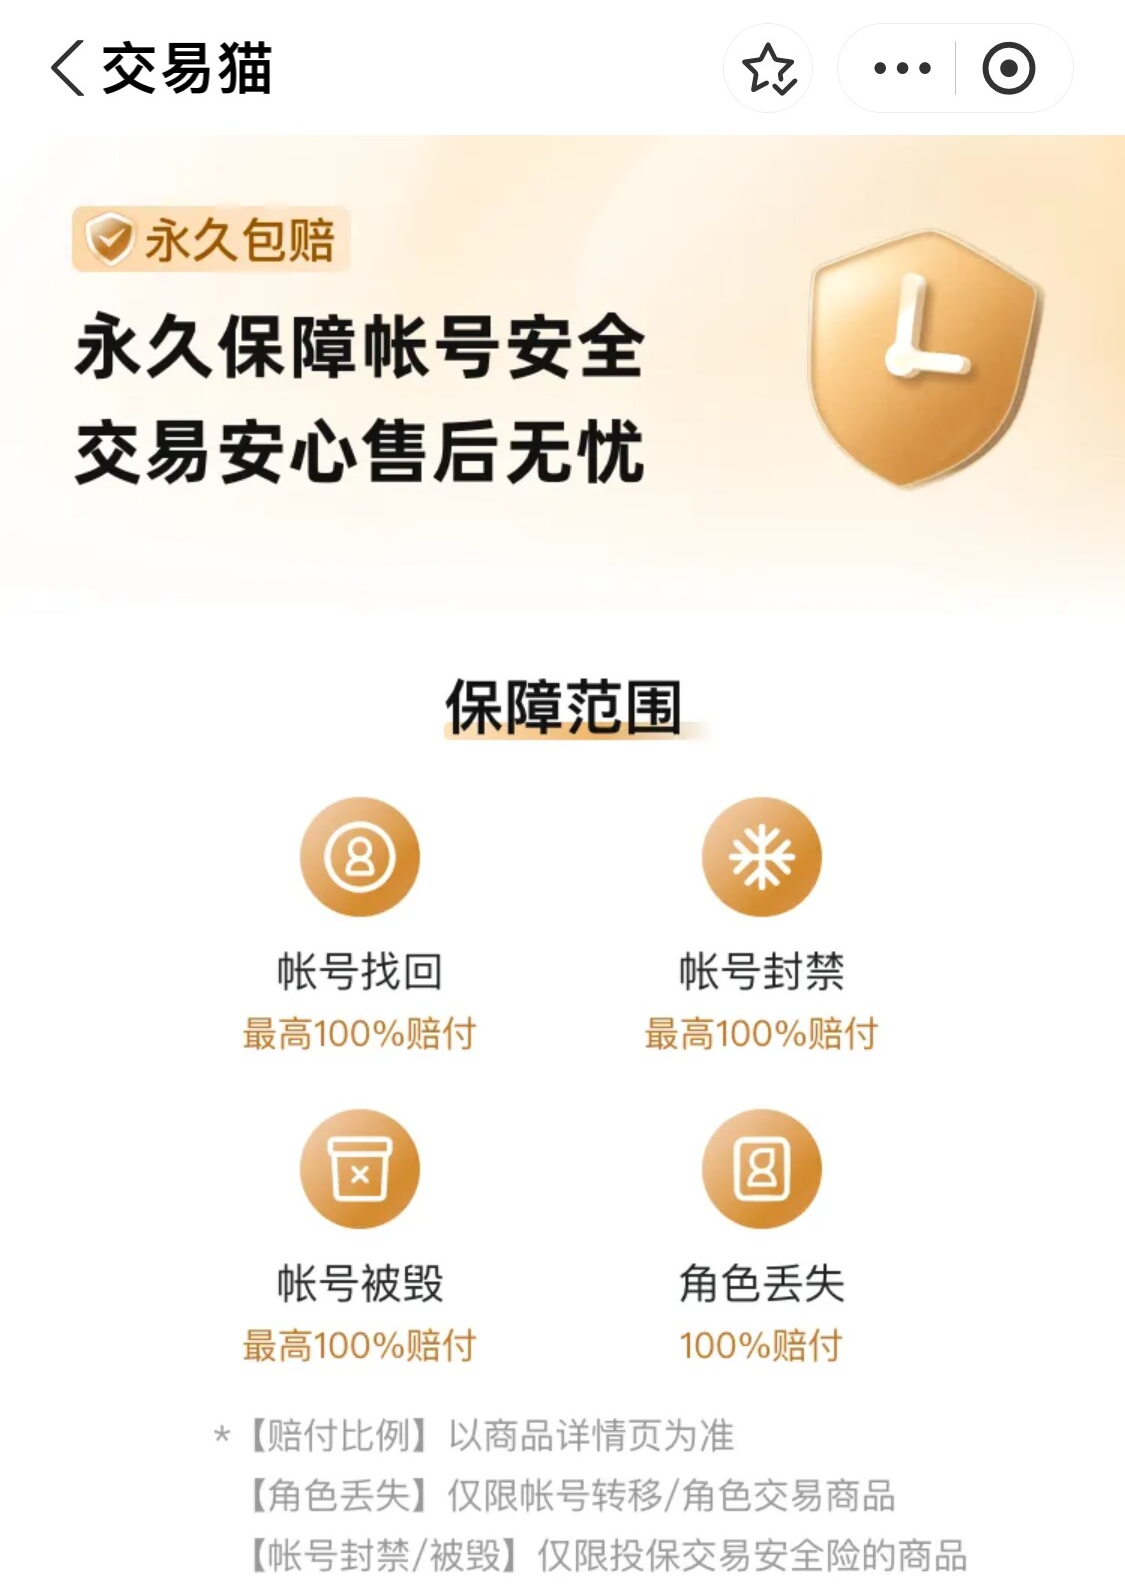
Second, transaction recovery compensation and fund escrow protection: Using an escrow payment mechanism, after the buyer makes a payment, the funds are first held by the platform. Once the account has been successfully transferred and confirmed by the buyer, the platform then releases the payment to the seller, ensuring the financial security of both parties. The platform offers permanent compensation guarantees; if, after the completion of the transaction, the account encounters issues such as being reclaimed or banned, and meets the compensation criteria, the buyer can apply for compensation, thus maximizing the protection of the buyer’s rights.
Third, a rich variety of account resources. The platform offers numerous types of PUBG accounts, covering various ranks, skin quantities, and binding conditions. Players can find their desired accounts easily by using the filtering function to search according to price, level, items, and binding conditions.
This article provides relevant information on how to purchase a PUBG account. Transaction Cat is currently running a special 12th-anniversary event, offering discounts on account purchases, as well as full-level supply packs, including compensation, guaranteed sales, and peripheral benefits. Buyers can now pick up premium game accounts at discounted prices, with some account prices starting as low as 10% off.
How to Play Memory Law White Phantom Game: A Beginner's Guide for the Southeast Asian Server
How to play the Memory Law White Phantom game? This is a work that many friends are currently paying attention to. The story's background is a fantasy world, full of mystery and danger. Here, people with ancient deity memories need to unite to fight against the threat of the witch, and the main character you play is the last hope, bearing the heavy responsibility of saving the world. So, how should everyone play? After all, many players have just come into contact with this game, so let's share some simple tips below.

【biubiu Accelerator】Download the latest version
》》》》》#biubiu Accelerator#《《《《《
In the game, be mindful while exploring everywhere. Besides understanding the secrets of the world and exploring the relationship between various sacred memories and the witch, also pay attention to the important resources hidden all over the world. These are the necessary supplies for your growth. During exploration, don't just enjoy the beautiful scenery but also look at some special places, unlock various side quests, and try to level up and enhance personal abilities.
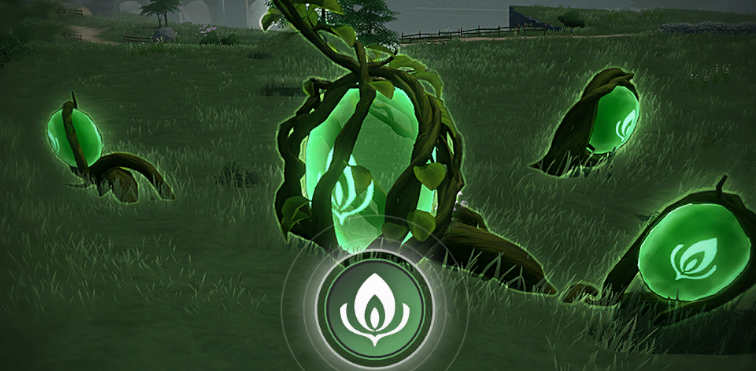
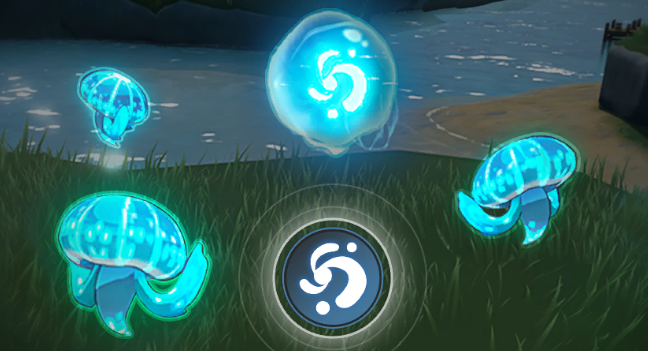
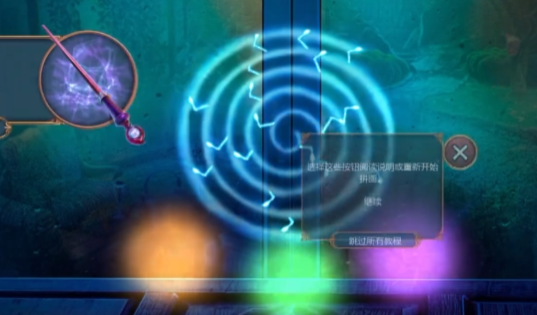
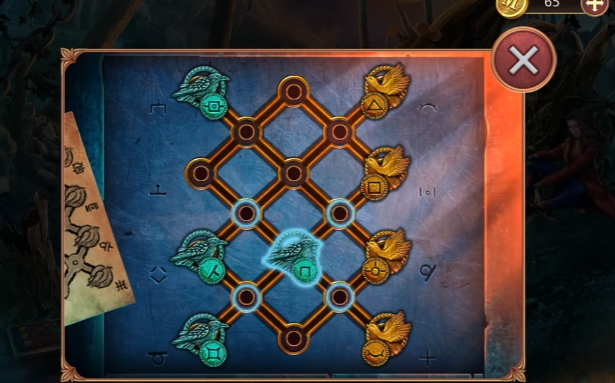
Apart from exploration and combat content, you may encounter many puzzles on your journey. There are generally three types, marked by green, red, and blue icons. For the green one, use a grass-type character to attack the small green ball, then clear the nearby green balls, and the puzzle will be solved.
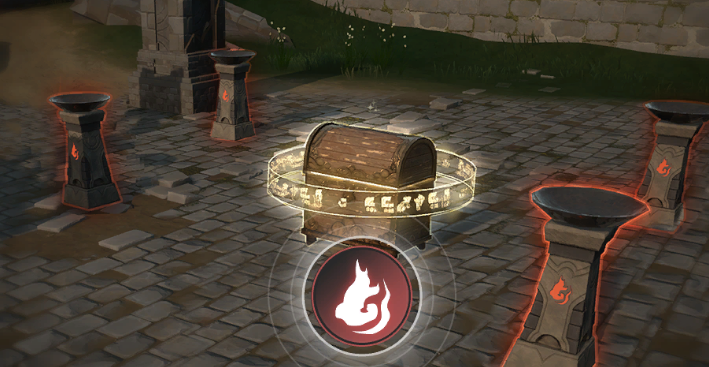
The second, red, requires a fire-type character. Light the torches in order, and it will be completed. If the order is wrong, the torches will automatically go out and need to be relit. The general order is to light the smaller ones first, then the larger ones. The third involves using a water-type character; after attacking three jellyfish, the puzzle can be solved.
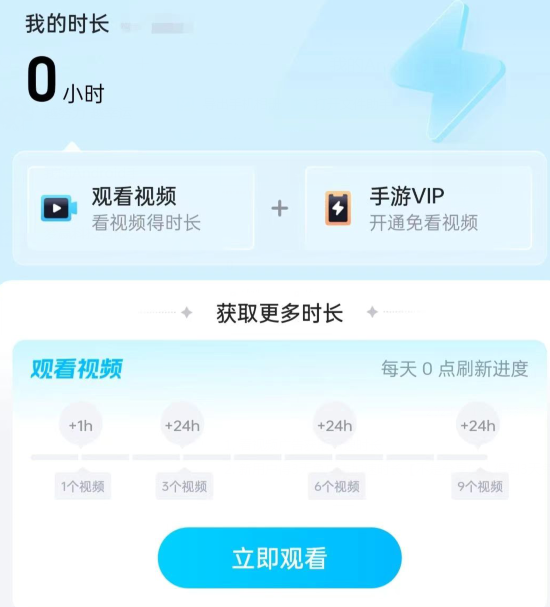
Additionally, some puzzles might require the use of the field of view function. At such times, you can follow the main storyline guide to attempt solving the puzzle. Given that sometimes, due to playing the international server, the game may lag or crash, you can download biubiu from the link shared above. New users can enjoy three days of ad-free acceleration service upon login. Moreover, the platform provides daily video watching activities to earn free acceleration time.
After reading this, you know how to play the Memory Law White Phantom game. It's not very difficult, mainly taking the form of an open-world puzzle exploration, requiring you to continuously develop your characters, explore broader areas, and defeat powerful enemies.
When is the public beta for the Wilderness Survival Adventure? When will the Wilderness Survival Adventure be released?
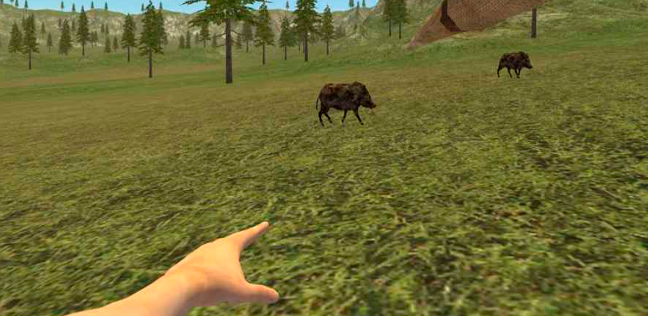
Wilderness Survival Adventure is a simulation game focused on wilderness survival, where players need to survive on a desolate island, build houses and various survival tools as much as possible, in order to survive on the deserted island. Many people want to play, naturally they will ask when the public test time for Wilderness Survival Adventure is? Here, I'll provide an approximate public test time for the game, helping players to comprehensively understand the game content.
【Wilderness Survival Adventure】Latest Version Reservation/Download Address
》》》》》#Wilderness Survival Adventure#《《《《《
The gameplay of Wilderness Survival Adventure mainly focuses on simulation + wilderness survival. If players want to play, they can download it from the 9Game platform. However, the game is still in the reservation stage, so you can first go to the platform to make a reservation. The approximate public test time for the game might be in October 2025. Players who want to play can get a head start by learning about the game content in advance.
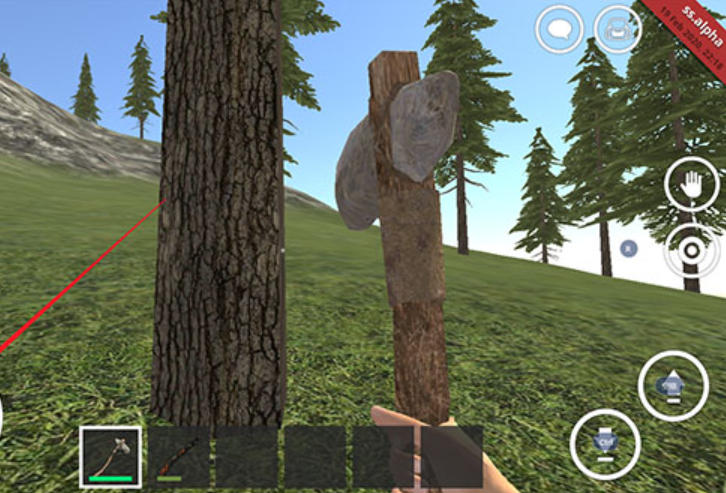
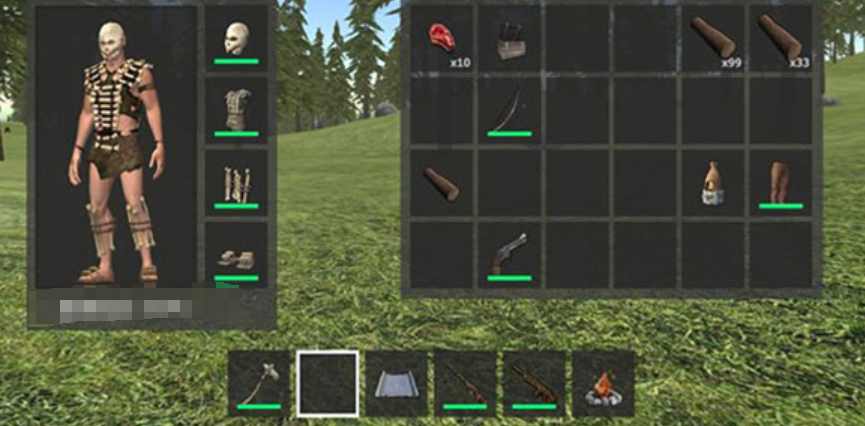
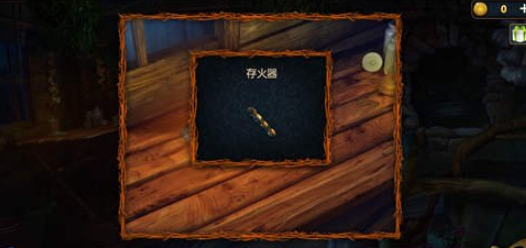
The simulation gameplay of Wilderness Survival Adventure is quite comprehensive. Initially, players have almost no equipment or items, so they need to use wood and minerals to establish a basic living space on the island. In the early stages, there may not be enough items to complete the construction of a house, so a fire can be generated on the spot, which ensures the safety of the players' survival.
During survival, players can also hunt wild creatures, which can provide a certain amount of meat. This meat can be grilled over a fire, providing much more energy. Therefore, storing such meat can greatly increase the chances of survival and allow exploration of more areas!

Once players have a certain living space and basic equipment, they can then build their own livestock and farming spaces, opening up a piece of wasteland for crop cultivation. This can provide a continuous supply of crops, and animals can also provide a lot of raw materials, which can be used to make clothes and also serve as food. This greatly secures the players' survival, allowing them to live longer on the deserted island.
I believe most players have now understood all the information about when the public test time for Wilderness Survival Adventure is. The gameplay of the game mainly revolves around wilderness survival, simulating many survival environments. If players want to play, they can make a reservation first!
Which platform is good for selling PUBG accounts? Recommendations for PUBG account trading software
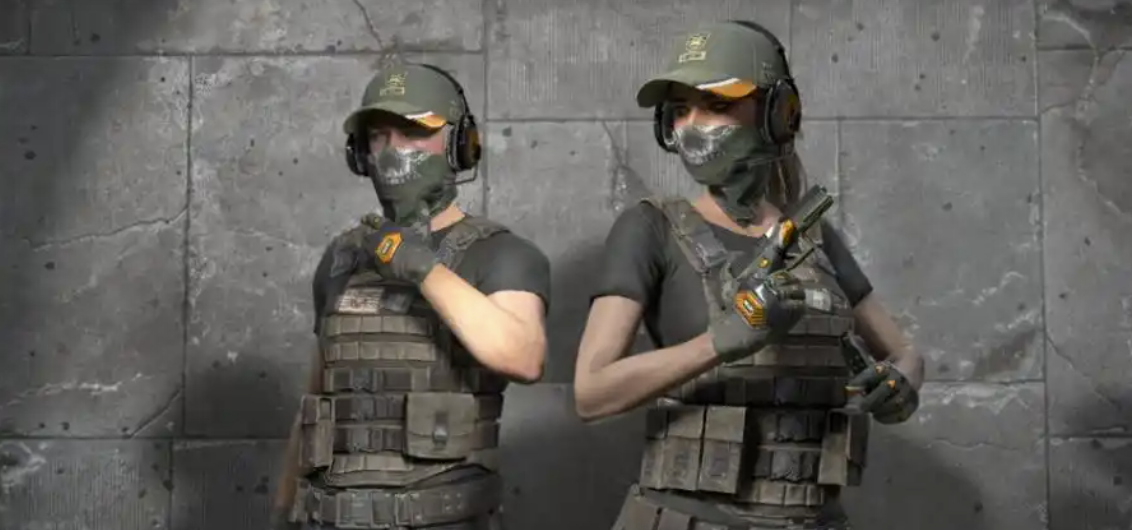
Which platform is good for selling PUBG accounts? This tactical competitive shooting game, beloved by fans worldwide, offers a high degree of freedom in gameplay and a tense, exciting combat pace. With its rich weapon skin system, more and more players are becoming addicted. Whether you're a skillful player pursuing high rankings or a collector enthusiastic about limited-edition skins, a high-quality account often brings a deeper sense of satisfaction in the game. Therefore, more and more people are starting to pay attention to the issue of account trading. Among many platforms, how can one choose a safe, professional, and efficient trading platform?

[Jiaoyimao] Latest Version Download
》》》》》#Jiaoyimao#《《《《《
This is one of the earlier comprehensive service platforms in China to venture into virtual goods trading, with years of experience in account trading, offering abundant resources and comprehensive services. Whether it's for experiencing high-level games with advanced accounts or monetizing your accounts, it provides all-around support. For Android users, click this link to directly get the trading app, while iPhone users need to search for the name on their phone's browser, find the official website, and then log in to conduct transactions.
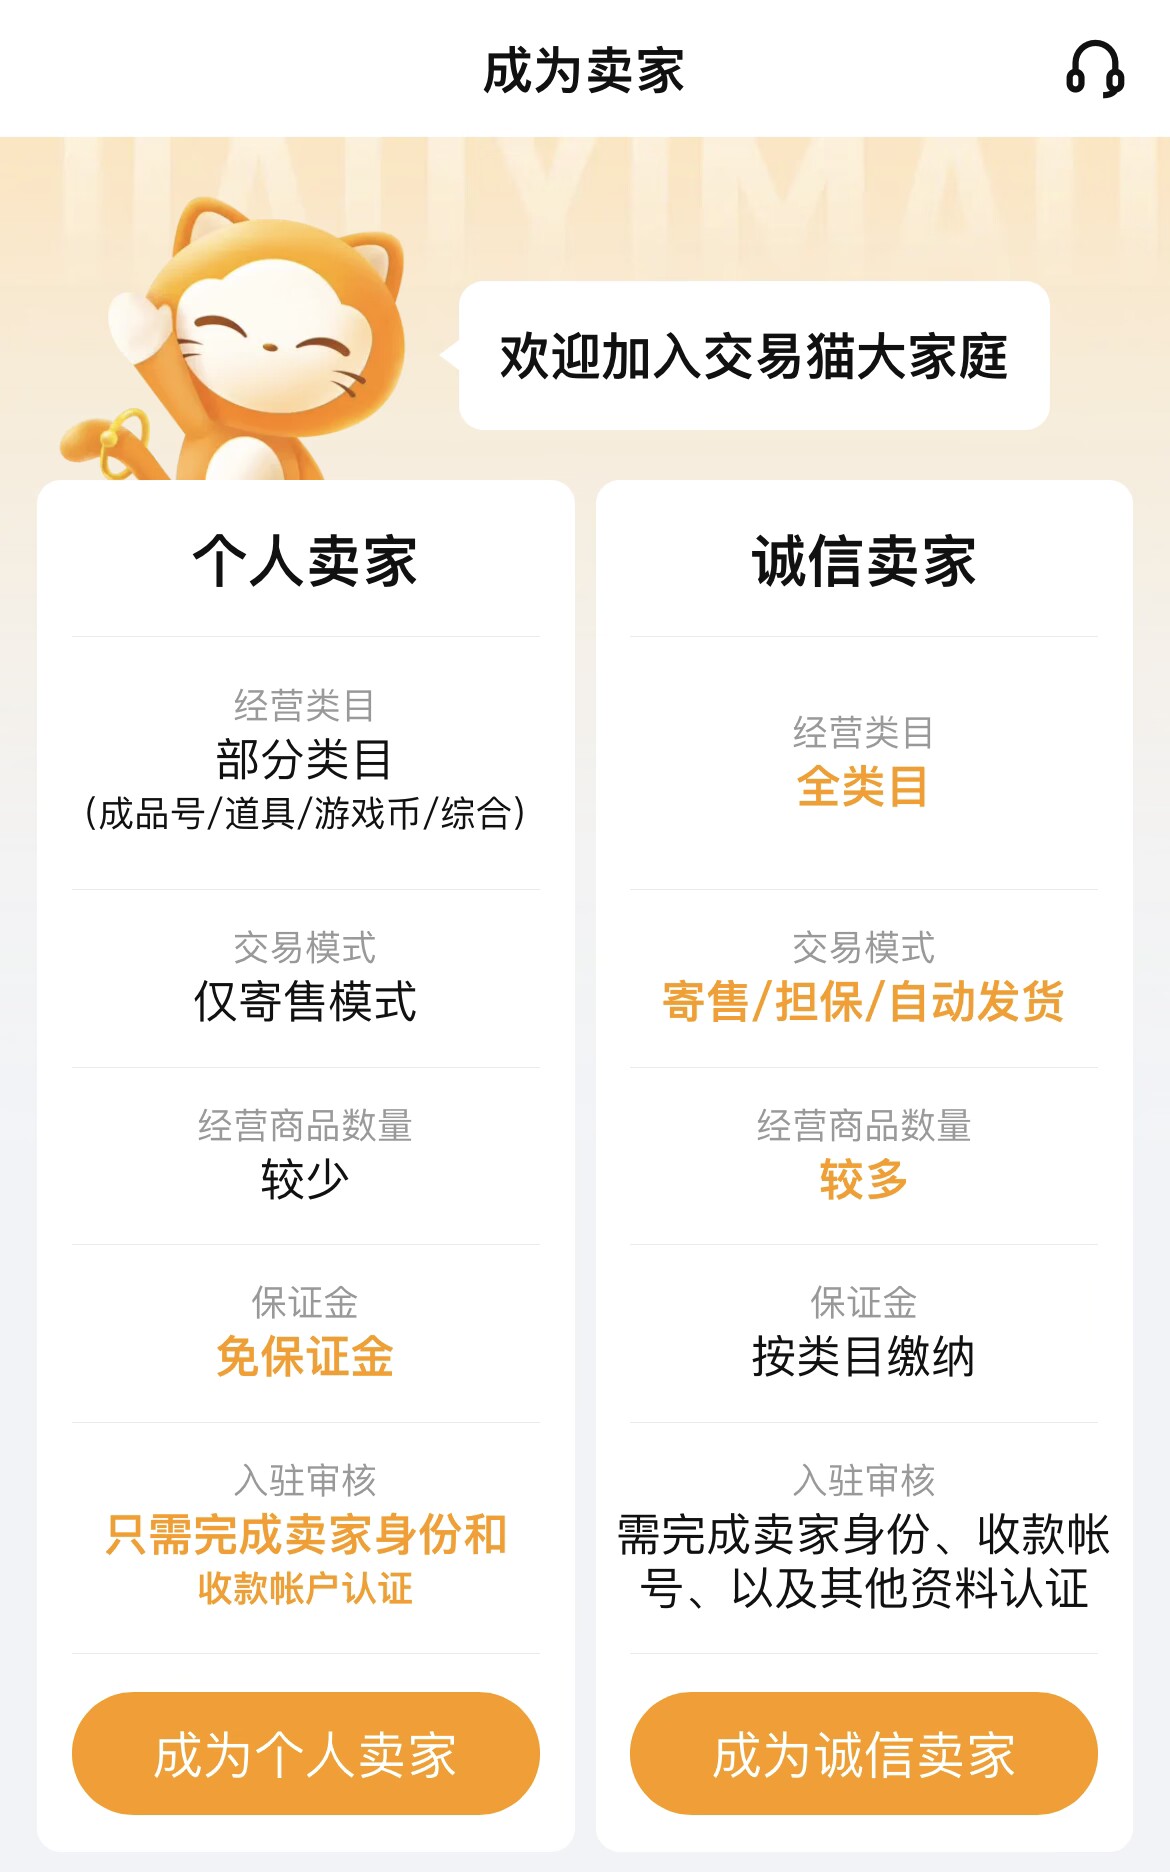
The convenient operation method brings a lot of convenience to everyone. Here, seller identities can be filtered according to personal needs. As an individual seller, you can apply to become an individual seller, following the system prompts to complete the setup. If you have a richer resource of game accounts, you can directly apply to become a trusted seller, which not only has no limit on the number of accounts but also gains some traffic. However, a deposit is required, which will be fully refunded upon exit if there are no violations.
Another major highlight that attracts users to this platform is its comprehensive transaction protection system. All users must go through real-name authentication to ensure their identities are genuine and verifiable, preventing fake accounts and fraudulent activities. The Peace of Mind Purchase service allows sellers' accounts to gain more exposure because products with this service, after the transaction is completed, can enjoy permanent compensation if the account is reclaimed or encounters login issues at any time.

Which platform is good for selling PUBG accounts? It's time to say goodbye here. With its abundant resource reserves, convenient trading process, professional service system, and comprehensive security guarantees, it has become the first choice for many PUBG players. In addition to these, the platform also offers special leveling services, daily sign-in rewards for gold coins, and lottery draws for coupons as part of the benefits prepared. Interested friends, come and give it a try!
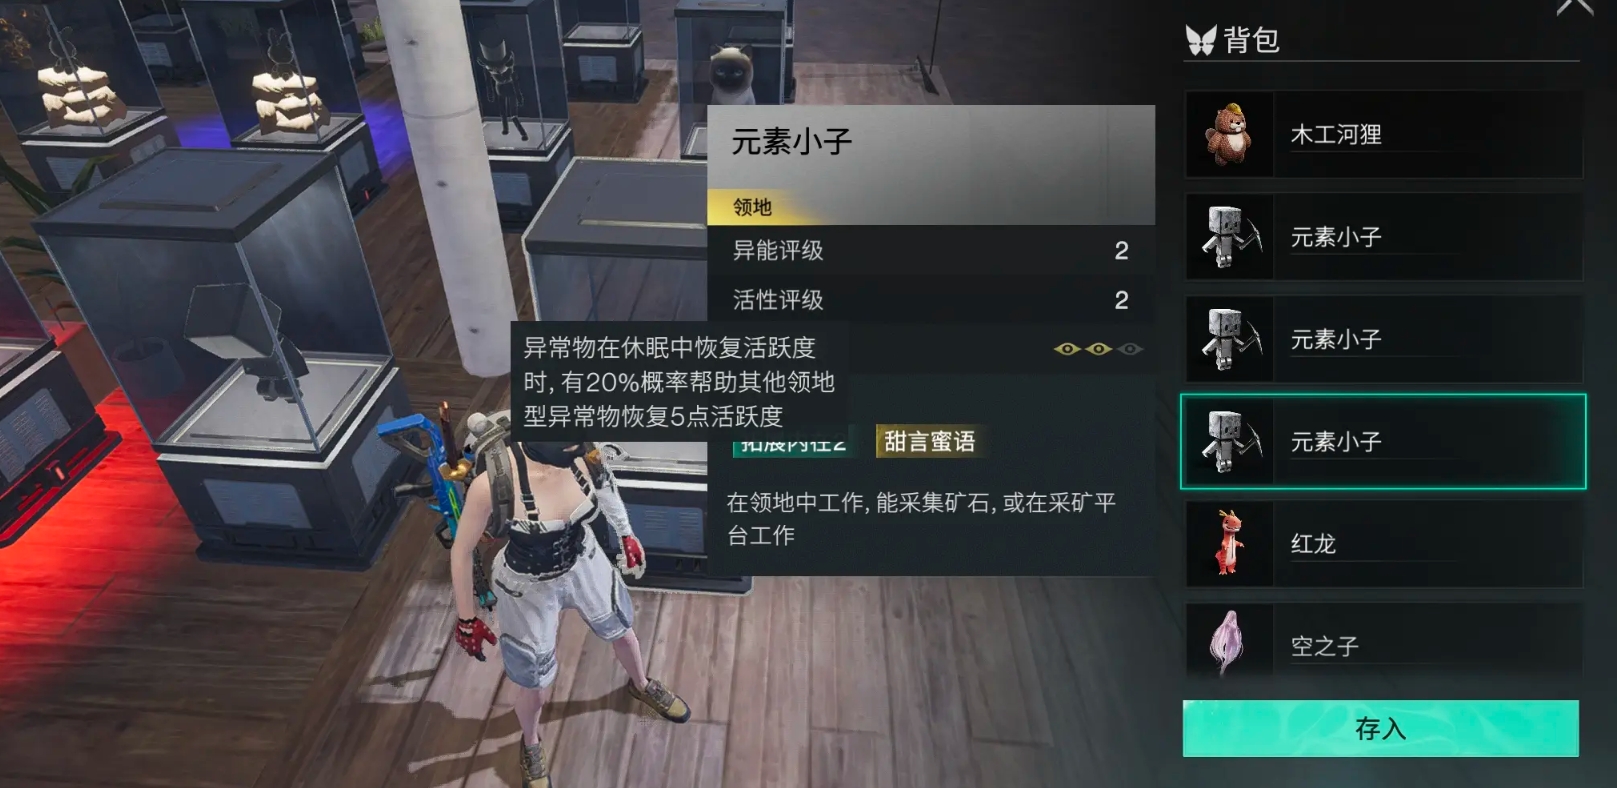
What is the purpose of the 7-day World Survival Team? Detailed introduction to the 7-day World Survival Team
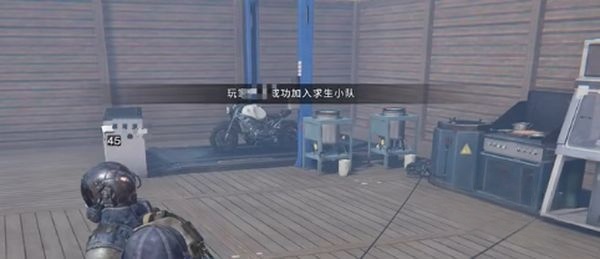
Many players are very fond of this mobile game with daily survival gameplay, which offers a rich variety of gameplay elements. There are many different mutants waiting for you to challenge, and the items dropped will vary depending on the difficulty. The issue of the seven-day world survival team is something that many friends are quite concerned about. If you have thoughts on this, then let's continue reading below.
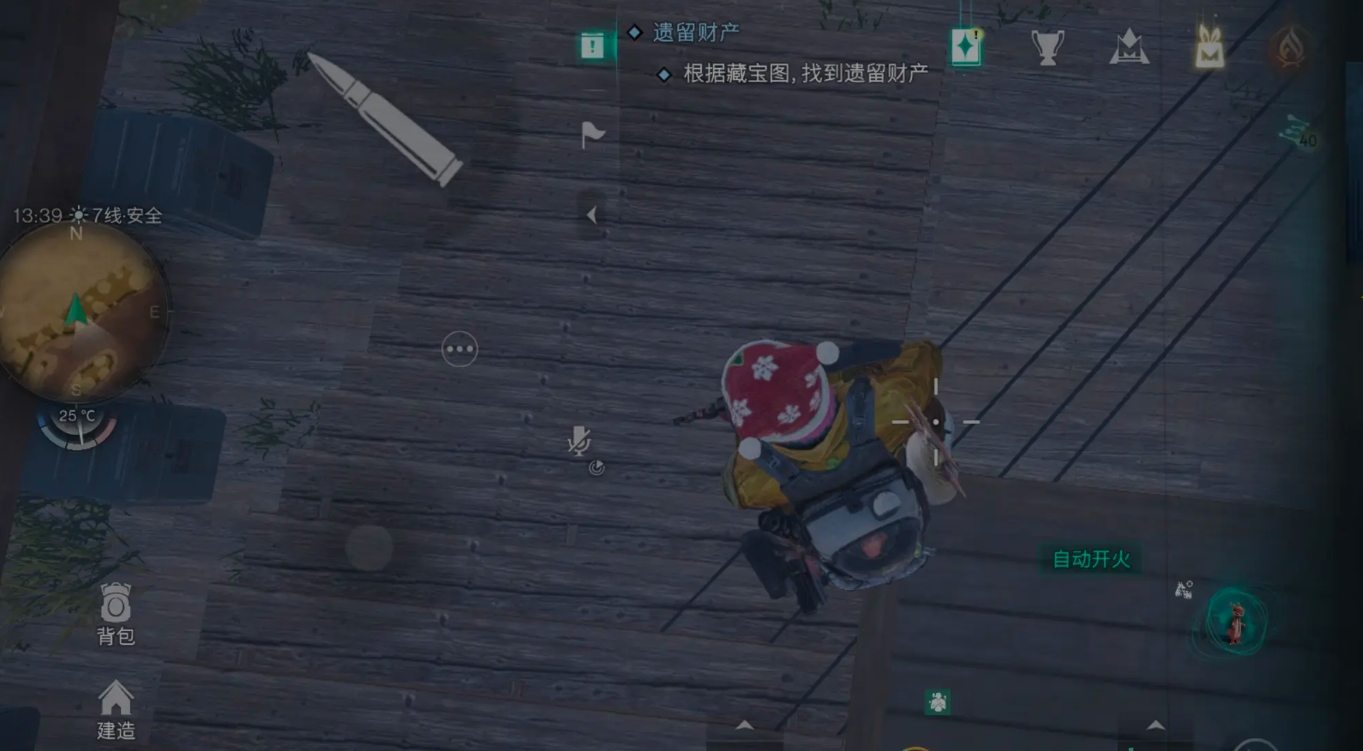
In this open-world exploration mobile game, if players can form a survival team, they can quickly increase their chances of survival. Team members can divide tasks and cooperate, facing threats from the environment, monsters, and other players together.
According to the game's setting, team members can actually share resources, such as food, water, medicine, and equipment, among others. This better meets everyone's needs, thus further enhancing overall survival capabilities.
When forming a survival team, players should focus on the complementarity and cooperation abilities between members. For example, choose players who excel in combat to be responsible for defense and attack, and select players skilled in gathering to handle resource acquisition, etc. By reasonably dividing labor, the overall ability of the team can be improved.
During this period, team members need to maintain close communication and coordination, mainly to ensure the timely transmission of information and consistency in actions. In-game voice chat and other means can be used for communication, further improving combat capabilities through reasonable distribution and clear member positioning.
Alright, that's all the content about the seven-day world survival team. In this game, choosing the right team configuration is key to ensuring survival and achieving victory in battles. Reasonably forming a team, maintaining close communication, and reasonably distributing different tasks are also very crucial.
Seven Day World Survival Team Joining Guide How to Enter the Seven Day World Survival Team
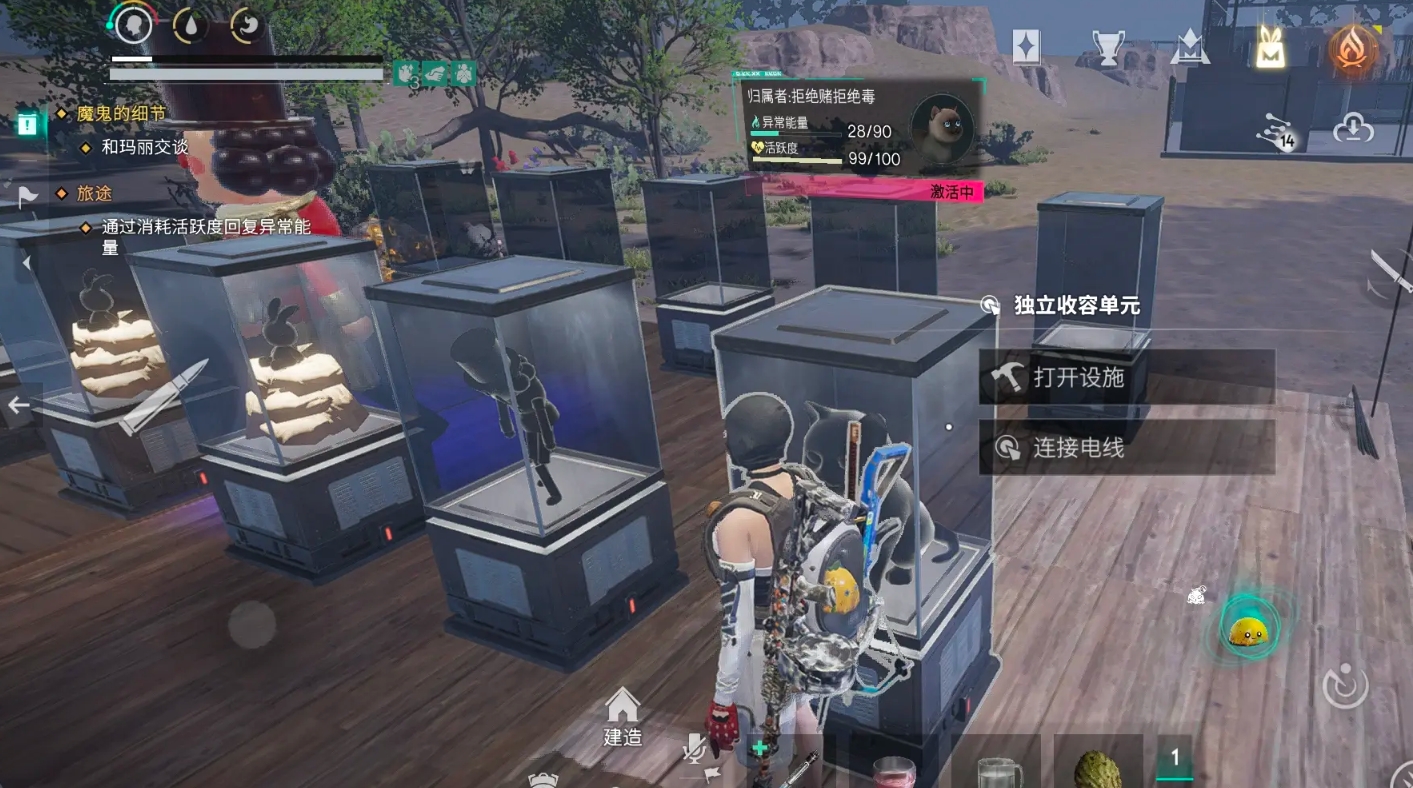
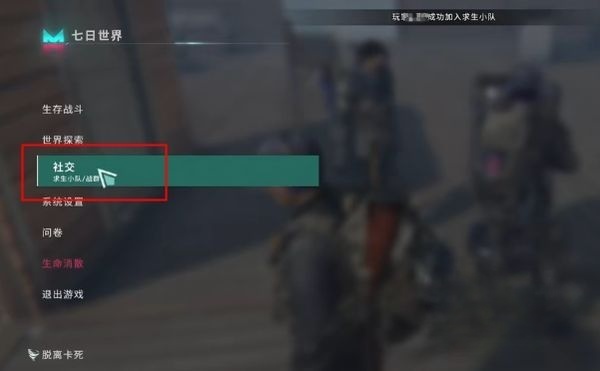
Today, let's take a look at the guide for joining the Seven Days World survival team. In Seven Days World, the survival team system not only serves as a basic team formation feature but also deeply integrates into multiple dimensions such as resource acquisition, territory construction, and combat coordination. It is an important mechanism for players to build order and efficiency in the post-apocalyptic environment and is the core support for team-based survival.
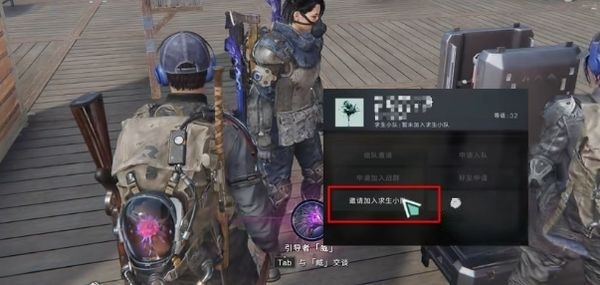
The way to enter the survival team is relatively straightforward. Players can access the team system through the main interface, enter the target team name in the search bar, and apply after locating it. If the application is accepted, they can officially join. The system also supports an invitation mechanism, where existing team members can directly send invitations to help familiar players quickly integrate. There are often public recruitment messages in forums and communities for players to choose from, which are suitable for those who prefer specific game styles or time periods.
For players who wish to have more control, creating a team is a more empowering option. After meeting the basic permission requirements, players can customize the team name, set permission levels, and configure detailed management of members and resource allocation. Creating a team is not just about organizing personnel; it also involves overall planning of the territory and setting strategic directions for team behavior.
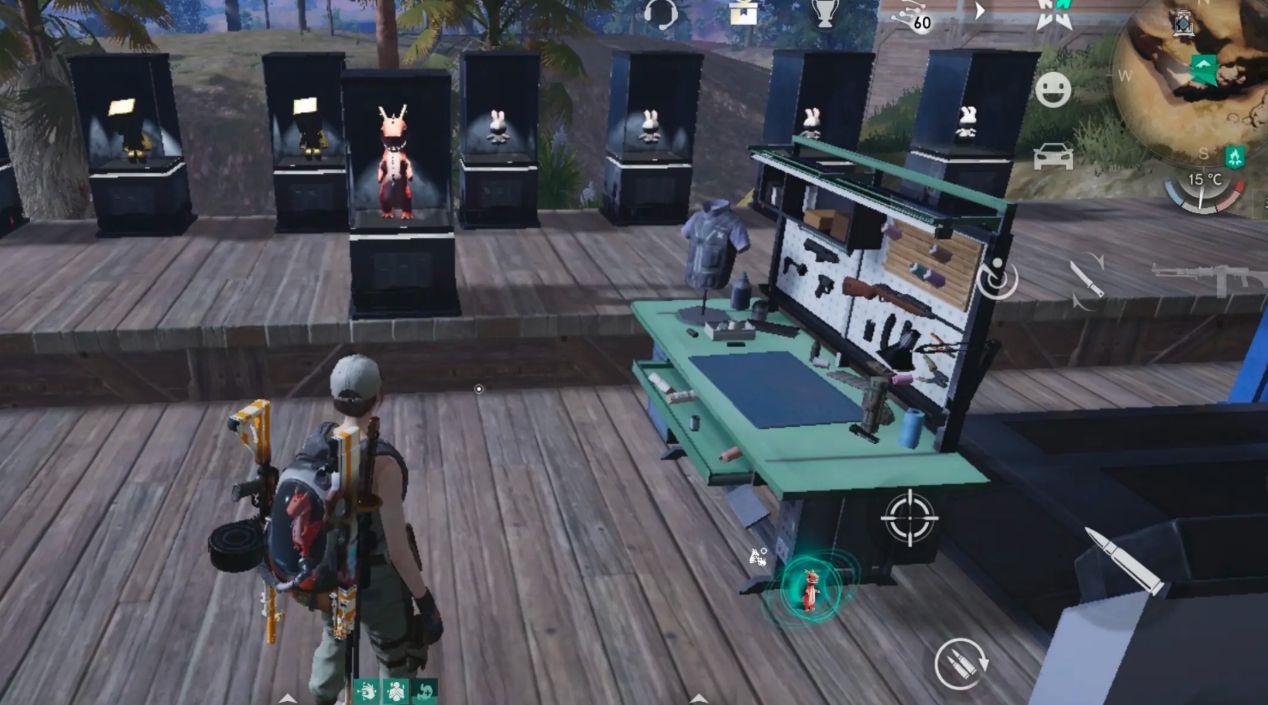
Team members within the same territory can share resources and collaborate on construction progress. Through the permission system, each member's use of supplies can be finely configured. Supplies no longer operate independently but are efficiently circulated under unified command and coordination, reducing redundant construction and resource waste. In daily tasks and encounters, members can convey instructions through the instant messaging system, improving response speed and coordination accuracy in combat.

In terms of combat, the team system provides a stable foundation. Relying on the complementary skills and equipment division among members, a more targeted tactical system can be formed. When encountering elite enemies or special events, the rationality of the team configuration often determines success or failure. An efficient team can not only maintain survival in high-pressure environments but also gain advantages in resource competition and territorial expansion.
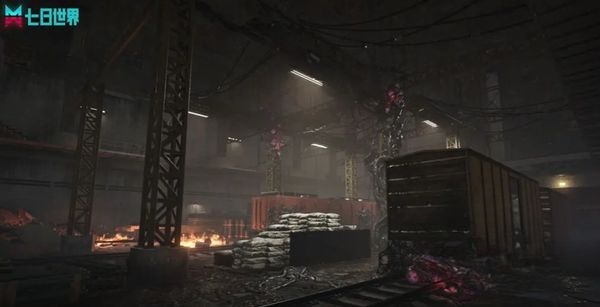
The survival team in Seven Days World is not just a social tool but an extension of strategy and resource management. Through organized structures and supportive mechanisms, it allows players to establish a relatively stable collaborative order in a turbulent world and expand more efficient exploration and construction paths based on this foundation.
How to pass the Polar Adventure Little Red Riding Hood in the Escape Room Survival Series 1 Guide for Little Red Riding Hood in the Escape Room Survival Series 1
The Escape Room Survival Series 1: Polar Adventure Little Red Riding Hood's story is a relatively difficult level to complete, with a rather complex storyline and numerous clues. This makes many people get stuck at this stage for a long time, leading to a situation where they can't progress. To help everyone complete the Little Red Riding Hood story level and move on to the next one, today we bring you a guide for Little Red Riding Hood. After reading it, everything will be clear.

The story begins, in the first scene, you will have a conversation with an NPC, an old lady. During the dialogue, you can obtain a letter. After getting it, you will receive a bag of currency that needs to be taken along. After setting off, you will encounter a male NPC who needs to be given some of the currency so he can drive the car for you. Then, you will arrive at the next scene.
After entering this scene, you need to click on the mailbox. Through the mailbox, you can learn that you have arrived at a street called Little Red Riding Hood. Enter the house by clicking on its door. Here, you will meet a detective and need to converse with him. During the conversation, an attack occurs. After the attack, you need to search for clues inside the room.

When searching, click wherever it lights up. After completing this and collecting all the clues, go outside. You will see the detective confronting the attacker from before. You need to go up and help by using a staff to fight. After the battle, you will get a clue about a photograph.
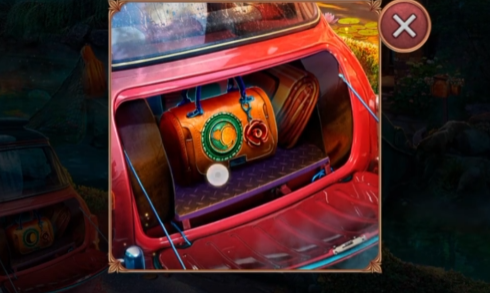
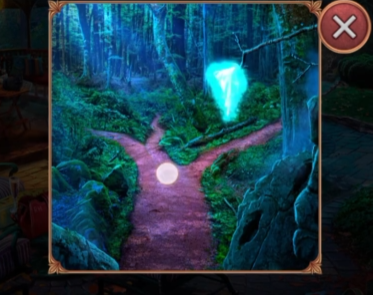
With the clue, follow the instructions to the riverside. There, you will see a pile of burning goods. Use the item shown in the picture to put out the fire. Inside, there is a half-burned letter. After obtaining it, use the fishing rod to retrieve the floating objects in the water. Combining the burned letter with these items, you can get the final clue. Follow the clue to the designated location to solve the puzzle, and you will find the character in the photo.
Above is the complete guide on how to pass the Escape Room Survival Series 1: Polar Adventure Little Red Riding Hood. After reading the introduction, everyone should now understand how to proceed through the Little Red Riding Hood plot. Once you know how to do it, you can follow the steps outlined in the text to proceed.
How to play the beginner level of Escape Room Survival Series 1: Polar Adventure Guide for Escape Room Survival Series 1: Polar Adventure
How to play the Polar Adventure in the Escape Room Survival Series 1? This is the most frequently asked question by players who have just started playing the game. To make the gaming experience smoother, today we will share some useful tips and strategies for beginners. In this guide, we will teach new players how to get started quickly. After reading the guide, everyone will know how to play as a beginner.

For beginners to understand the game, it's necessary to first figure out its gameplay. Simply put, this is a game rich in puzzle elements. During the process, you need to find clues within the scenes, then use these clues to enter the next scene, repeating this cycle until you complete the game.
This is the essence of the gameplay, which is all about finding clues. Once you understand this, you can start the game and begin searching for clues. When it comes to finding clues, the game does not provide specific hints; only the short introductory animations offer a little guidance. This means that finding clues almost entirely relies on the player's own reasoning.
For new players, this can indeed be quite challenging. Therefore, it's recommended that in the early stages, instead of trying too hard to reason, you should simply tap around the screen. By tapping everywhere, you are bound to find clues. So, at the beginning, don't get stuck—just start tapping.

Doing so will at least prevent you from getting stuck. Once you can do this, gradually adapt to the clue-finding mechanism in the game, following the introductory animations to find clues. This is the initial setup for new players when they first start the game. Remember, don't get stuck on one clue for too long.
The above is the complete introduction on how to play the Polar Adventure in the Escape Room Survival Series 1 for beginners. The gameplay and related tips have been shared in the article. After understanding how to play, you can follow the instructions in the article to start the game.
How to Pass Chapter 6 of the Polar Adventure in the Escape Room Survival Series 1: Guide for Chapter 6 of Escape Room Survival Series 1
In Chapter 6 of the Polar Adventure in the Escape Room Survival Series 1, we need to continue our escape. During this time, not only do we need to collect various items, but also solve puzzles. Many players get stuck here. So, how to pass Chapter 6? The guide below shares the entire process of passing through, helping everyone to successfully complete the level and continue with the next adventure. Don't miss this article if you don't know how to proceed yet.

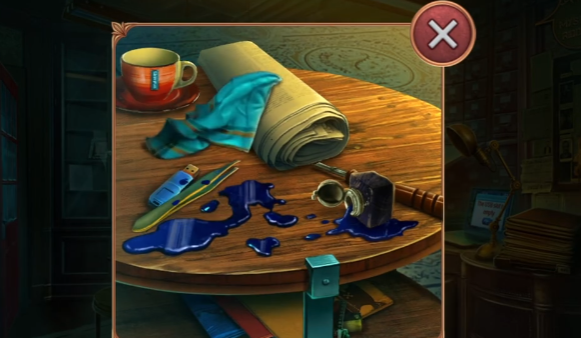
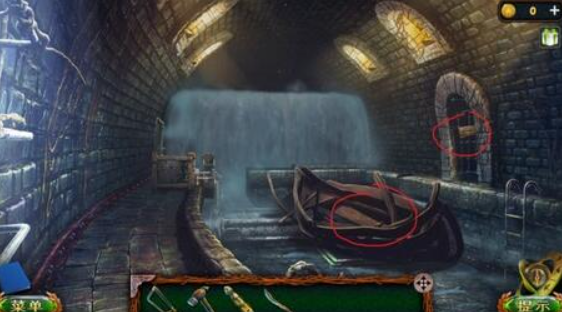
In the previous chapter, we jumped onto a boat. In this chapter, we first find the passage key by removing the wooden boards on the boat. After sawing off the right fence door, enter the tunnel, use the fire starter to burn the spider web at the left cave entrance, and clear the debris to get half of a wheel and an iron pipe. Use the iron pipe to clean the sewer, and from the garbage, you can get a glass cutter. Move forward to a room, pick up the puzzle pieces on the table, and use the pieces to unlock the door directly opposite. After entering, first talk to the female leader behind the curtain, then look at the book on the right to get a map.
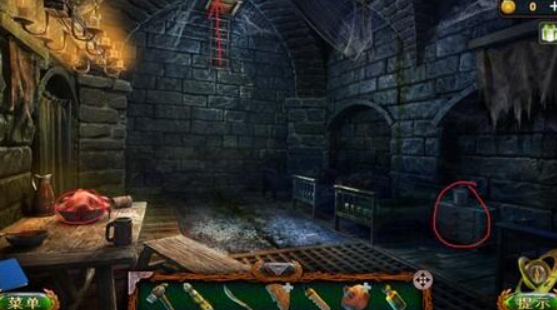
Put the fuel on the right side of the workbench into your own lantern and light it. Exit the room and open the left room. Inside the room, there is a glass jar in the cabinet on the right. Take the glass jar, cut it open with the glass cutter, and place it in the lantern. Put it on the right cabinet, open the drawer, and take the belt and key. Then, take the apple from the table on the left. Use the key to open the door on the right and enter. After entering, first click on the box, pick up the other half of the wheel, combine the two halves of the wheel with the belt to get the complete wheel, and install it on the cart. Then, take a wooden stick from the side, sharpen it with the knife, and insert it into the wheel.
Take the jack on the right, click on the small cart, and start playing the stacking boxes game. After completing it, climb to the top, use the jack to prop open the top, and reach the windowsill. On the windowsill, move the flower pot aside to see the password hidden behind it. Use this password to open the wooden box on the right floor, and get a chisel and nails.
You can get two stool legs from the cloth on the left and under the stove, respectively. Use the stool legs to fix the stool, and then use the nails and hammer to get the tin can and iron wheel. Use the iron wheel on the stove to get ashes. Use the tin can to hold the ashes and get the ash can. Return to the hall where the female leader is, click on the pillow on the bed to move it aside, and get the face-changing potion. Pour the potion into the basin, get the key to the cabinet, and go to the wardrobe on the right to complete the costume mini-game. Here, choosing the 4th set will complete the change, unlocking the next chapter.
The above is the guide for Chapter 6 of the Polar Adventure in the Escape Room Survival Series 1. The above text describes the entire process of passing this chapter. As long as you follow along, you can easily pass through and begin the next adventure. For those who haven't passed yet, hurry up and try it in the game.
Recommend


Strategy

A Guide to Zhetian Fanchen Yiyue Sharing Tips for New Players on How to Play Zhetian Fanchen Yiyue
Introduction to the Public Beta Time of Zhetian Fanchen Yeyi When is the public beta for Zhetian Fanchen Yeyi?
How is Zi Yue from Zhetian Fanchen? Introduction to Zi Yue from Zhetian Fanchen
What are the Luhida Origin redemption codes? Sharing of Luhida Origin mobile game gift codes
Lu Xida Origin Team Recommendations Lu Xida Origin Team Guide
Lu Xida Origin Strategy Sharing: Beginner's Guide to Lu Xida Origin
