
Purple Monster Chapter 3 Purple Monster Chapter 3
Game Introduction


Hot Strategy
How to Clear the Third Hive in Guangxi Jieyu Hangmeng Shi Xing: A Guide for the Third Hive Mission
Lumina Decipher is an open-world RPG that focuses on exploration and puzzle-solving. Players need to solve multiple hive puzzles in the "Dream Key Passage" area to obtain key items. Many people get stuck on the third hive puzzle in the Dream Key Passage, as there are no mission hints, making it quite tricky to handle. In the following, I will introduce a detailed puzzle-solving guide, which I believe will help everyone pass it in one go.
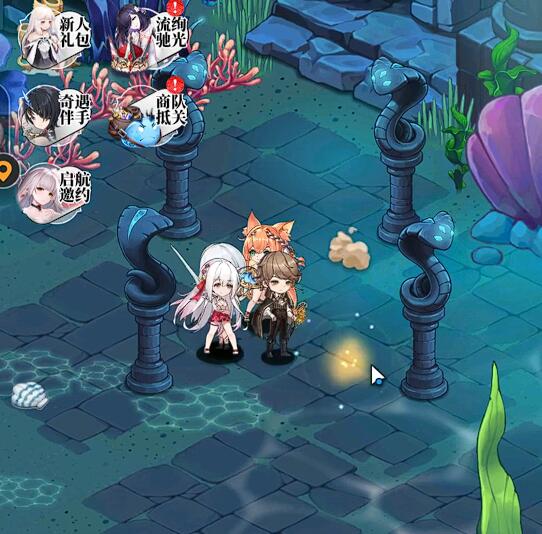
In fact, the solution is quite simple. The third hive is located on the southwest side of the Luminous Forest, and you need to reach it by crossing the vine passage eastward from the second hive. This task does not provide any hints; it only requires you to solve the puzzle. However, we can notice that there is a broken stone platform in the center of the area, with four snake heads scattered around. These four snake heads are the key to the task.
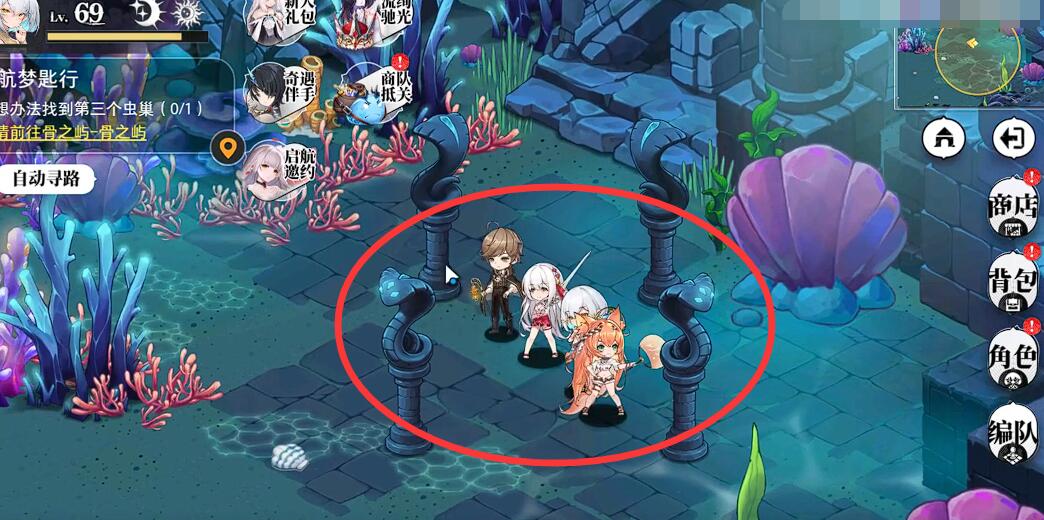
We need to interact with the four snake heads in sequence. During each interaction, we need to use the kinetic adjustment mechanism to precisely adjust the orientation angle of the snake head. The specific operation method is: rotate each snake head in a clockwise or counterclockwise direction, fine-tuning its azimuth so that its detection/action range gradually converges towards the central area. The ultimate goal is to make the coverage areas of all four snake heads completely overlap at the center point. You can refer to the schematic diagram of the snake head positions shown in the attached image:
Opening the chest will reward you with the "Stellar Key" (used to unlock the subsequent Dream Gate) and the rare material "Luminous Crystal." If the puzzle fails (such as if the light misalignment exceeds 3 times), the hive will temporarily close, and you will need to exit the area and reload to trigger it again. This puzzle is linked to the "Four Elements Array" in the fourth hive, so it is recommended to keep the Stellar Key for later use.

The third hive puzzle tests the player's understanding of interactive objects, requiring precise manipulation of the snake heads. The key point is to adjust their positions one by one, directing them towards the center. If you get stuck, check if the gears have reset. After successfully solving the puzzle, be sure to collect the Stellar Key to prepare for the subsequent challenges in the Dream Key Passage.
I am Xiao Yuer Third Level Guide How to Pass the Third Level of I am Xiao Yuer
This game, I Am Little Fish, has been quite popular recently. The game contains many levels, each located in different areas, and the way to pass each level varies. Players need to find the right methods to proceed. Below is a guide for the third level of I Am Little Fish. This level is currently being asked about by many players, and quite a few are stuck here.
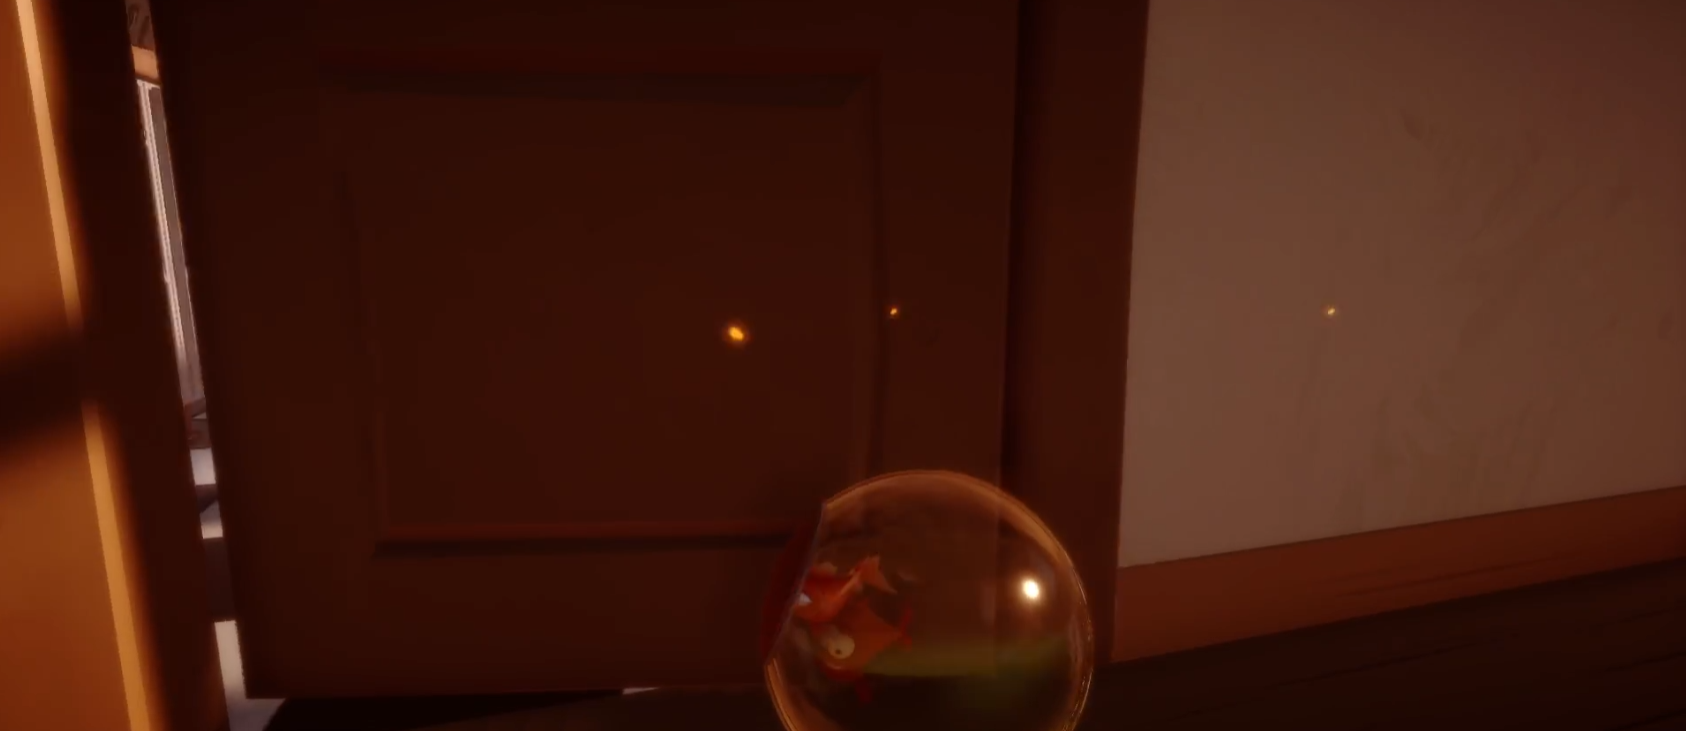
At first, we are in a room, inside a small cart. Next, our perspective shifts towards the door, and we move directly forward. Since there is a slope below us, players can use the momentum to push the door open. Then enter the hall, next to where a chair has fallen over, there is another door that players continue to crash through. Inside, you will find a golden shell.
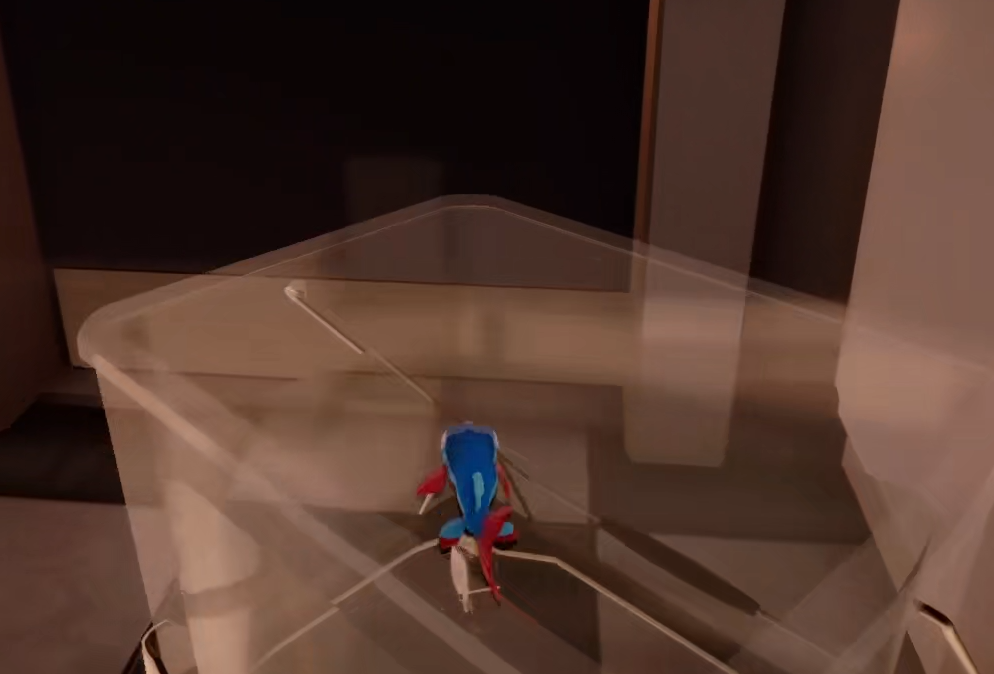
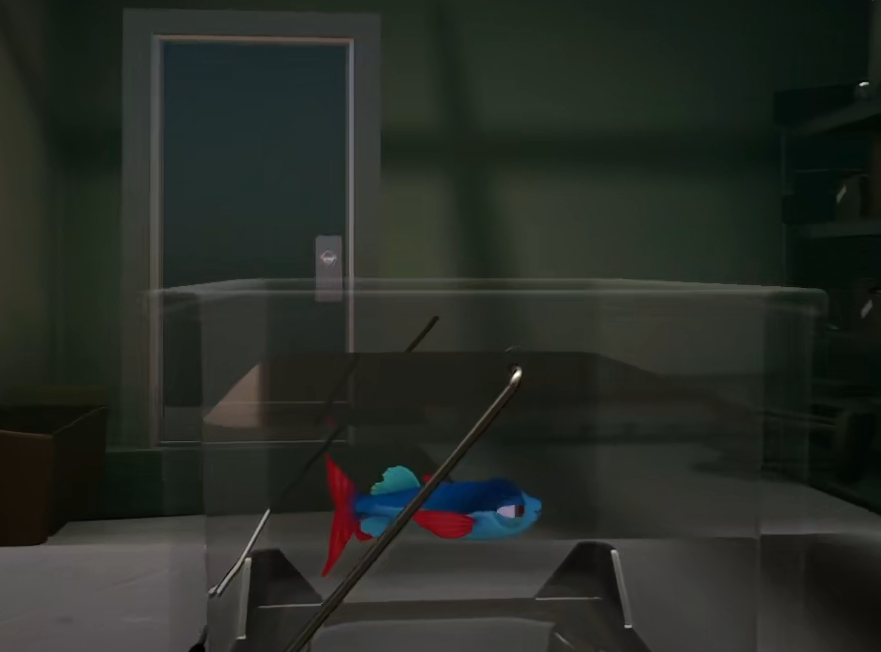
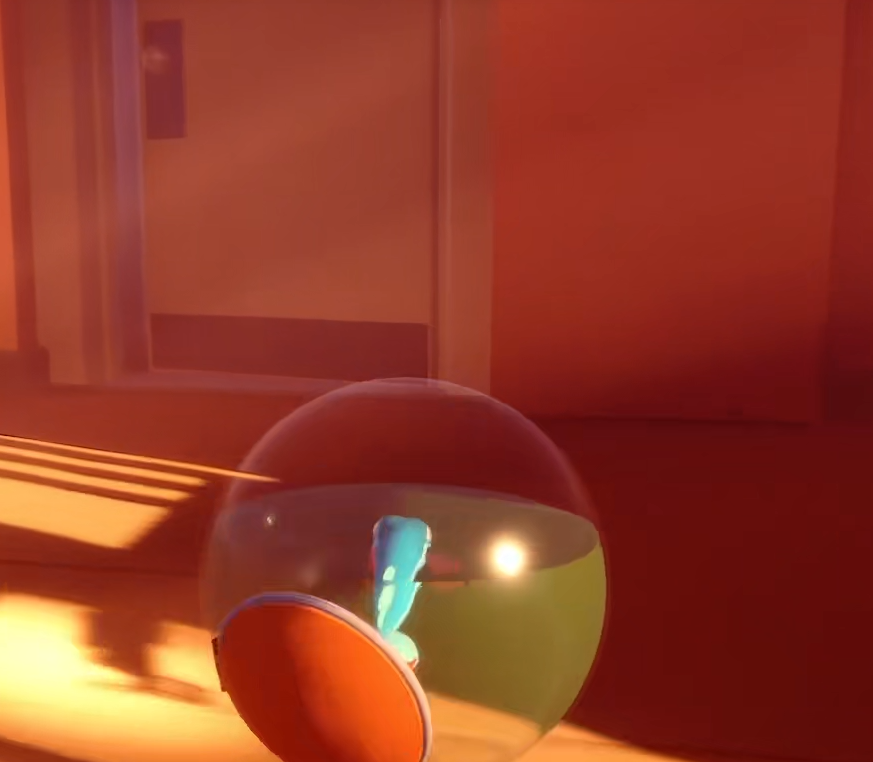
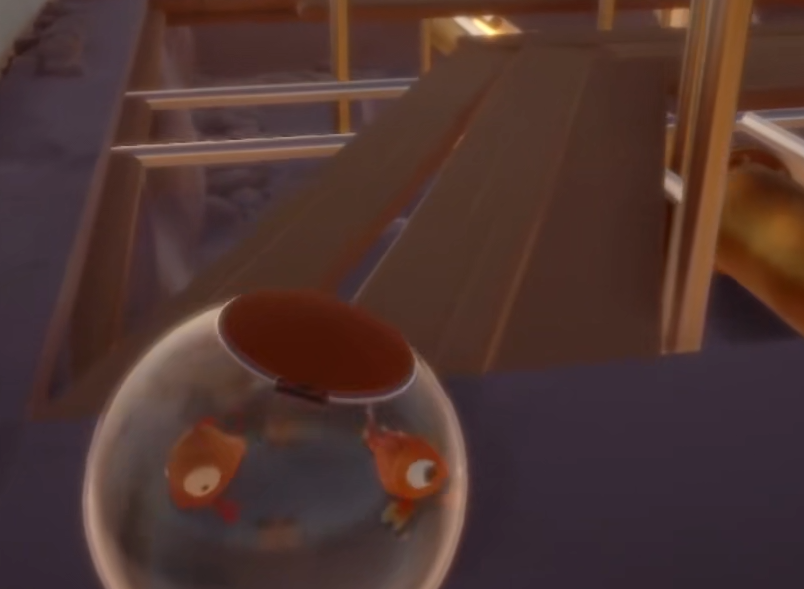
Then, move the cart to the side of a small fan ahead. Wait for the right moment to be blown by the fan, allowing players to land in the goldfish bowl in front. After entering the fishbowl, switch your view to the window at an opposite diagonal. There is another fishbowl on the windowsill, but it's quite far away, so players need to pay attention to their operation here.
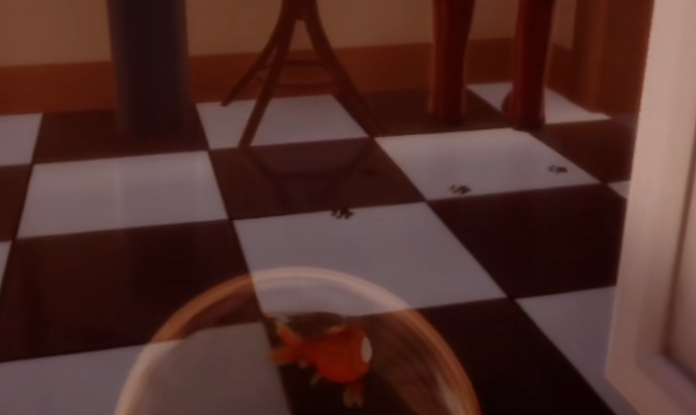
After entering the fishbowl, you can move around. Follow the chair down to the ground, then head towards the door. We can push the door open. To the right ahead, there is a gap; go through it. In the middle area, you can see a golden shell, remember to pick it up.
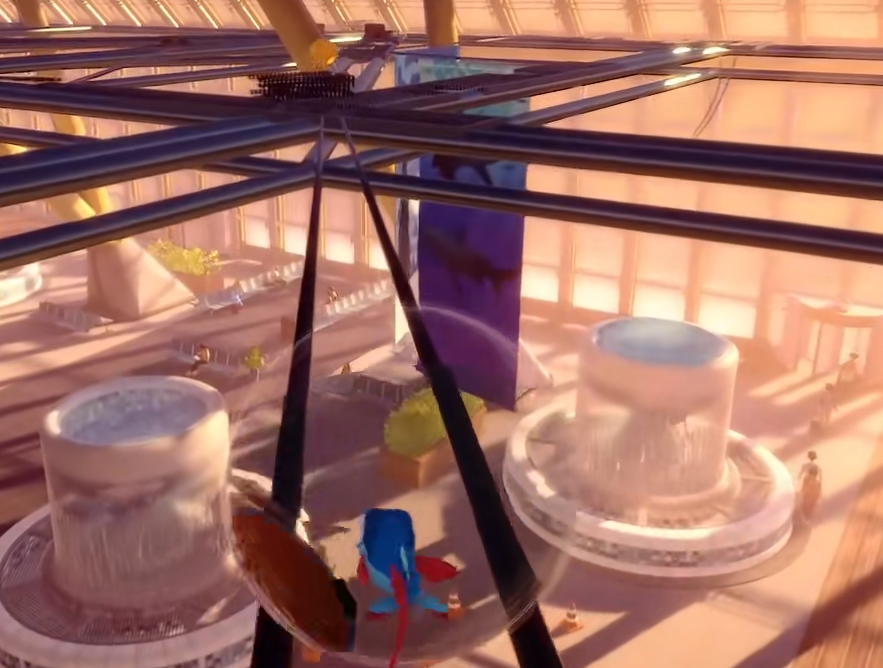
Next, go to the right. This path has several gaps, making it easy to fall, so players need to be careful while walking. Halfway along, you can find a rope extending to the left. From there, just follow the golden shells to proceed.
The above is the guide for the third level of I Am Little Fish. The difficulty of the third level is not low, and players need to carefully choose their path. Additionally, several parts require utilizing the little fish's abilities; otherwise, reaching the destination would be impossible. Players should think carefully before acting.
Introduction to the Hidden Boss in Chapter 3 of Deltarune How to Trigger the Hidden Boss in Chapter 3 of Deltarune
Not long ago, the third chapter of Deltarune was officially released. After its release, many players have been discussing it. This third chapter continues the story from the second chapter. The game's performance in both story and combat is excellent. Below is an introduction to the hidden boss in the third chapter of Deltarune. Many players are very interested in the game's hidden BOSS, which is why they inquire about it online.
Like the previous two chapters, this third chapter also features a hidden BOSS. Next, I will introduce the conditions for triggering the hidden BOSS. The main gameplay in this chapter is in the form of mini-games. To trigger the hidden BOSS, we also need to go through these mini-games. Players need to meet several conditions within the game, which will then unlock the hidden level, allowing them to fight the hidden BOSS.
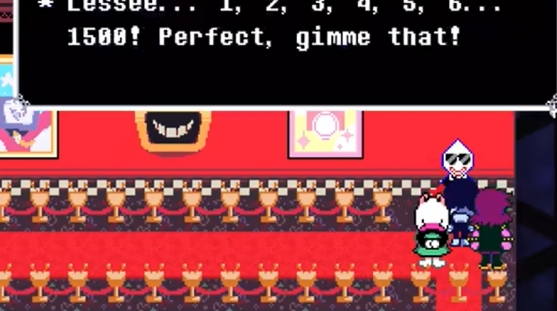
First, we need to get an S rank in the first round of the game. The first round is quite challenging, and it may not be easy for players to achieve this. If you really can't do it, you can consider using 1500 points to exchange with an NPC for an S rank in the first round. Susie can collect points by picking up trash, so it's not particularly difficult to obtain.

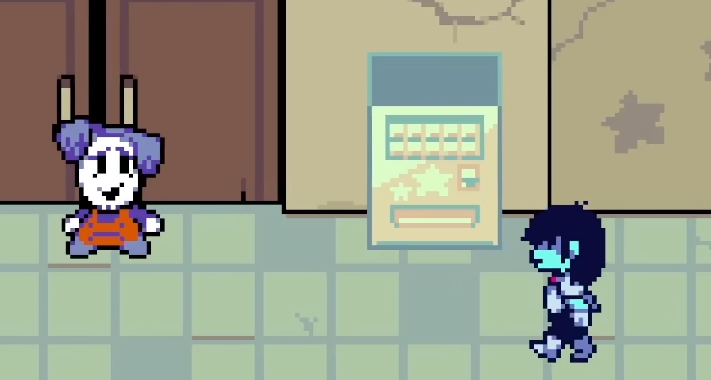
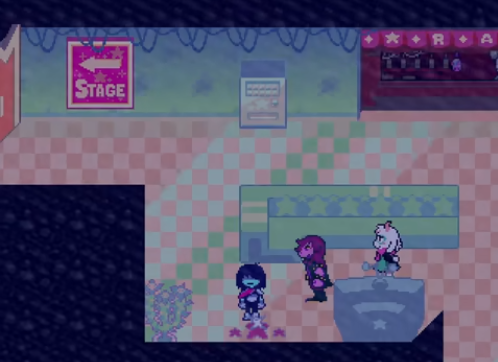
After getting the rank, we enter the S rank room, then go to the far left, push the doll at the door to enter the backstage. Go to the left and click on the game machine, which will show that no controller is connected. Then return and pick up the controller on the way, and you can start playing the game.
In the first mini-game, upgrade the sword to the maximum level, then slash all the way to the top left corner of the map. You will see a treasure chest, from which you can get a KEY. After the second round, we can play the mini-game again. At this point, we need to go to the top left corner and find the white path, then use the key obtained earlier to open the door.

This is the introduction to the hidden boss in the third chapter of Deltarune. After opening the door, there will be a ghost, and we need to find the correct path. Later, before the final level, we come back to the backstage to play the game again. Here, after obtaining the sword, you need to kill two teammates, then cut through the fence to enter. After clearing all the rooms, you will reach the hidden BOSS battle.
Detailed Walkthrough of Chapter 3 of Delta Rune Sharing Strategies for Chapter 3 of Delta Rune
In puzzle and RPG games, "Triangle Glyph" is a work that many players have mentioned recently. The game features pixel art, but its plot is very interesting, and the gameplay is somewhat innovative by today's standards. Below is a guide to the third chapter of Triangle Glyph. Each chapter of this game has a fantastic story, but the puzzles and combat difficulty are not low, leaving many players stuck at certain points. Among the current game content, Chapter 3 is the most frequently discussed. Here is a walkthrough for Chapter 3.
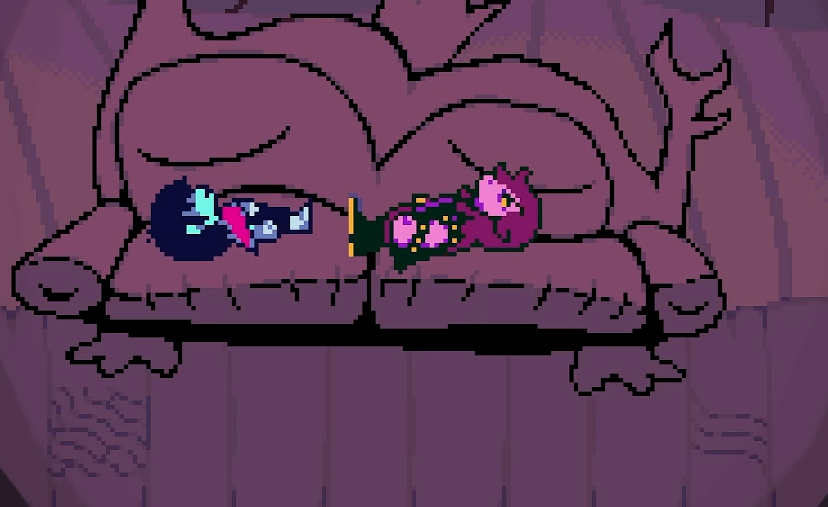
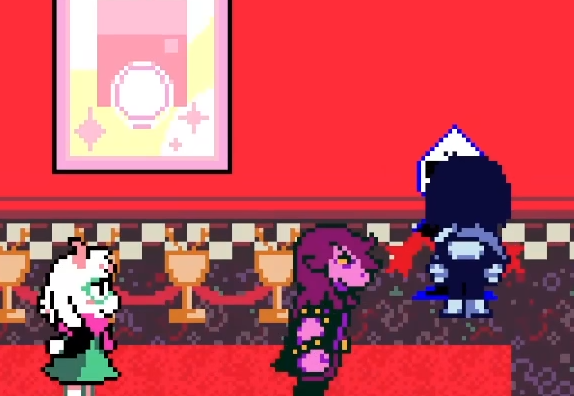
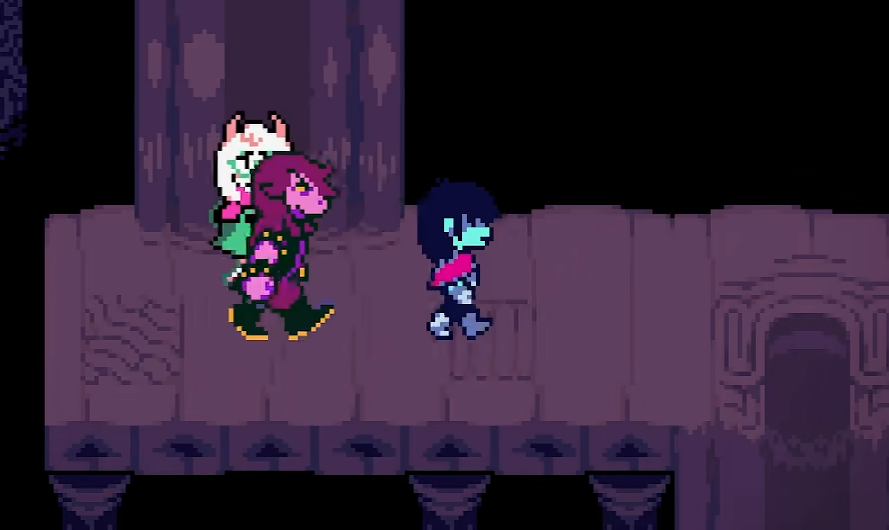
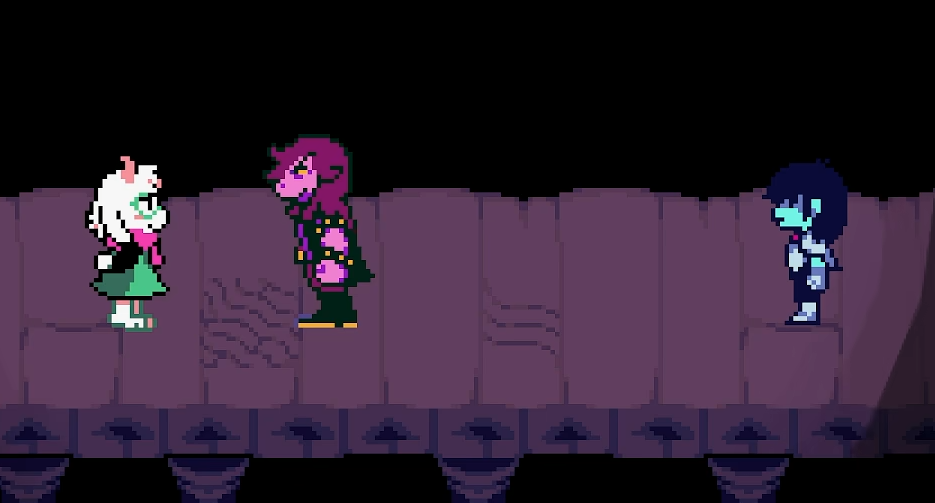
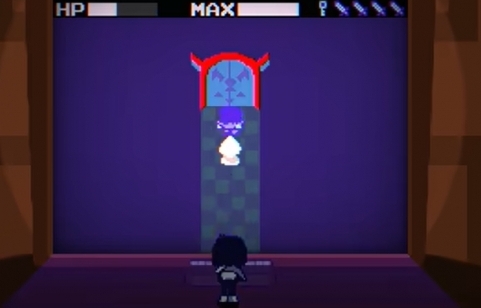
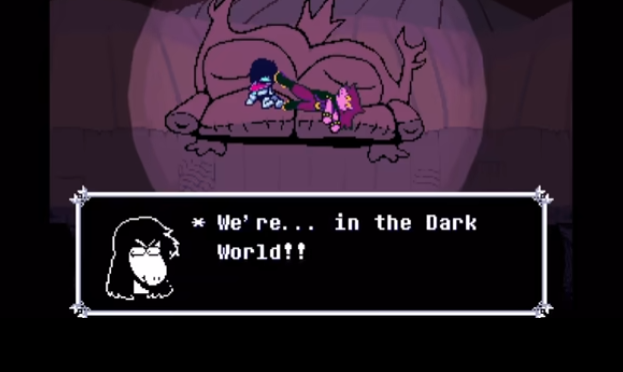
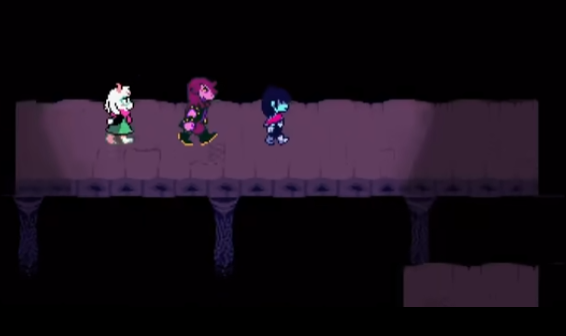
We start by waking up on a sofa, with only Susie and Kris present. From the current scene, it appears they are both in the Dark World. Next, we need to explore the area; if you go right, you'll find a save point. After saving, continue forward. Along the way, you will see some slime-like creatures, but they are all sleeping at this stage. When you go down, a cutscene will be triggered, where you meet Ralsei. She will join your party after the conversation. You can interact with the slimes ahead, and they will engage in some funny dialogues as you walk past them.
At the bottom, you need to stand in the middle and interact with the eye. Then a new path will appear on the right. Next, you must trigger interactions with the slimes one by one. At the very bottom, you'll find a chest containing 10 points. Continue to the right, and Susie and Ralsei will continue their dialogue. When you reach the clock, there's a puzzle where you need to press the buttons on the ground before time runs out. After solving the puzzle, keep going down, and there will be more dialogue.
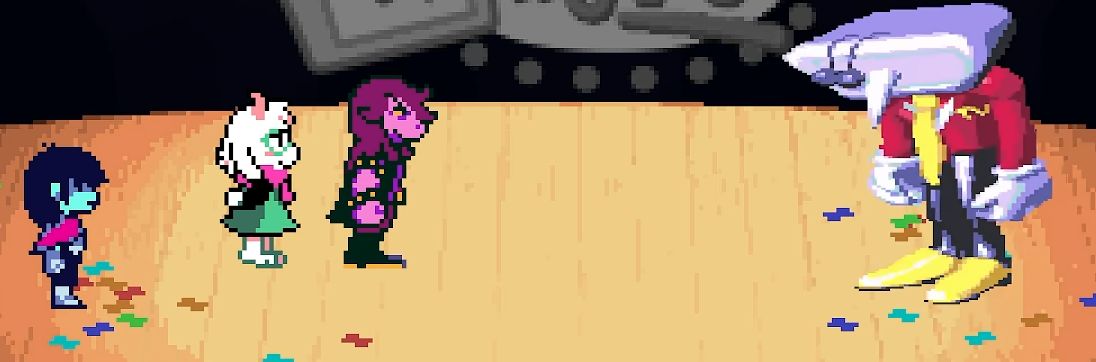
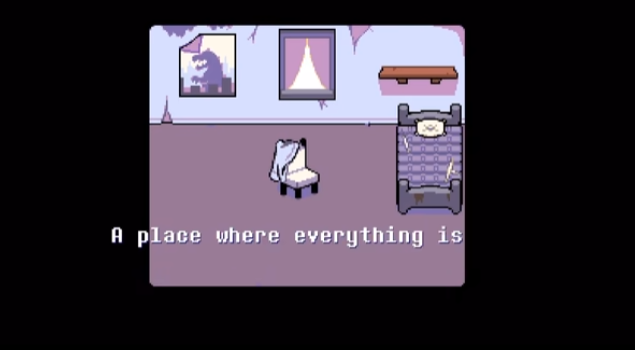
When you reach the lowest level, a cutscene will be triggered. Ralsei will explain the difference between the Light World and the Dark World, mentioning that the citizens of the Dark World are just objects in the Light World. Suddenly, lights appear, and an 80s-style TV show begins, introducing a host who explains that the three of you have been selected to participate in this program. Completing the tasks given by the show will earn you various rewards, including a Ralsei doll. This part of the story is quite fun.
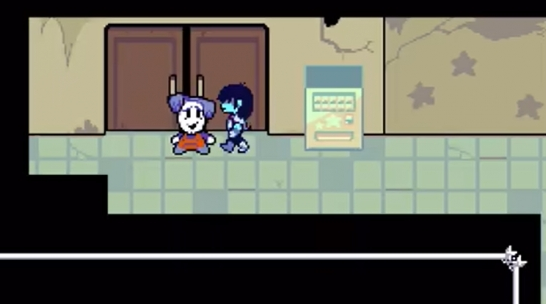
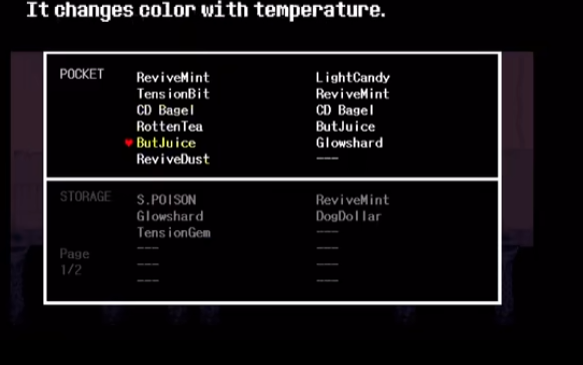
After the cutscene, you'll participate in the game and can freely move around on the stage. On the right, there's a hint manual that you should read. It provides basic instructions and strategies for this section. There's a save point ahead, and the NPC next to it allows you to use up your previous coins, as gold cannot be used in the world of Chapter 3. In this chapter, you can only use points. The other NPCs in this row will provide useful information for your future challenges.
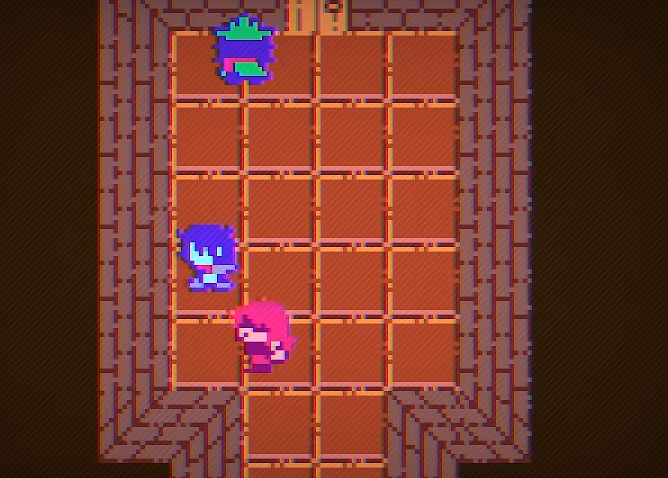
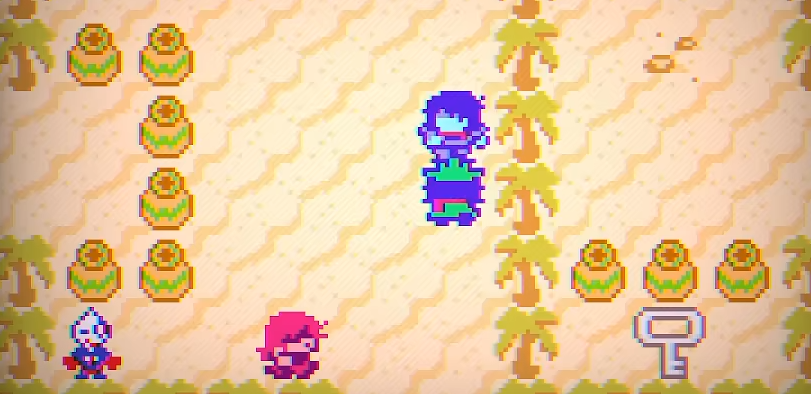
Next, go to the end and talk to the host to trigger the next part of the story. You will then officially go on stage to start your challenge, which involves playing an RPG game. The goal is to enter the pyramid for the ultimate challenge. First, you need to collect three keys to open the entrance to the pyramid.
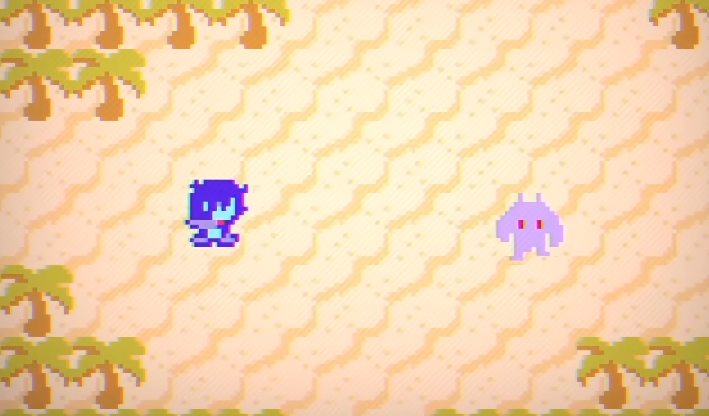
There are actually four keys on this map, but you only need three to proceed. Collect the points scattered throughout the map, which serve as the game's currency. If you go left, you'll encounter a shadow, which is the enemy of this section.
The faster and more efficiently you defeat the enemies, the more rewards you will receive. Points are very beneficial for your future challenges, so try to defeat the enemies quickly while avoiding their attacks.
The above is the walkthrough for the third chapter of Triangle Glyph. This chapter mainly revolves around a TV show and playing a game, and the gameplay is very entertaining. The difficulty of this chapter is not low, and players need to quickly defeat enemies and avoid damage to maximize their points.
How to Enter the Egg Room in Chapter 3 of Delta Rune How to Enter the Egg Room in Chapter 3 of Delta Rune
The third chapter of the Delta Rune, the Egg Room, is one of the segments. How can players enter it? What are the main methods of operation? If you are not familiar with this gameplay, you can follow along to take a look. The content below introduces it in quite some detail; players just need to follow the steps to enter the corresponding room and then experience the relevant methods.
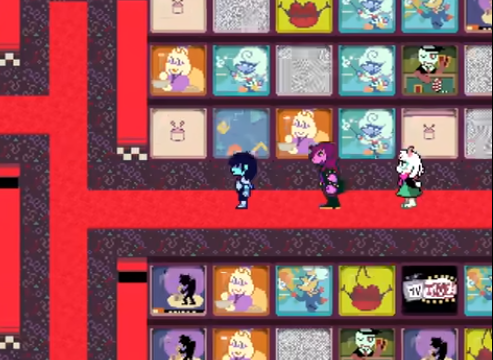
As players progress through the story, they will soon gain the ability to transform into Lancer. This is the key point to entering this room, and many subsequent operations rely on this ability. Once the player has acquired the ability, they can go looking for the house with the reward chest. Inside the house, they can dig up tiles and solve the corresponding problems. This means that players need to carefully observe the clues and layout within the room and reasonably use the abilities of the three different characters, which allows them to quickly complete the puzzle. Follow the patterns and colors in the room, and after completing the puzzle, talk to the person in the dream.

He will tell you to go to the right, and when you return, you will see a cabinet. Open the cabinet to get the ticket. It's important to note that you must follow the instructions of the person in the dream and pay attention to the changes in the scene when you come back. After getting the ticket, you can use teleportation to reach the designated location. Here, you can also search for a trash can. After finding the trash can, select an acg with red, and after quickly pressing the directional keys, you can perform the escape action. At this point, you can enter the mysterious room. When searching for the trash can, you need to carefully search this area, as it may not be in an obvious position.
After entering the room, the player needs to go up, where they will see a new room with a tree. Go behind the tree to start a conversation. After the conversation starts, the player can choose two "no" options to complete the dialogue, and immediately obtain the mysterious egg. The dialogue here is very important; if the wrong choice is made, it might prevent the successful acquisition of the egg. Players may need to repeatedly enter the room, as there is a certain probability of re-entering the mysterious room. Moving around and waiting for the conversation to end can also help the player obtain a mysterious egg. It's worth noting that re-entering the room also has a probabilistic nature, and multiple entries and exits are required to succeed.
How to enter the Egg Room in the third chapter of Delta Rune? Players can follow the above steps. To avoid conflicts, it is recommended to get the egg first, then proceed with the cloak route. If you get the cloak, it is likely to conflict with the egg-earning plot, making it impossible to obtain. It is hoped that players will understand this when operating.
Introduction to the hidden boss in Chapter 3 of Deltarune and how to defeat it
Today, I'm bringing you an introduction to the hidden bosses in Chapter 3 of Deltarune. The challenge of hidden bosses constitutes a significant part of the exploration process. Unlocking these bosses not only requires completing multiple rounds of prerequisite tasks, but their combat mechanisms also become increasingly complex as the stages progress, involving a series of processes from obtaining qualifications to adjusting tactics. This guide will focus on the challenges of Rude Buster and Spamton NEO, detailing the unlocking paths, characteristics of each battle phase, and key points for handling them, providing players with a complete framework for the challenge. Let's dive in.
The challenge of Rude Buster requires players to go through several rounds of game setup. First is the acquisition of entry qualifications, which can be achieved through two methods. If players aim for high ratings, they can try to achieve an S rating in the first round of the game. This requires maintaining high efficiency in battles and tasks across all major rooms, even achieving zero mistakes. After reaching this rating, the S-rated exclusive room in Green House will be unlocked. The large arcade machine inside the room is key to starting the subsequent challenges. Starting the arcade machine and entering the mini-game, players need to accumulate experience by defeating monsters, gradually increasing the power of the sword until it reaches full level.
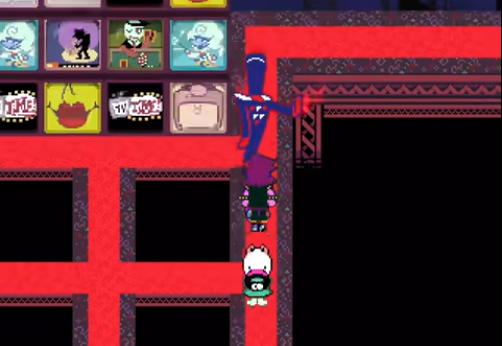
Continuously slashing towards the upper left corner of the map, you'll find a red treasure chest containing the ICE KEY. After picking up the item, the arcade machine will automatically shut down, and you'll have to wait for the second round of the game to start. In the second round, new explorations begin. After obtaining the boat, players must continuously move towards the upper left corner of the map until they encounter a white floor. Following the path of the white floor, you'll find a blue door. Use the previously obtained ICE KEY to open it. After clearing the small monsters in the room, you'll reach an area with a white ghost. Continue moving forward to arrive at a crossroad. If the player chooses the wrong direction, the ghost won't follow. Using this characteristic, players can gradually find the correct path, ultimately encountering a red door. Entering it will trigger a story event, ending the current mini-game.
Before the final battle, players need to return to the room in Green House and enter the backstage to start the last round of the game. After obtaining the sword in the game, the weapon needs to be upgraded by killing two teammates. Then, cut through the fence on the right side and clear all the enemies in the rooms. At this point, the hidden boss battle with Rude Buster will officially begin. During the battle, Rude Buster has a variety of attack methods, including wide-range energy waves. Players can use obstacles in the scene as cover and dodge by moving flexibly. The boss may summon small monsters to assist in the fight; prioritizing the elimination of these small monsters can reduce interference, allowing players to focus more on dealing with the boss's attacks.
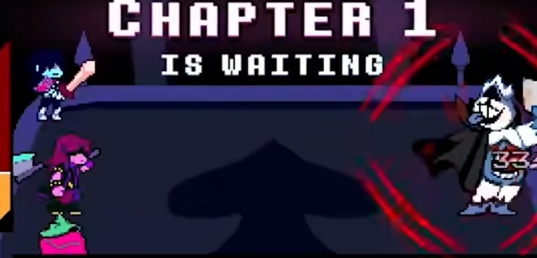
The introduction to the hidden bosses in Chapter 3 of Deltarune is now complete. The challenges of Rude Buster and Spamton NEO connect multiple exploration elements and core combat mechanics in Chapter 3. From obtaining qualifications through multiple rounds of the game to the requirements of positioning, prediction, and equipment in each battle phase, every step requires players to plan based on clues from the scene and combat patterns.
How to Pass Chapter 3 of Delta Rune Delta Rune Chapter 3 Guide
Many players have been experiencing the game "Delta Rune" recently. Due to its difficulty, many levels in the game are quite challenging for a lot of players. In today's article, I will introduce to you the strategy for clearing Chapter 3 of Delta Rune. For new players, it can be quite difficult to smoothly pass this level and achieve the perfect ending. If you also have such troubles, then perhaps through today's content, you may find the key to passing smoothly. Let's take a look together.
To successfully pass Chapter 3, players first need to ensure that their level has reached 12. In terms of equipment selection, choose gear with higher defense and damage reduction. After entering the map and talking to the first NPC, the observation is officially started. To complete this level, you need to accomplish three rounds of challenges, all reaching S rank. In the first round, players need to level up their character to 3 in the game, then go near the pond to pick up the sword, defeat the small monsters, and open the treasure chest to get the key. If this round does not reach S rank, you can spend 1500 points to buy the score from the merchant.
In the second round, the goal for players is to obtain the key to the shelter. The steps are very simple: go to the cave by the river, pick up the sword, use the raft to cross the waterfall, and then cast the freezing spell to freeze the mechanism on the water surface. At this point, a ghost will appear on the lake; follow her quietly to find the correct path through the maze. At the end of the maze, you will get the second key. The third item to obtain is the Shadow Cloak, which is relatively simple; just use the two keys obtained earlier to enter the shelter, defeat the boss there, and then you can get the Shadow Cloak. Make sure to reserve space in your backpack, or all previous efforts will be in vain.
After getting the Shadow Cloak, you can go back to find the boss, whose name is the Roaring Knight. Before engaging in battle, make sure to put on the Shadow Cloak and bring a teammate with healing abilities, otherwise, you won't be able to defeat the boss. After successfully defeating him, you will unlock the story of Chapter 4.
Do you want to know how to successfully pass Chapter 3 in the game "Delta Rune"? In today's content, I've summarized the specific steps for you. "Delta Rune" is indeed a game with high difficulty, whether it's puzzle-solving or combat, both are quite brain-burning. Therefore, many techniques need to be paid attention to in order to pass Chapter 3 smoothly. I hope today's content can help you.
I am Xiao Yuer Third Level Guide Overview of the Flowchart for the Third Level of I am Xiao Yuer
I believe many of you are quite interested in the game "I Am Little Fish." The game is mainly in a cartoon style, and many players find it very cute at first sight. Today, I will bring you a guide for the third level of "I Am Little Fish," hoping to help those who are stuck on this level. Without further ado, let's follow me and take a look at the third level of "I Am Little Fish"!
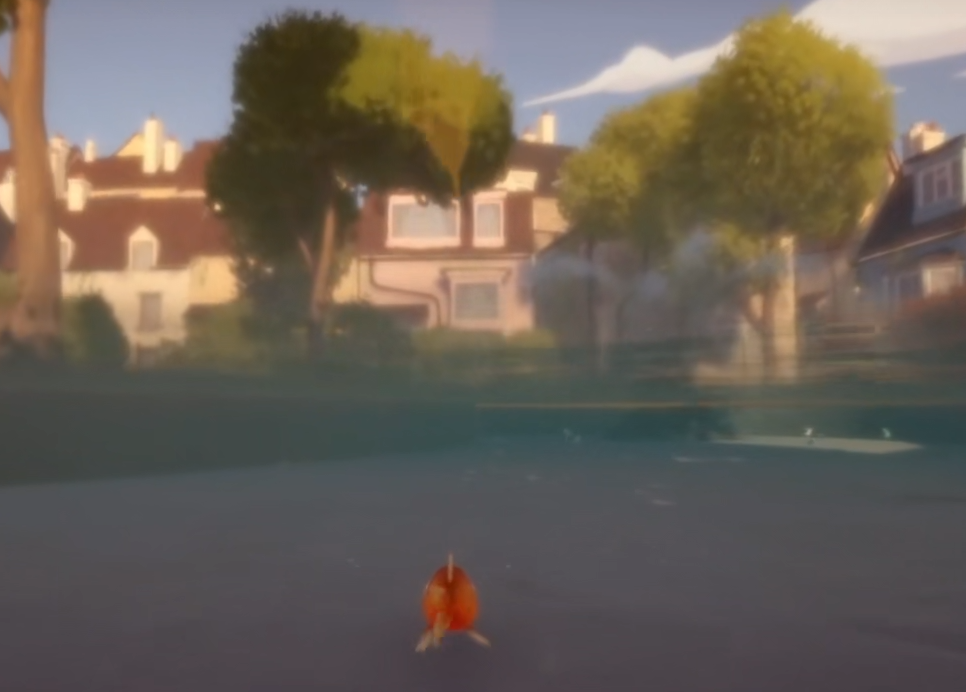
At the beginning of the game, we will be a goldfish entering a pond. In this pond, there will be a piece of bread. We need to go in the opposite direction first to get the bread before we can continue. After getting the bread, we swim towards the villa and then find a pile of stones. Upon closer inspection, we see that there is an opening at the lower left of the stone pile. We enter through this opening and are then shot by water pressure into a pipe above the house, where we swim to the right.

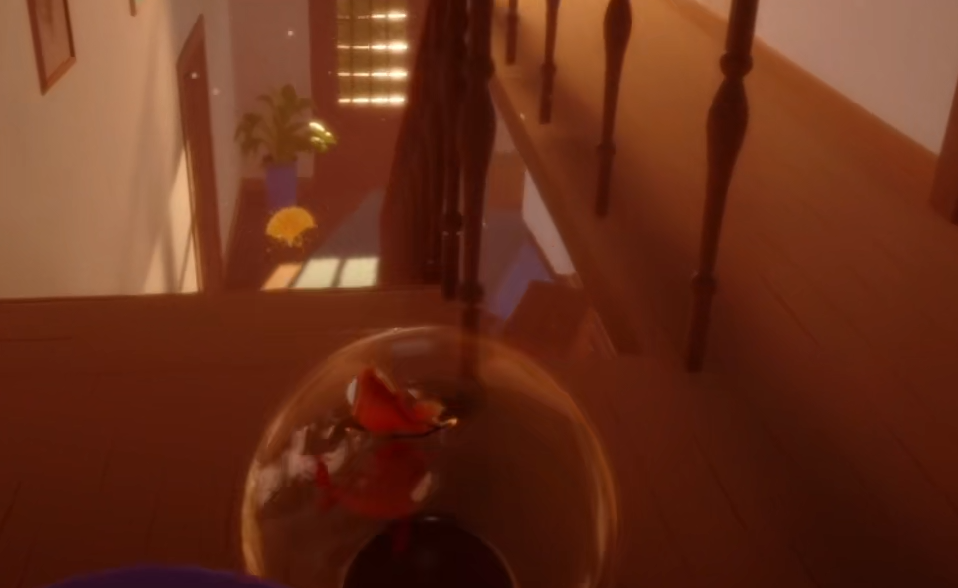
When we enter the house, we trigger a cutscene. After the cutscene ends, we enter an aquarium, and at this point, we can move freely. After entering the aquarium, we follow the stairs down to the first floor. On the second floor, at the very front, we will find a piece of bread. Make sure to grab the bread before going downstairs! Once on the first floor, we will find a slightly open door with piano music coming from inside. We just need to go in.
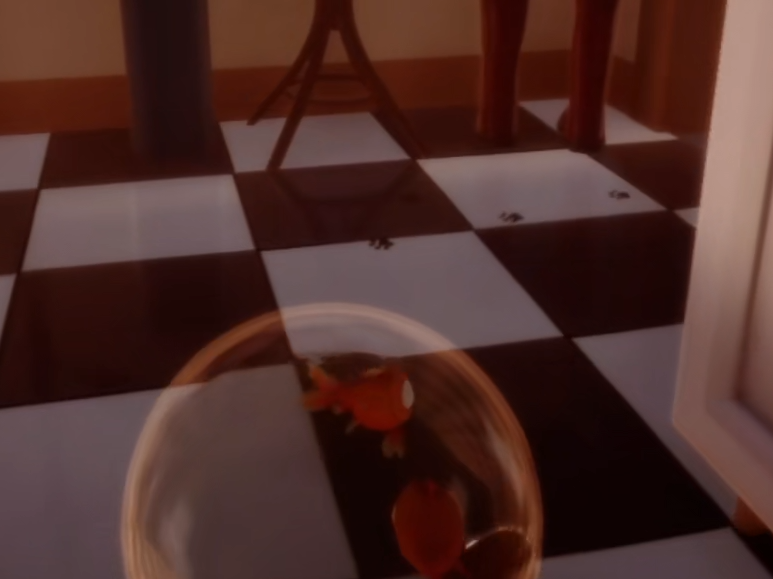
After entering, we will find several puppy paw prints on the ground. We follow the paw prints step by step to a door. At this point, we can push the door open and go outside. To the right, we can get another piece of bread. After getting the bread, we move in the opposite direction and can see another piece of bread at the intersection, which we also take.
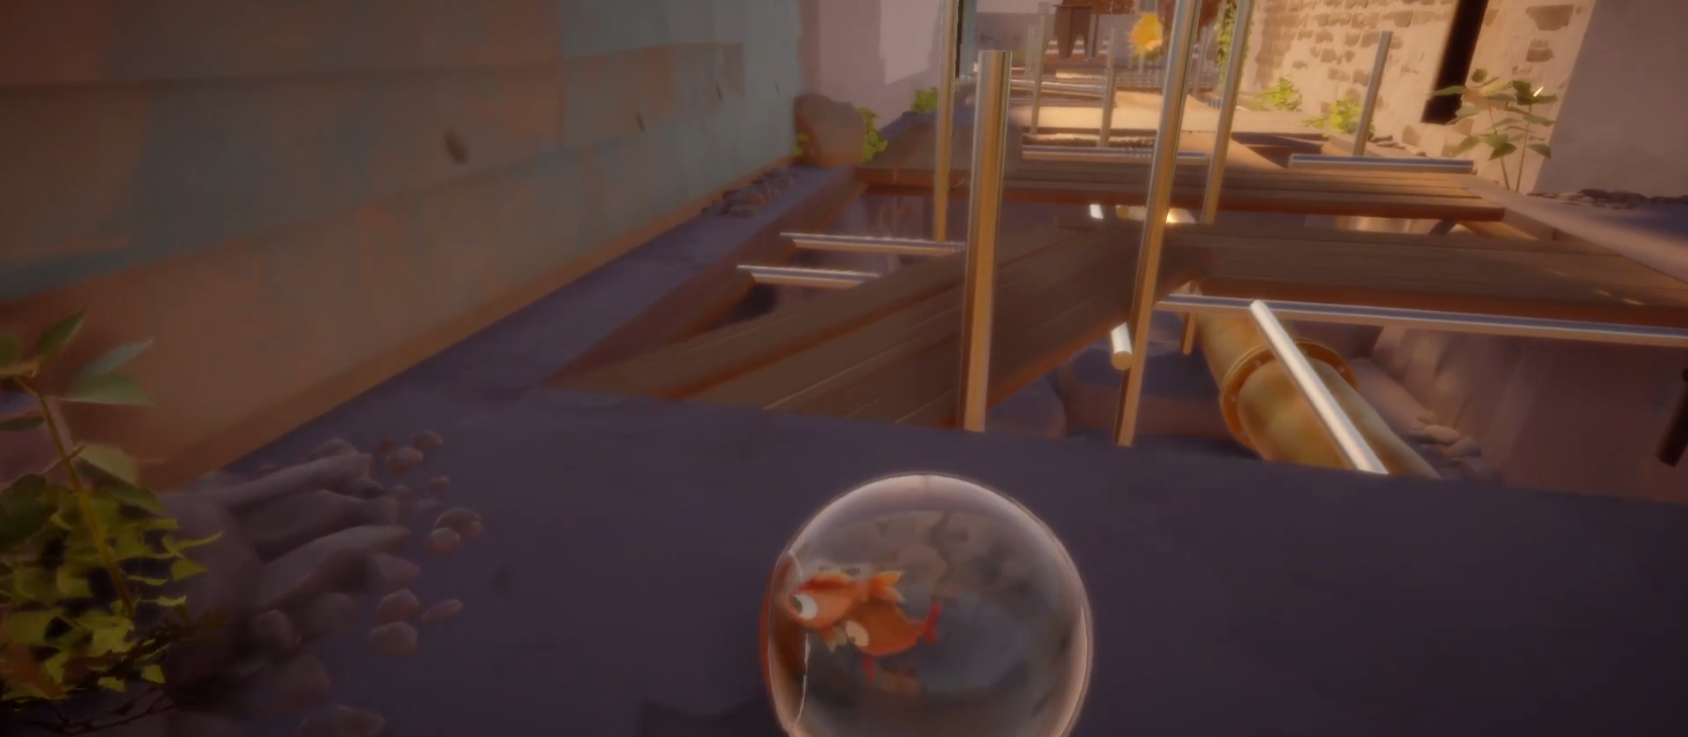
After collecting the bread, we need to cross a wooden plank bridge. Be very careful here! If we fall, we have to restart the entire level, which is very time-consuming and laborious! I suggest that players should move slowly and not rush. Patience is key; move slowly and steadily across the wooden planks. Many players get stuck here.
The above is my guide for the third level of "I Am Little Fish." I hope it has helped those who were stuck on this level. "I Am Little Fish" is an excellent cartoon adventure game, set against the backdrop of a fish on land, creating a wonderful journey of exploration for players. Fans of this type of game should not miss it!
I am Xiao Yuer Goldfish Level 3 Strategy How to Pass Level 3 of I Am Xiao Yuer Goldfish
When it comes to recent interesting and fun games, many players would definitely mention I Am Little Fish. The game features a cartoon style, and many people find it very cute at first sight. Its gameplay is also simple. Below are the tips for the third level of the goldfish in I Am Little Fish. Many people get stuck on this level and don't know how to pass it successfully.
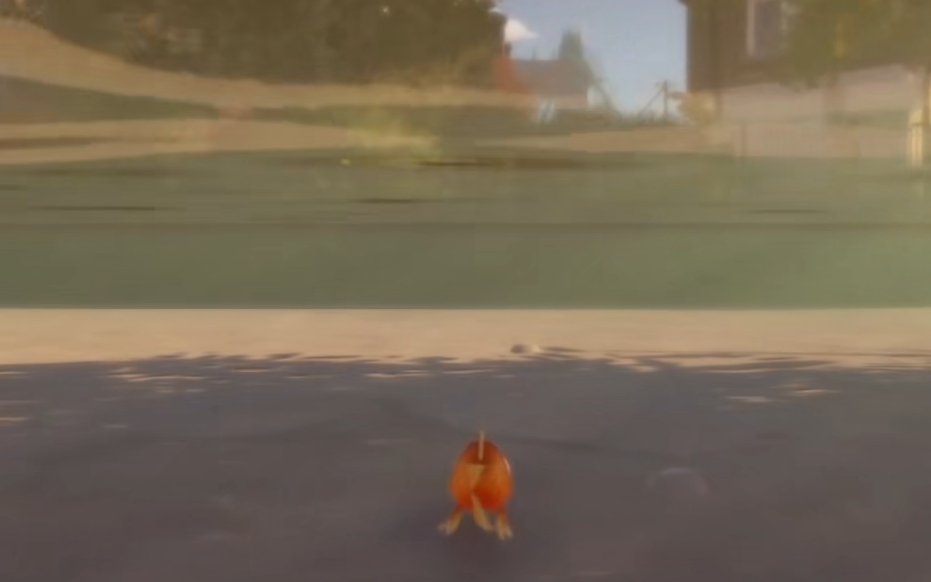
At the beginning, we enter the game and find ourselves in a pond, which appears to be in front of a villa. In this pond, there will be a piece of bread, and we need to go in the opposite direction first to get the bread. After that, we move towards the villa and see an opening. We enter through the opening, and then the water pressure will shoot us into the pipe above the house. Then we proceed to the right.
As we move forward, we trigger a story, and then we enter the adjacent house and the fish tank. After entering, there's no rush to go downstairs; at the very front on the second floor, there is a piece of bread. After picking it up, we go downstairs and push open the slightly ajar door to enter.
After entering, we can follow the paw prints of the dog on the ground. We then come to a door, which we can push open and go out. After going out, we can first go to the right to get the bread. After getting the bread, we move directly in the opposite direction, and we can also see another piece of bread at the intersection.
Next, we need to cross a pile of planks, which is quite challenging for many players. We need to carefully maneuver the fish tank across these planks. If we don't control it well, we will fall down, breaking the fish tank, and we will have to start over.
The above are the tips for the third level of the goldfish in I Am Little Fish. Players can see a lot of clever scene interactions in the third level. Every time players reach a new location, they should pay attention because the new scenes contain certain interactions that can help them clear the level.
How to pass the third level of I Am Fish Little Piranha; I Am Fish Little Piranha third level strategy
Currently, many players really enjoy casual and fun games, and one of the most discussed is "I Am Little Fish." From a current perspective, this game has a very cute appearance, and the gameplay is also quite simple. So, how to pass the third level of the piranha in "I Am Little Fish"? The third level of the piranha is one that players often ask about, and many players are not very clear about this level.
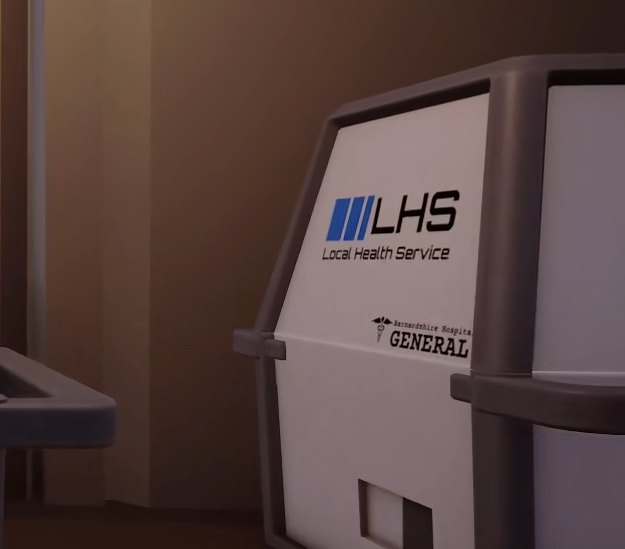
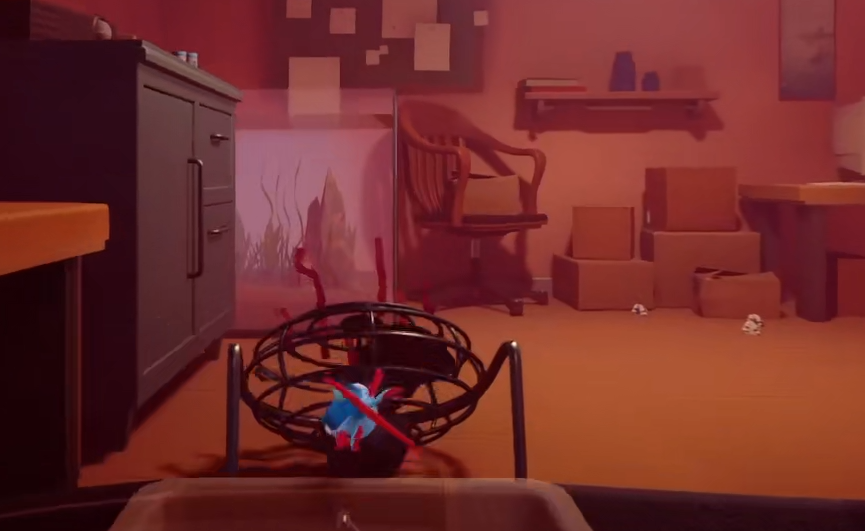
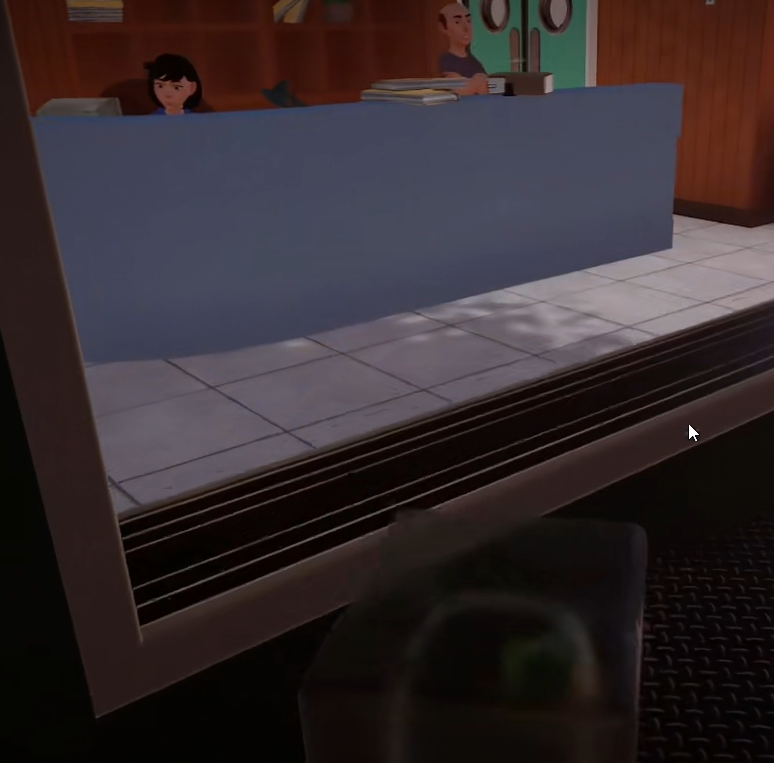
At the beginning of the third level, players start inside a box, and we can drag the box to move. First, push the door open with the box and go out. After going out, we will also move in the form of water blocks. From the current scene, our location is inside a post office. At this point, first jump down, then turn to change the view, and we can see a shell by the window, which we need to collect.
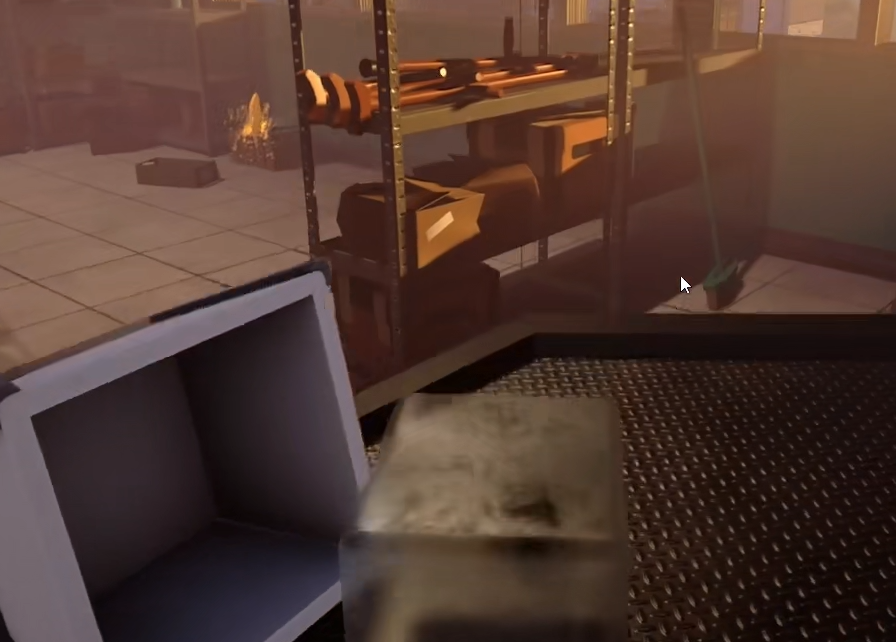
After picking it up, we move towards the corner of the front wall. Once we see a radiator pipe, we change our view and move, and we can see an open vent. Next, we need to enter through this vent. After entering, there will be an acceleration, and then use the acceleration to break through the connected vents.
Upon entering the room, we find that we cannot open the front door. Players need to change their view. You can see a golden shell, and we first move towards where the golden shell is. After picking up the shell, you can see an open vent on the left, and we directly enter it.
Next, we reach a room where we cannot directly jump off the table as that would result in instant death. Players need to first jump onto the chair, then land. Then, keep moving forward, pick up the golden shell when you see it, and leave from another direction.
The above are the strategies for passing the third level of the piranha in "I Am Little Fish." There are two things players need to pay attention to in this level: first, the main route of this level is basically inside the vents, and second, do not jump directly from too high places.
Recommend


Strategy

A Guide to Zhetian Fanchen Yiyue Sharing Tips for New Players on How to Play Zhetian Fanchen Yiyue
Introduction to the Public Beta Time of Zhetian Fanchen Yeyi When is the public beta for Zhetian Fanchen Yeyi?
How is Zi Yue from Zhetian Fanchen? Introduction to Zi Yue from Zhetian Fanchen
What are the Luhida Origin redemption codes? Sharing of Luhida Origin mobile game gift codes
Lu Xida Origin Team Recommendations Lu Xida Origin Team Guide
Lu Xida Origin Strategy Sharing: Beginner's Guide to Lu Xida Origin
