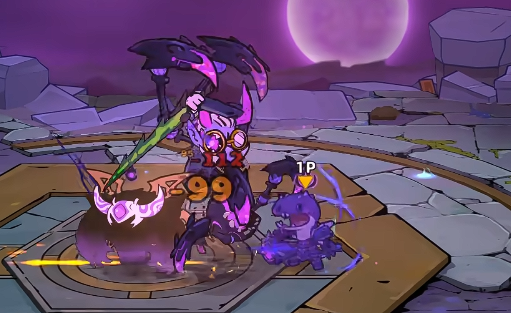
In Lost Castle 2, if you want to play comfortably, you need to first understand the map, including the monster stages and bosses. Only then can you fully experience the game. To help everyone understand these aspects, we will provide a guide on the maps of Lost Castle 2 in the following text. After reading this guide, you will be able to understand everything about the maps and tackle the game.

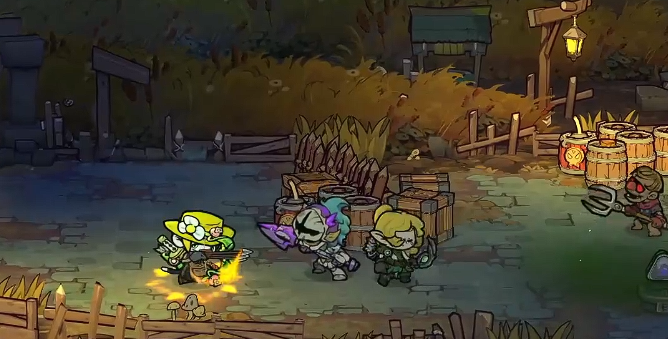
Speaking of the game, there are currently five maps. The first one is the forest map called Black Forest. The monsters in this map include Goblin Warriors, Goblin Archers, Goblin Drummers, Goblin Thieves, Goblin Mages, Goblin Gunners, Goblin Berserkers, and Goblin Giants. There are three bosses: the First Goblin Warrior, the Wood Spirit Guardian, and the Mad Gardener. Among them, the Gardener is the hardest to defeat, the Wood Spirit is the easiest, and the Goblin Warrior is moderate. The map has high-risk monster areas, powerful creature areas, challenge areas, and monster-occupied areas. This is the first map.

The second map is the Abandoned Village. The monsters here include Tree Spirits, Zombie Boars, Mutated Villagers, Mutated Giants, Mutated Goblins, Mutated Preachers, Evil Butchers, Drunkards, Demon Crushers, and Evil Armor. The bosses are the Mutated Priest, the Last Guardian, and the Alchemist. The Alchemist is the hardest to defeat because it is a dual-unit boss. The Mutated Priest is the easiest, being a stationary boss. The map includes high-risk monster areas, powerful creature areas, monster-occupied areas, challenge areas, and cursed areas. This is the second map.

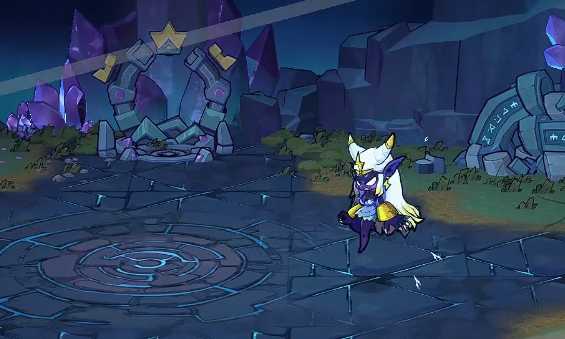
The third map is called Crystal Mountain. The monsters here include Broken Soldiers, Crystal Beasts, Demon Crushers, Crystal Core Shooters, Activated Ruin Guardians, Evil Armor, Ruin Guards, Demon Eyes, Torch Cavalry, Broken Claws, Young Dragons, Stone Warriors, and Stone Worms. There are many types of monsters with high health, making this a challenging stage.
As for the bosses, you will encounter the Crystal Devourer, Rock Beast, and Furious Thunder Spirit. The Crystal Devourer is the hardest to defeat, while the other two are similar. Both are mechanism-based bosses; one requires hitting the core, and the other requires breaking a shield. Knowing the mechanisms makes them manageable. The stage types are the same as the previous one, or rather, all stages except the first one have the same types. This is the third map.

After the third map comes the fourth map, called Black Castle Bridge. The monsters here are the same as those in the final map, Black Castle, as this map is a prelude to the last one. The monsters include Parasitic Armors, Broken Conjurers, Broken Claws, Parasitic Armors, Flesh Cannons, Demon Eyes, Broken Soldiers, Gargoyles, Demon Fists, Shell Hounds, Demon Tumors, Evil Armor, Demon Crushers, Demon Rotten Flesh, and Broken Bats. These monsters have high health and high damage, making them very difficult to defeat.
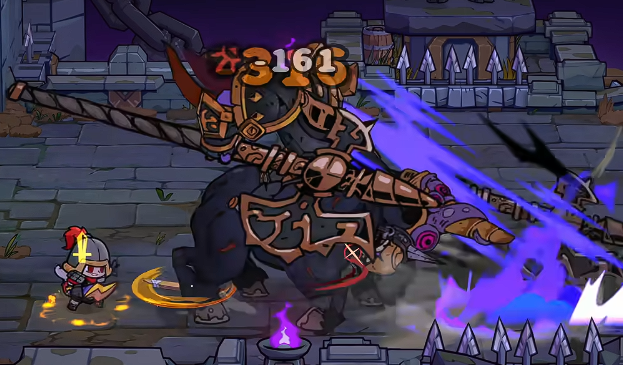
The boss in this map is the Wandering Knight, a dual-form boss that can fight on and off the horse. In both forms, it has long-range, large-area attack skills, making it very challenging. This is the fourth map. After this, we move on to the final map, Black Castle.

For the fifth map, since the monsters are the same, we won't introduce them again. The bosses in this map are the Sealed Demon Butler and the Demon King. Both bosses appear in the same area, meaning you need to defeat the Butler before fighting the Demon King. The Butler is a mechanism-based boss, requiring you to exploit its weakness when it turns into a shadow. The Demon King is a large-scale boss with a green bar representing its durability. You need to deplete the green bar and then attack the core to deal damage. This is the final map of the game.

This is the detailed introduction to the maps in Lost Castle 2. After reading this, you should have a good understanding of the game's maps. Once you know what maps are available and what they look like, you can start tackling them in the game.


